claim and disputes
1. Initiate Login Process
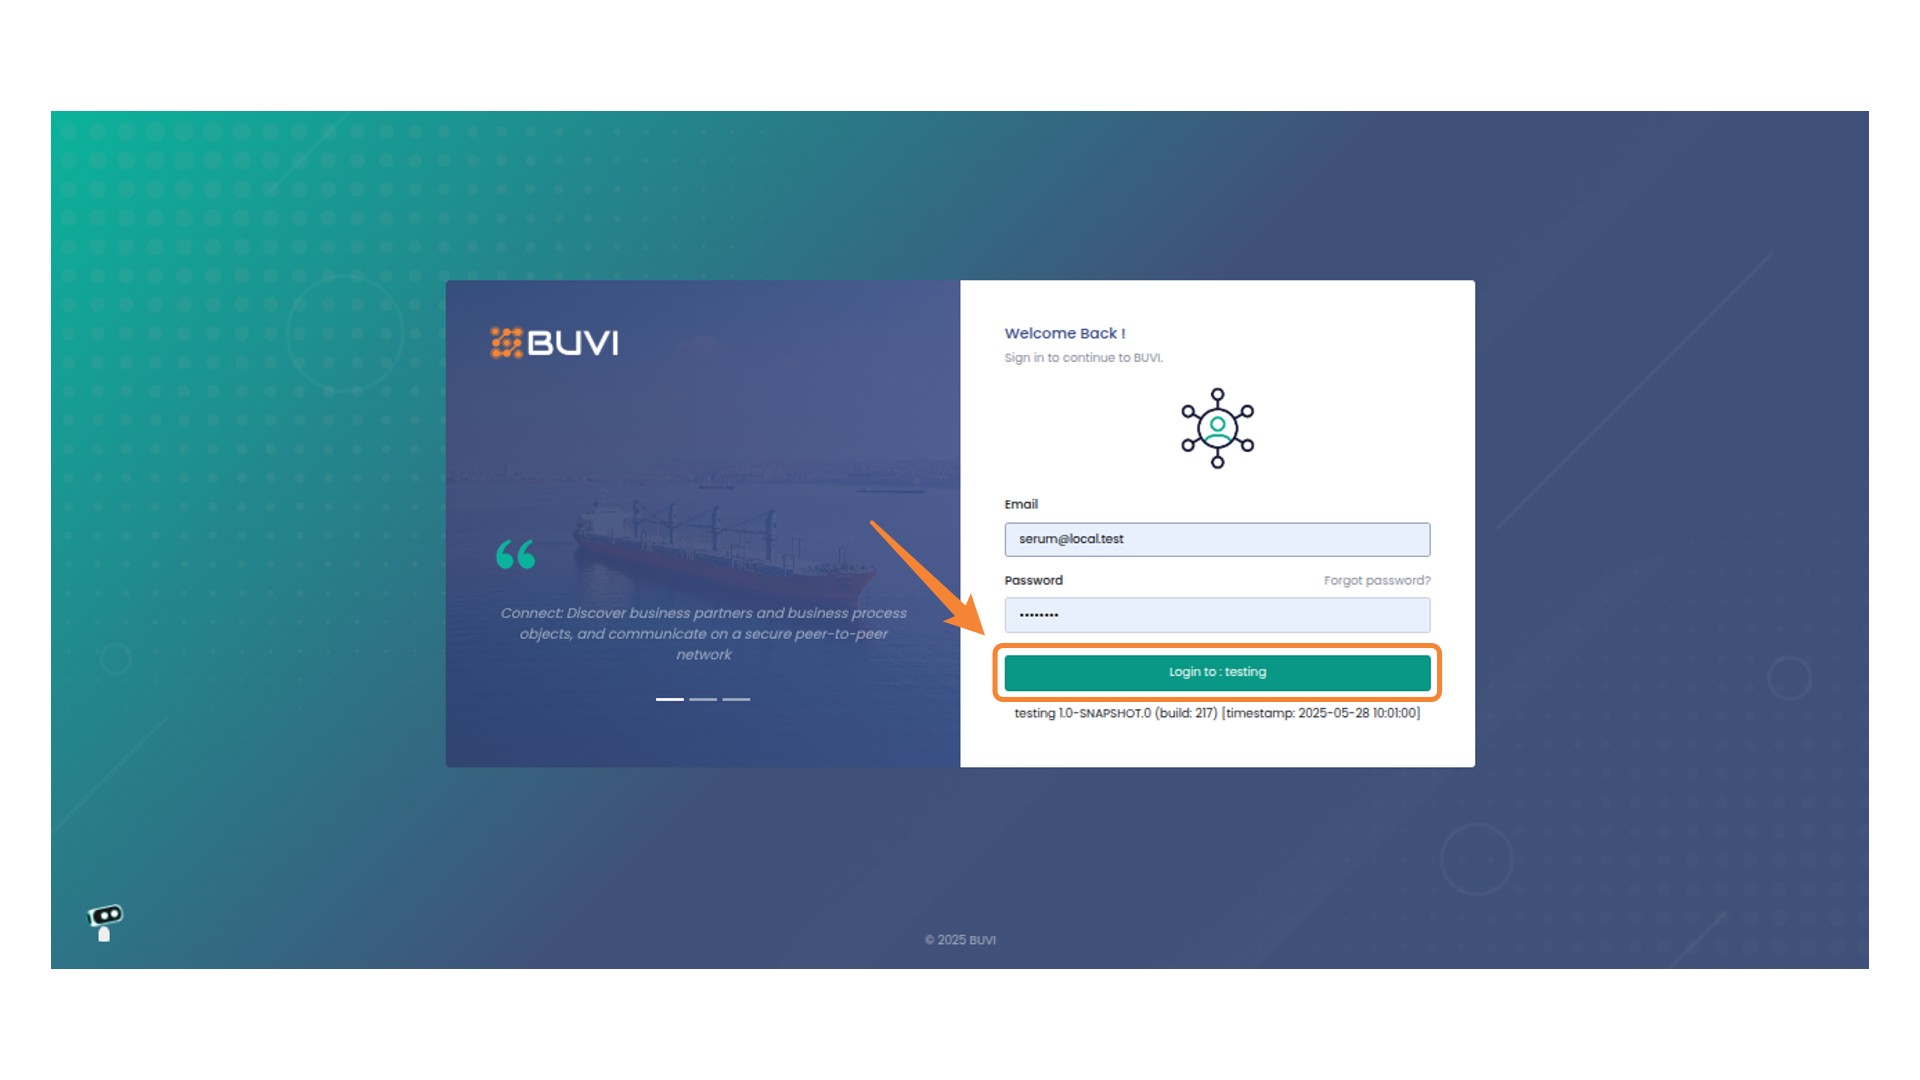
Login to the application
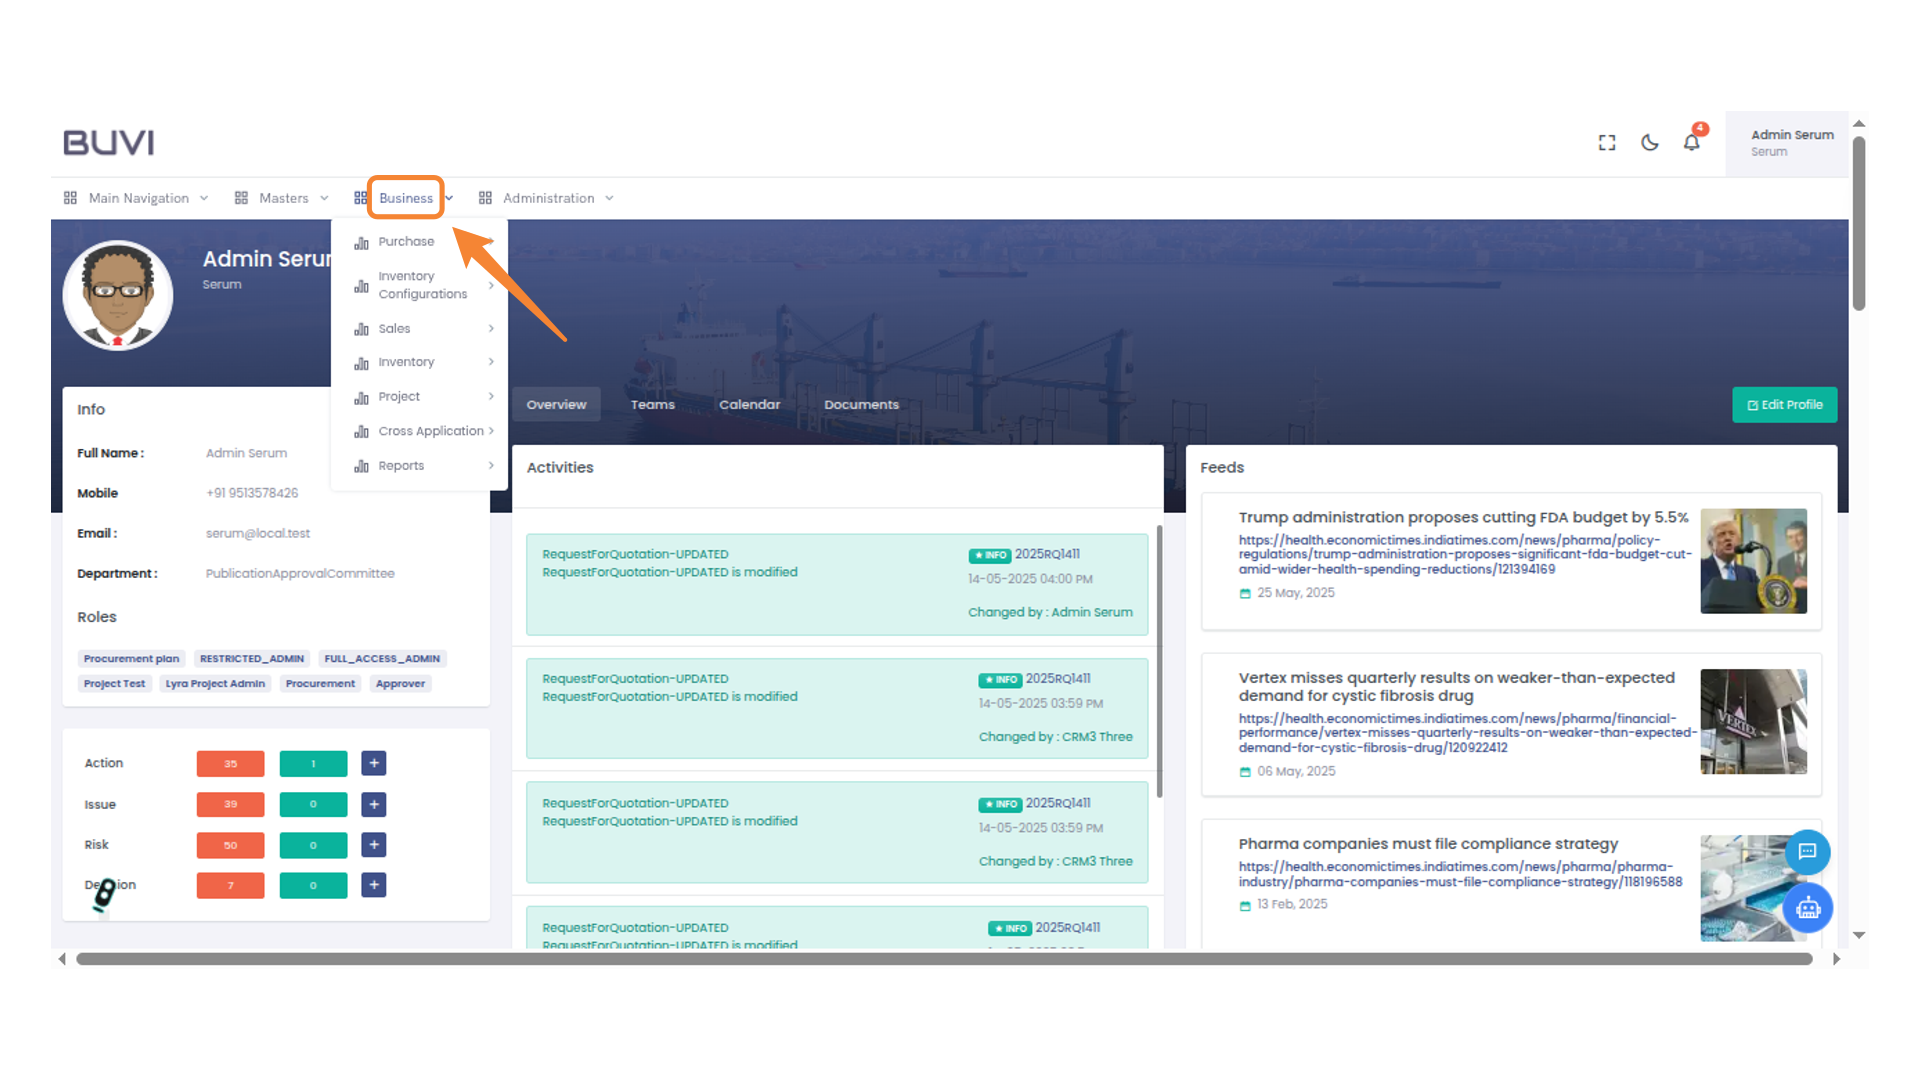
2. Access Business Menu
Click on 'Business' menu
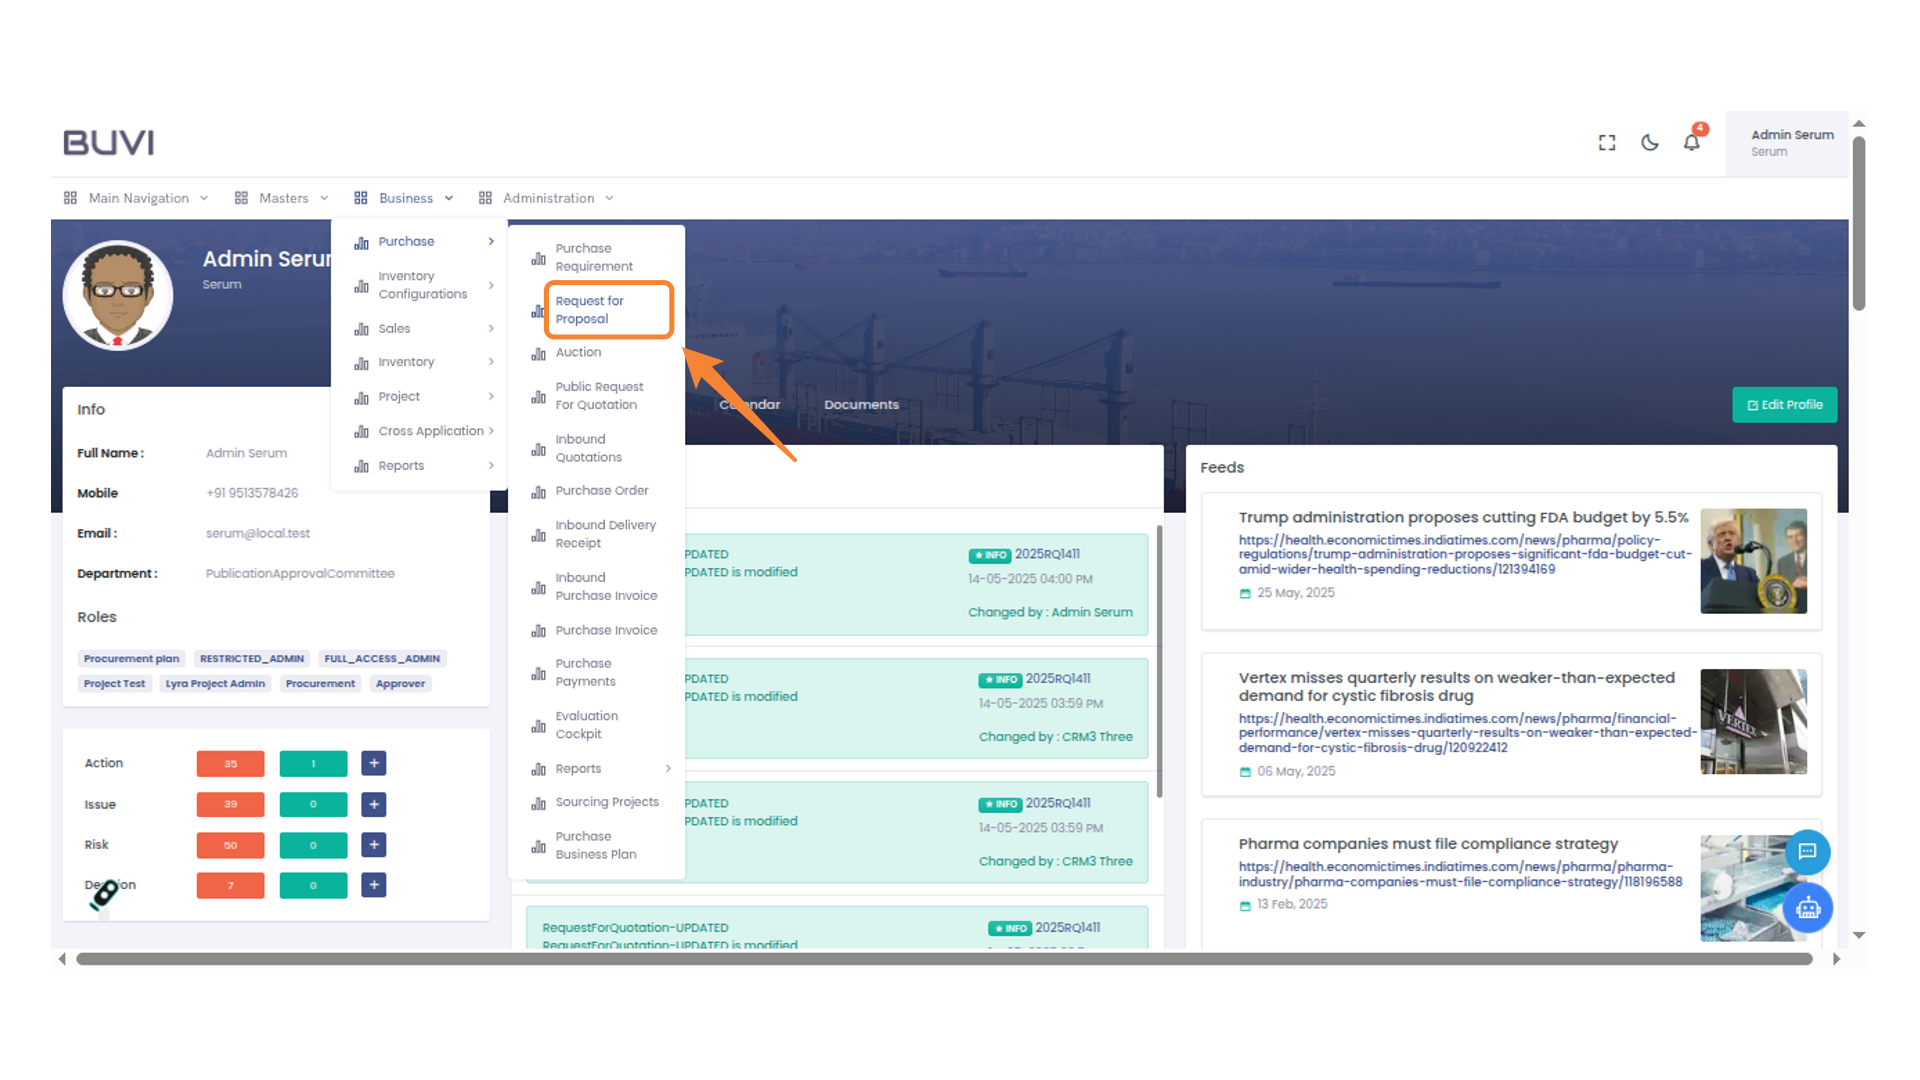
3. Initiate Request for Proposal
Select 'Request for Proposal' under the Purchase menu to begin the process.
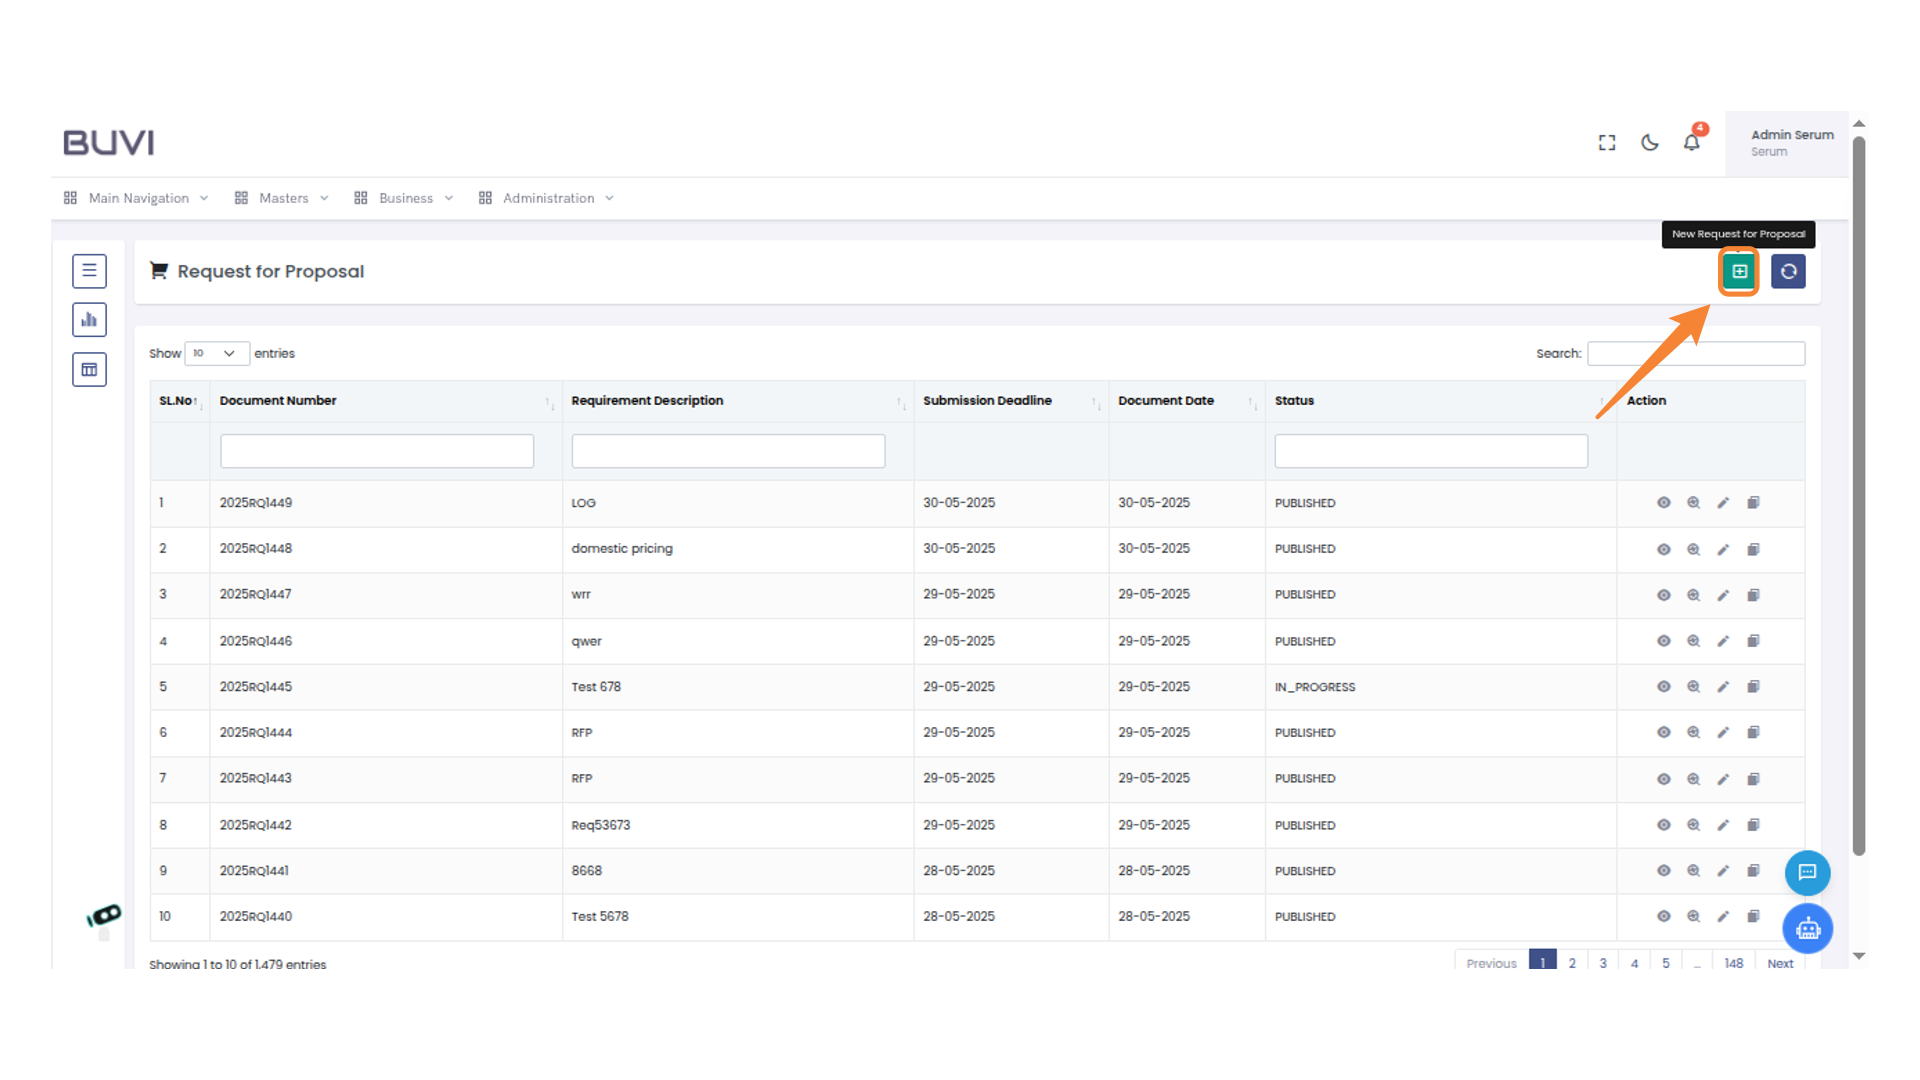
4. Create a New Request
Click the 'New Request for Proposal' button to initiate a new proposal submission.
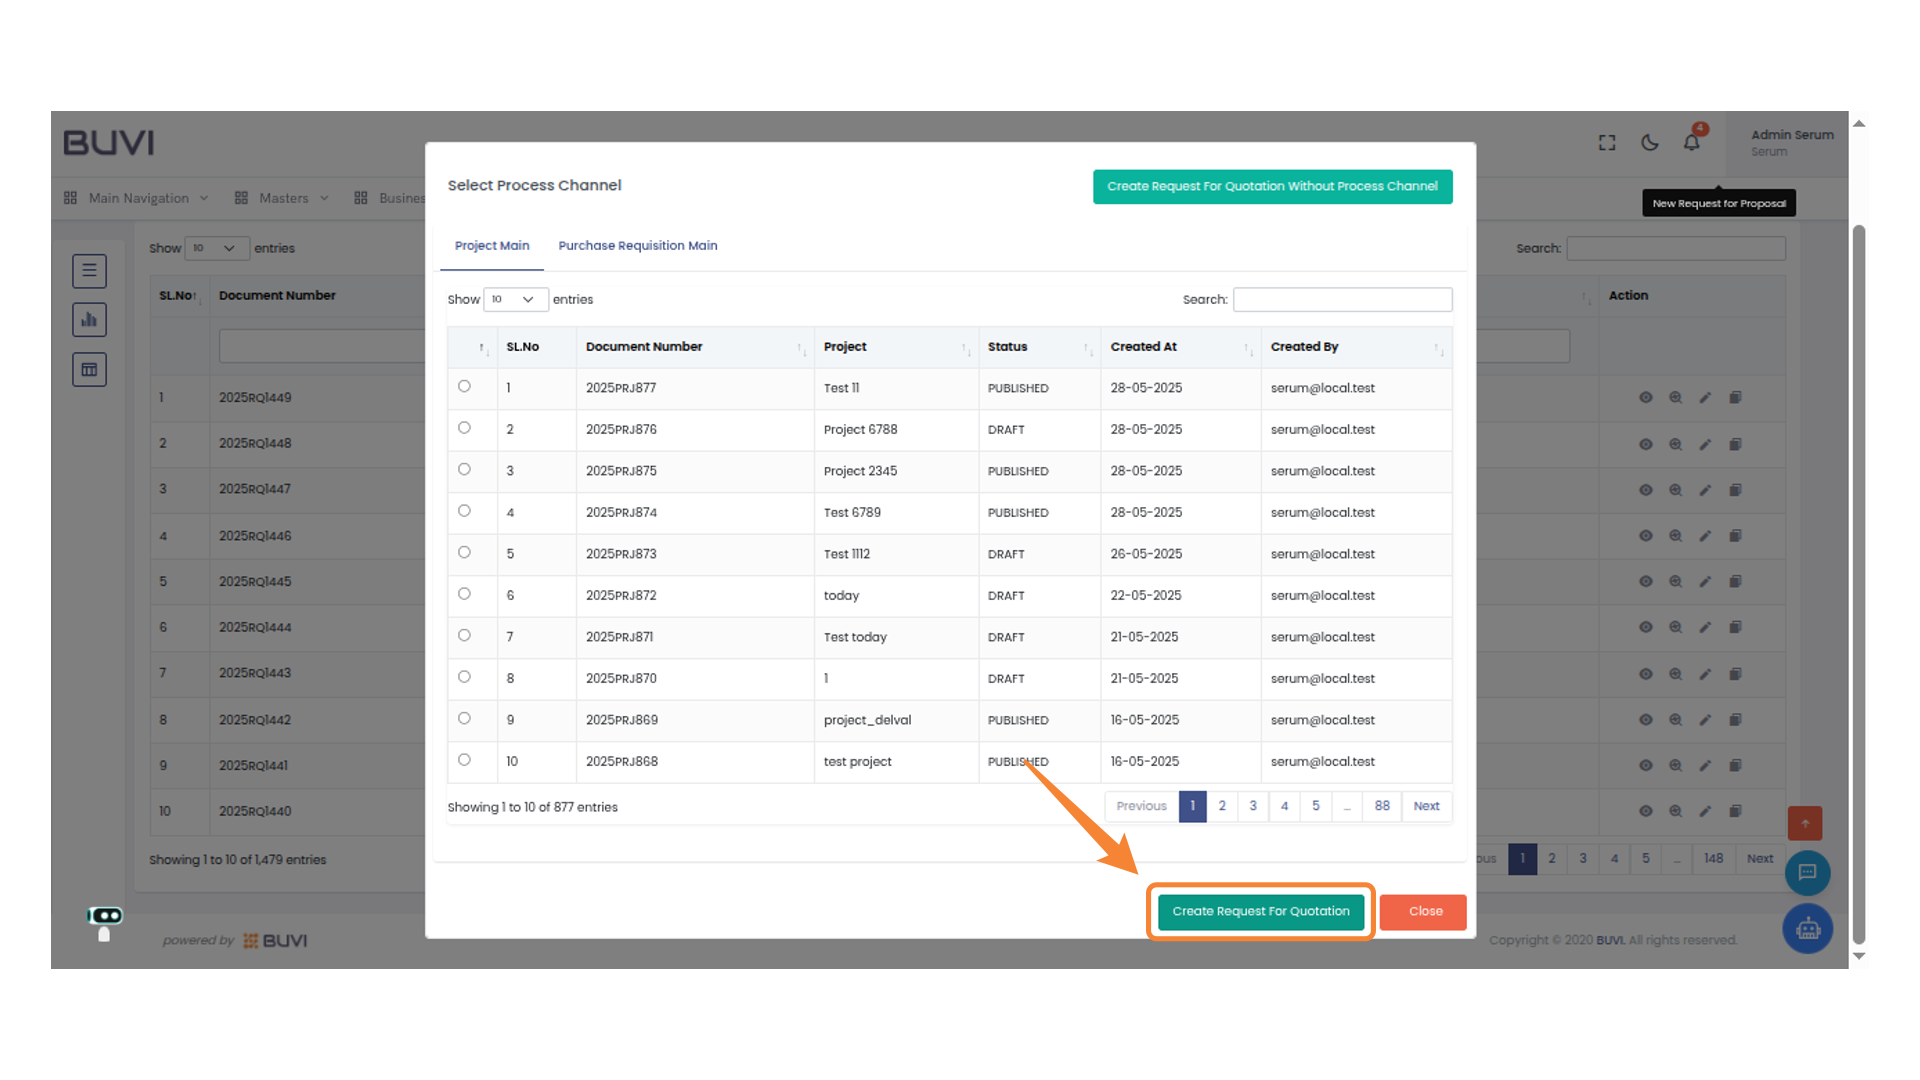
5. Initiate Quotation Request
Click the 'Create Request For Quotation' button to start the process.
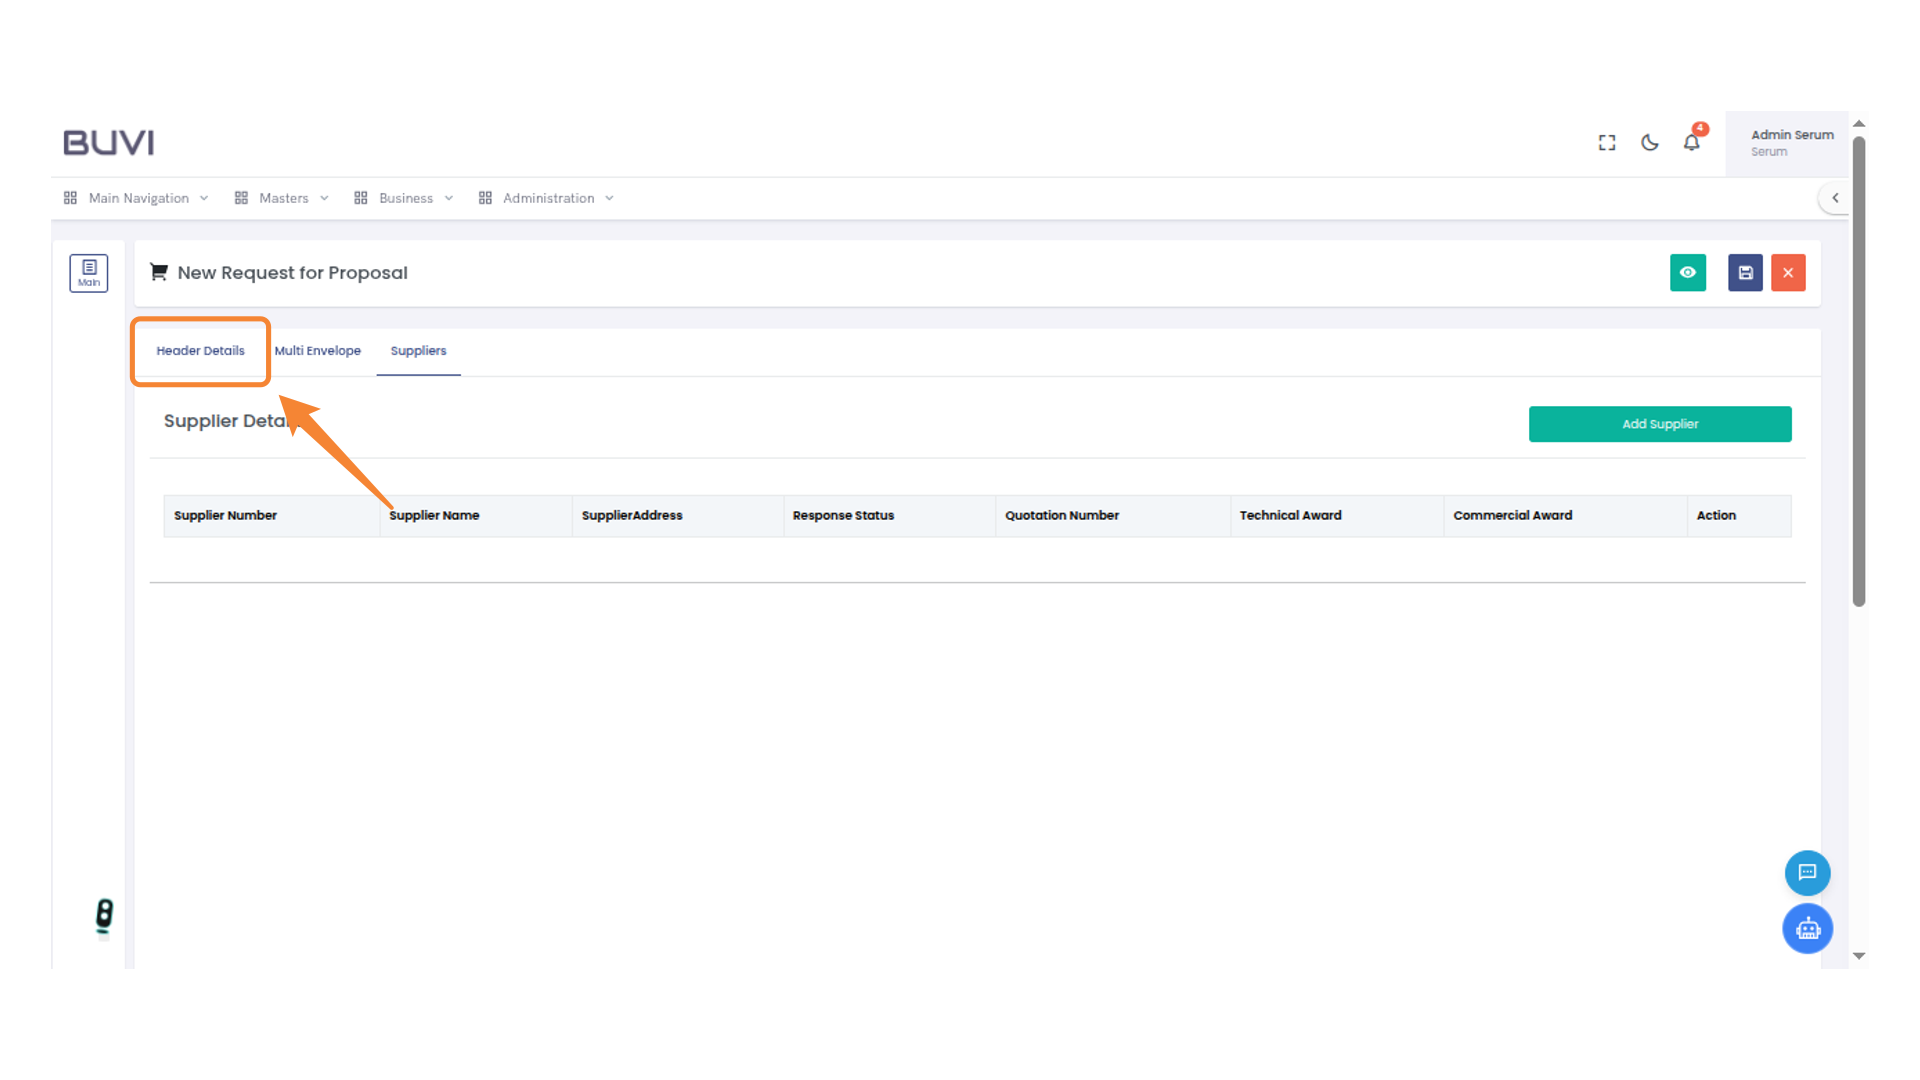
6. View Header Details
Select 'Header Details' to access the proposal header information.
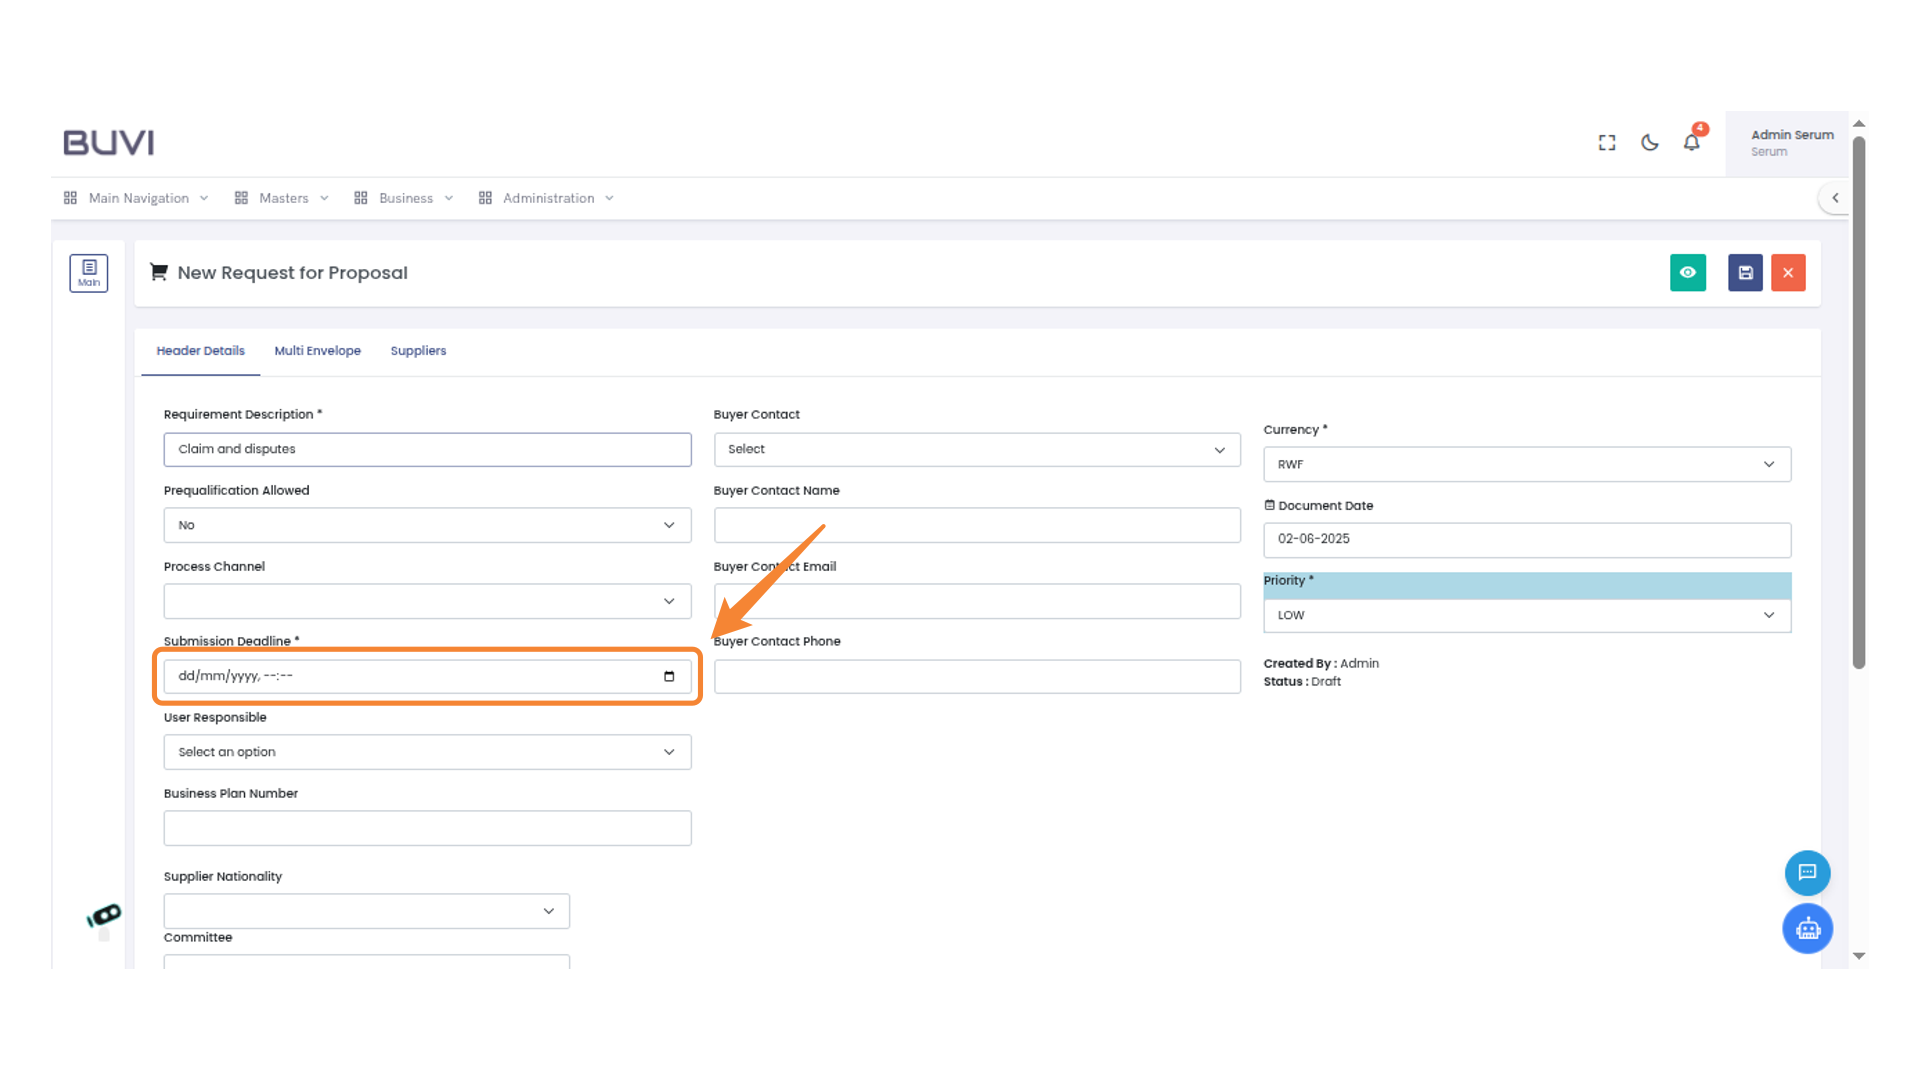
7. Specify Requirement Date
Enter the requirement description.
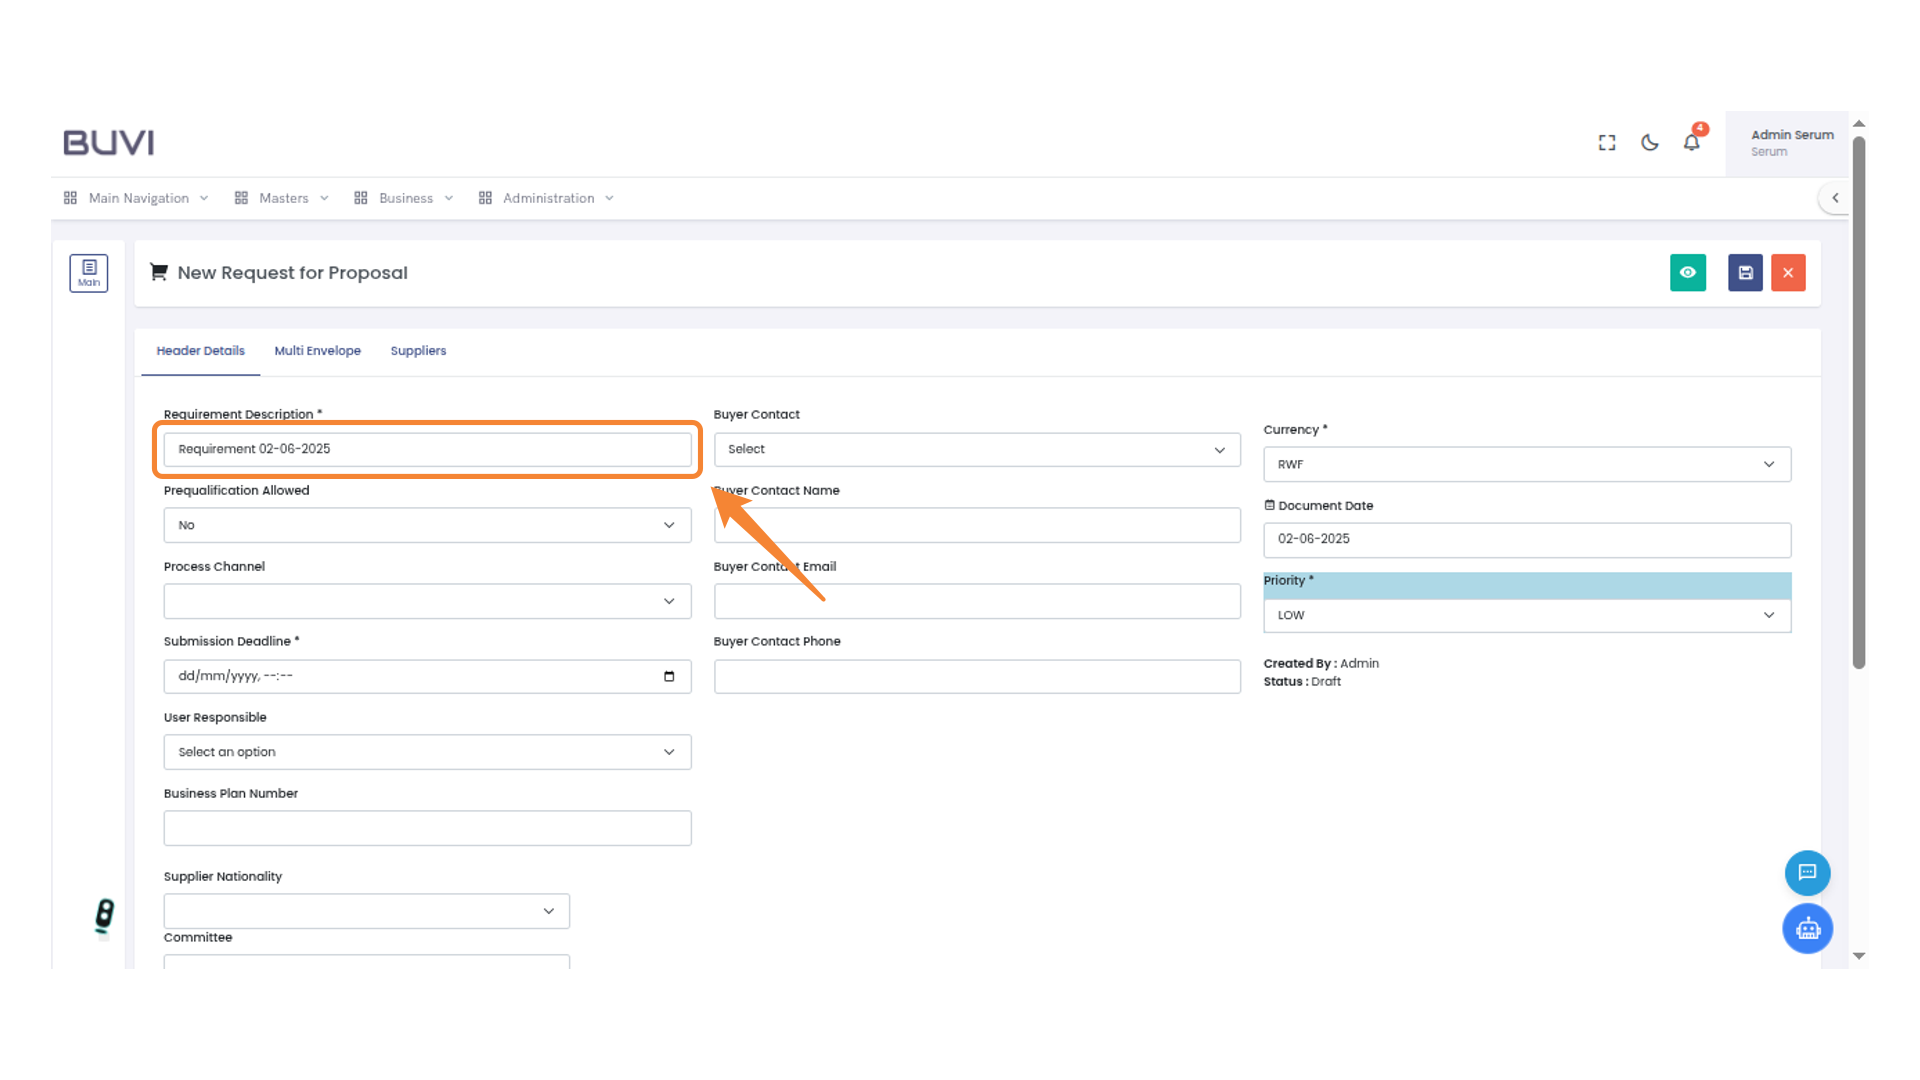
8. Set Submission Deadline
Enter the submission deadline date
9. Access Multi Envelope Tab
Select the 'Multi Envelope' tab to proceed with additional proposal details and settings.
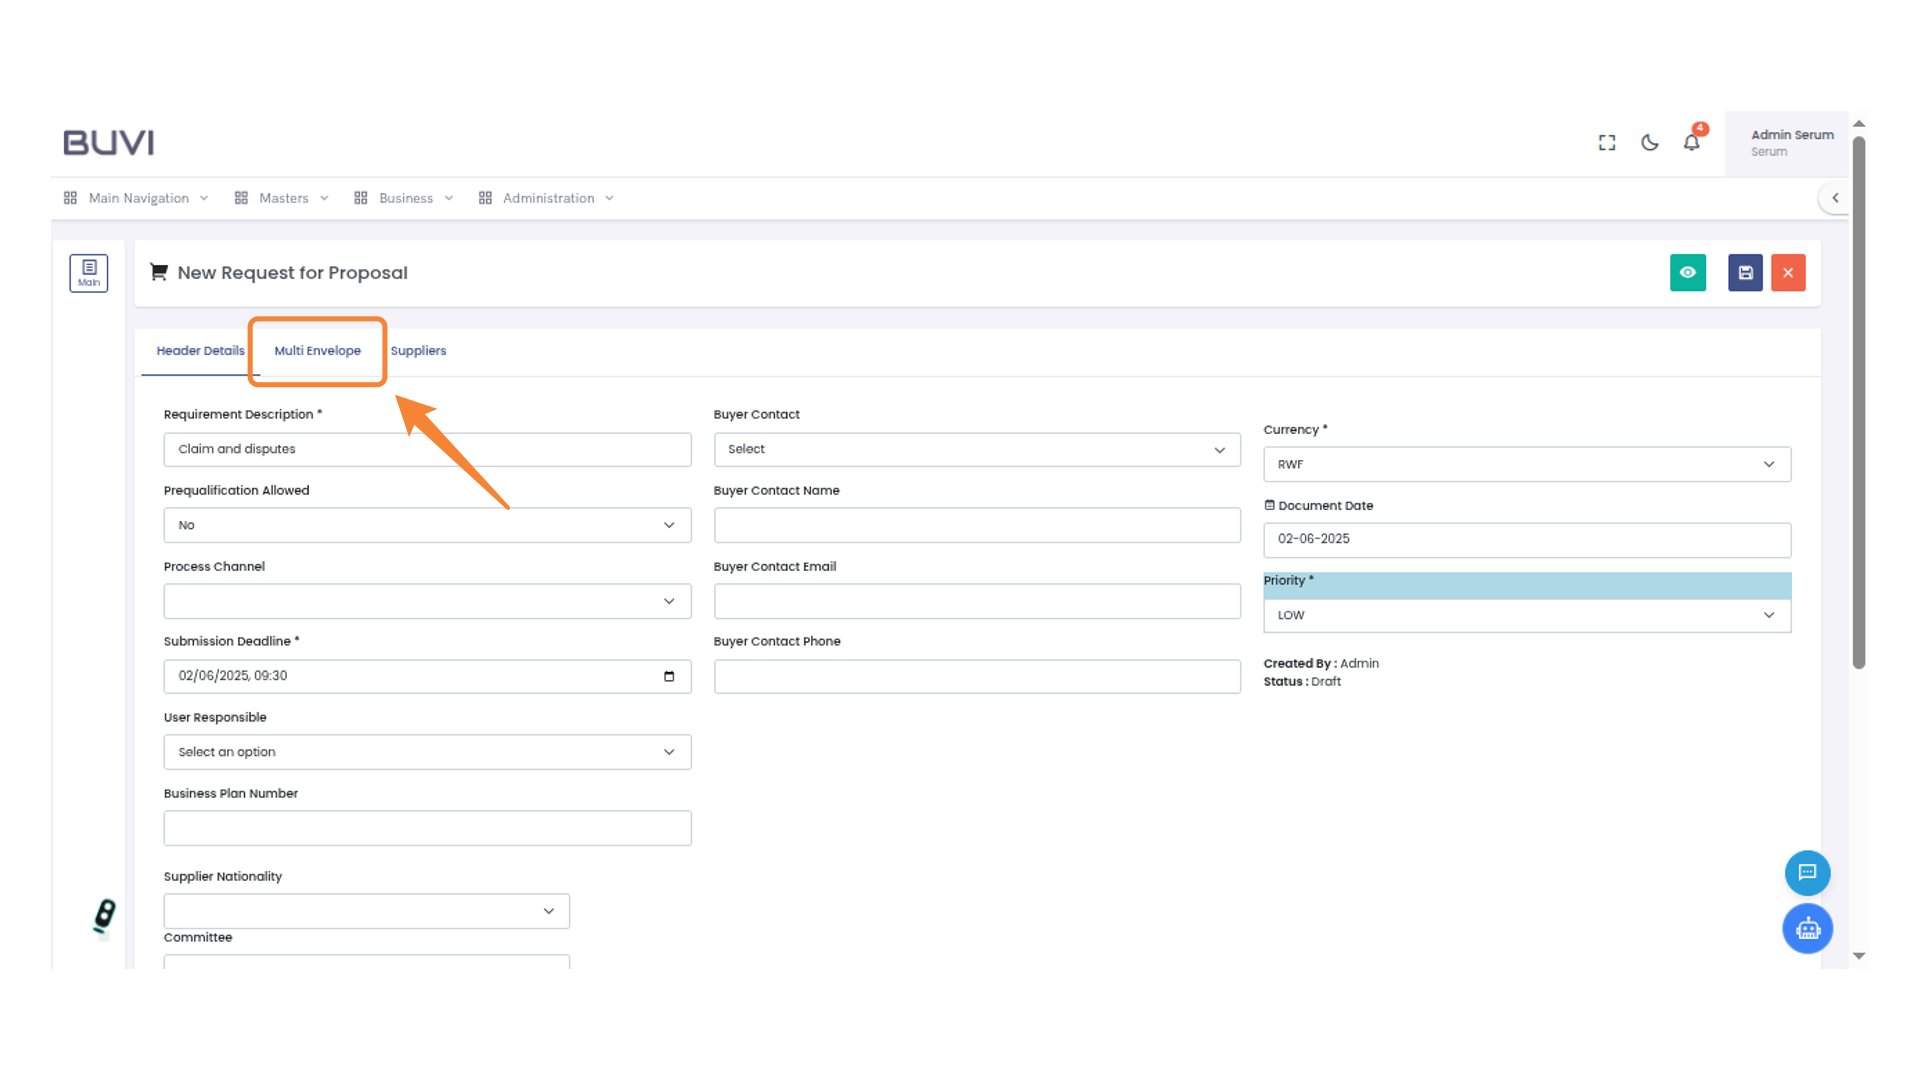
10. Select Bid Type
Choose an option from the drop-down menu to specify the bid type.

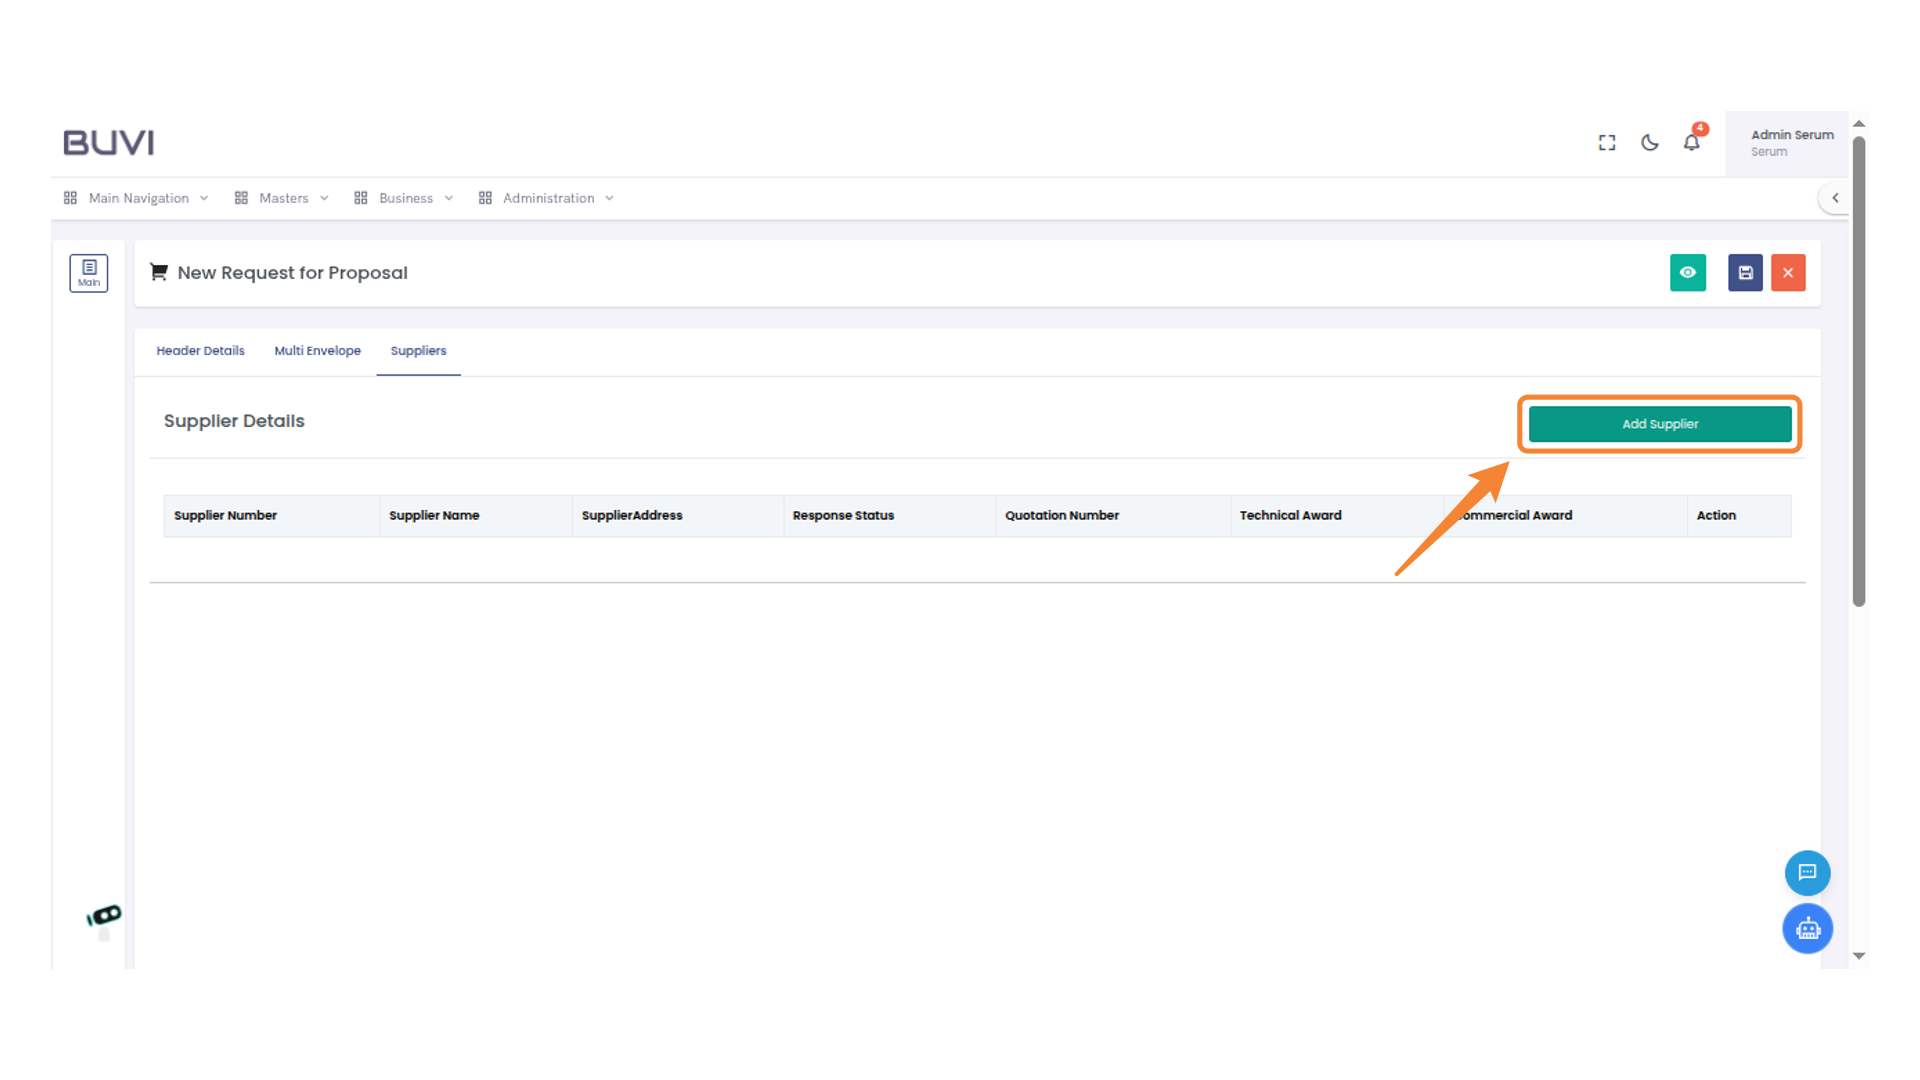
11. Access Suppliers Tab
Select the 'Suppliers' tab to manage supplier information for the proposal.

12. Add a New Supplier
Click the 'Add Supplier' button to initiate adding a new supplier to the list.
13. Select Supplier Checkbox
Click the checkbox to select the supplier from the list.
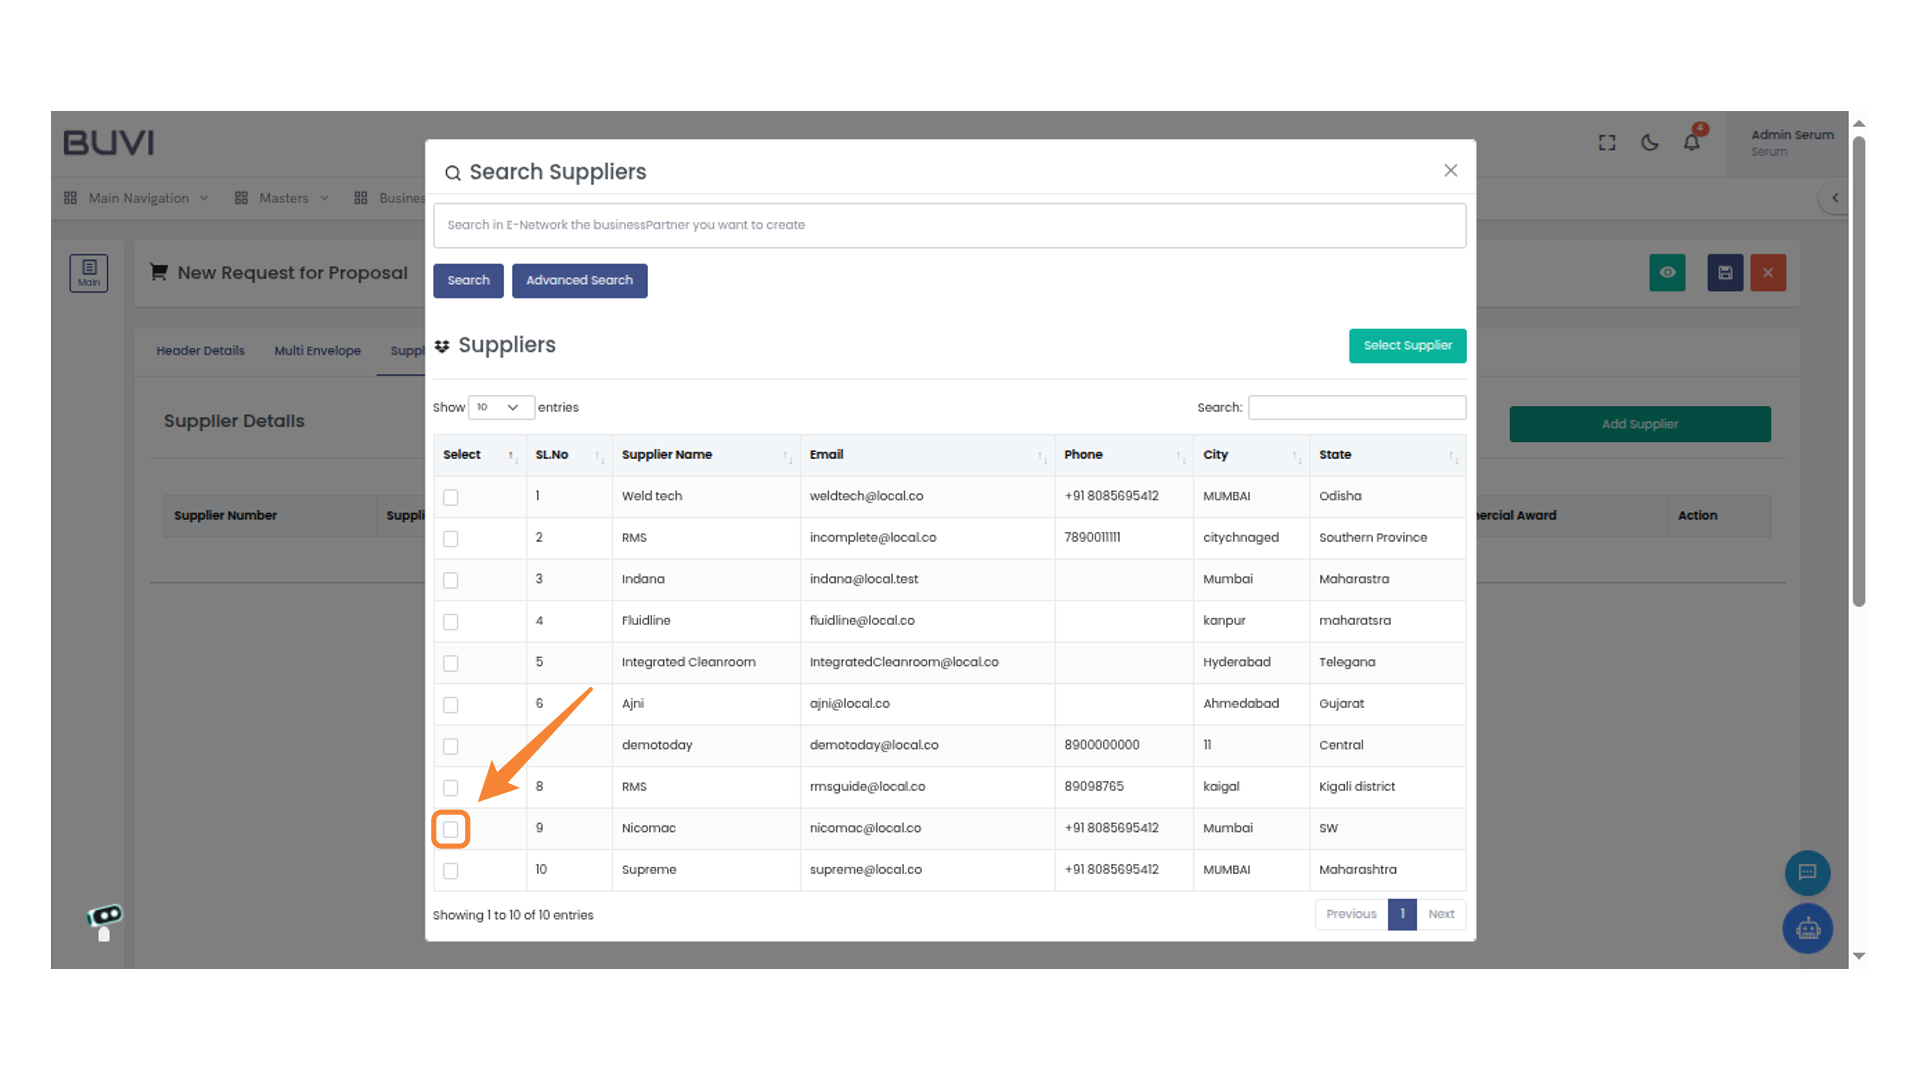
14. Select a Supplier
Click the 'Select Supplier' button to proceed with the chosen supplier.

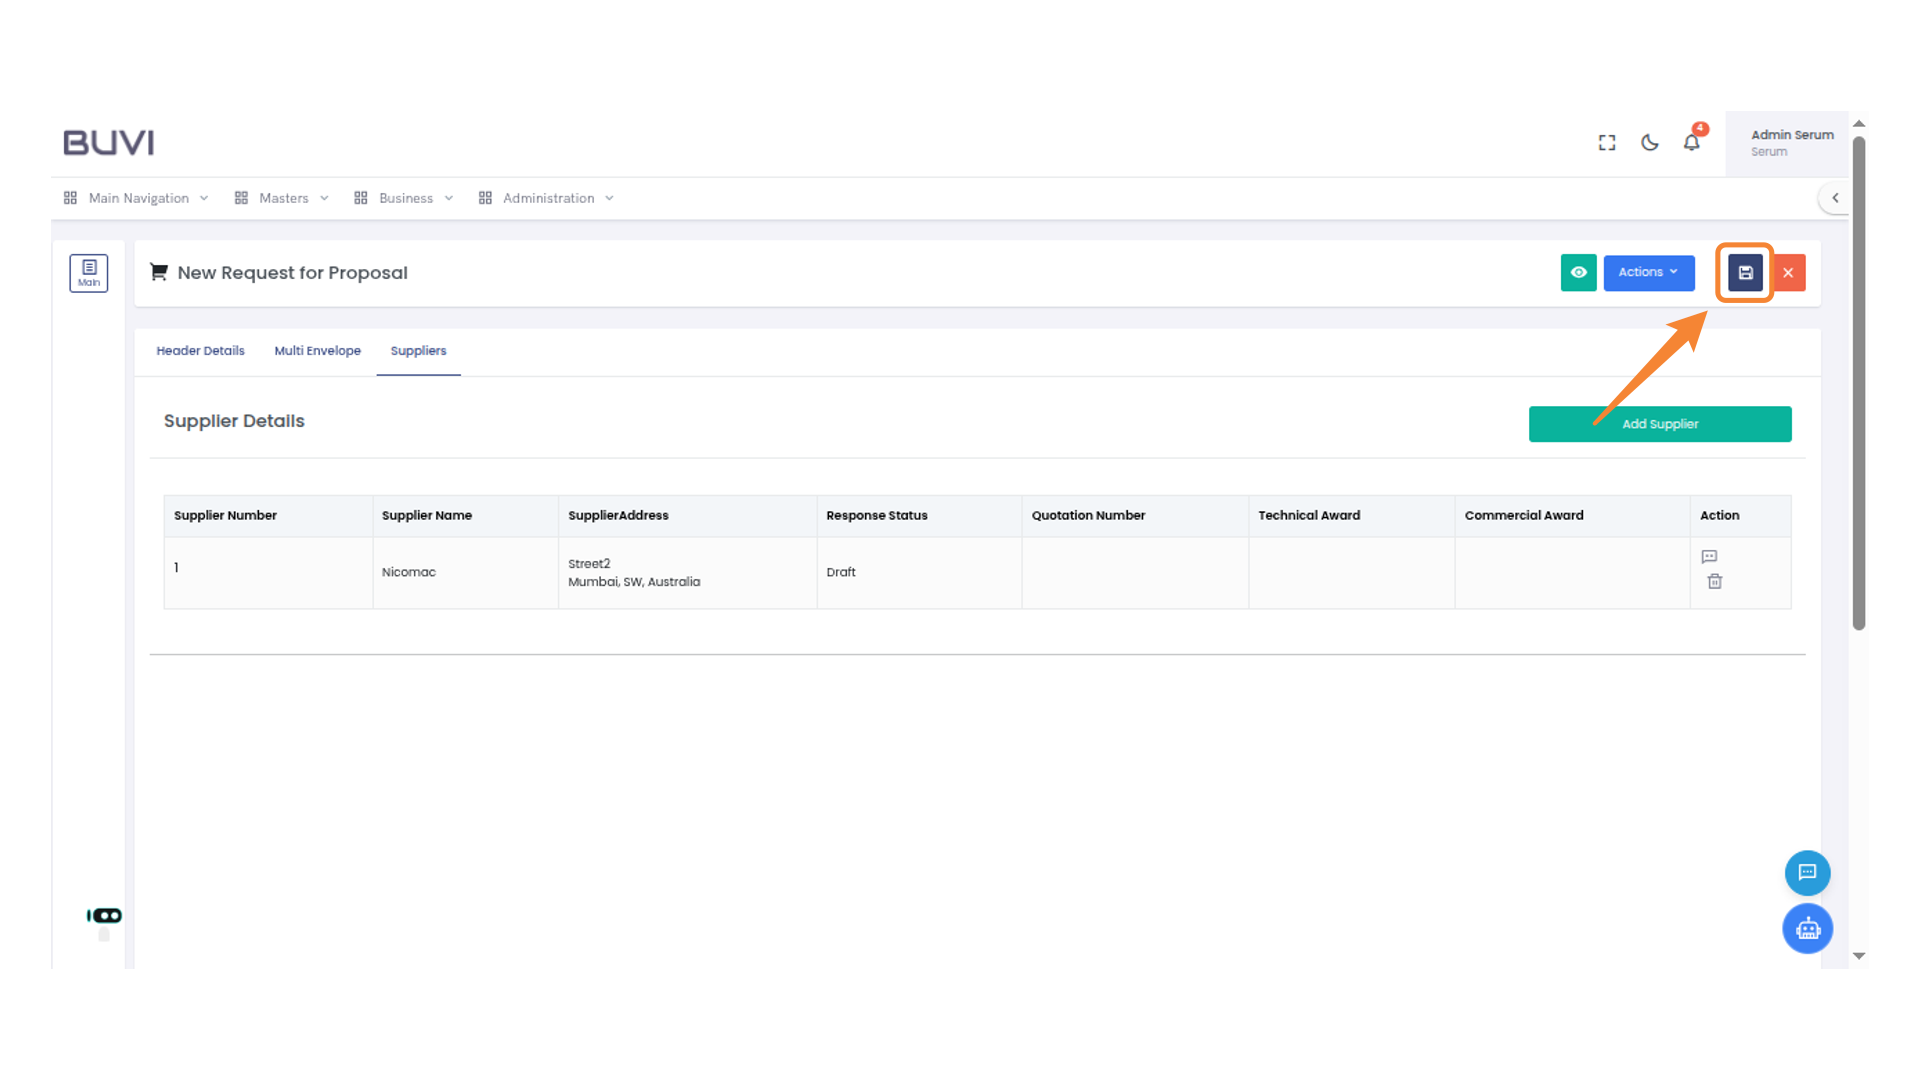
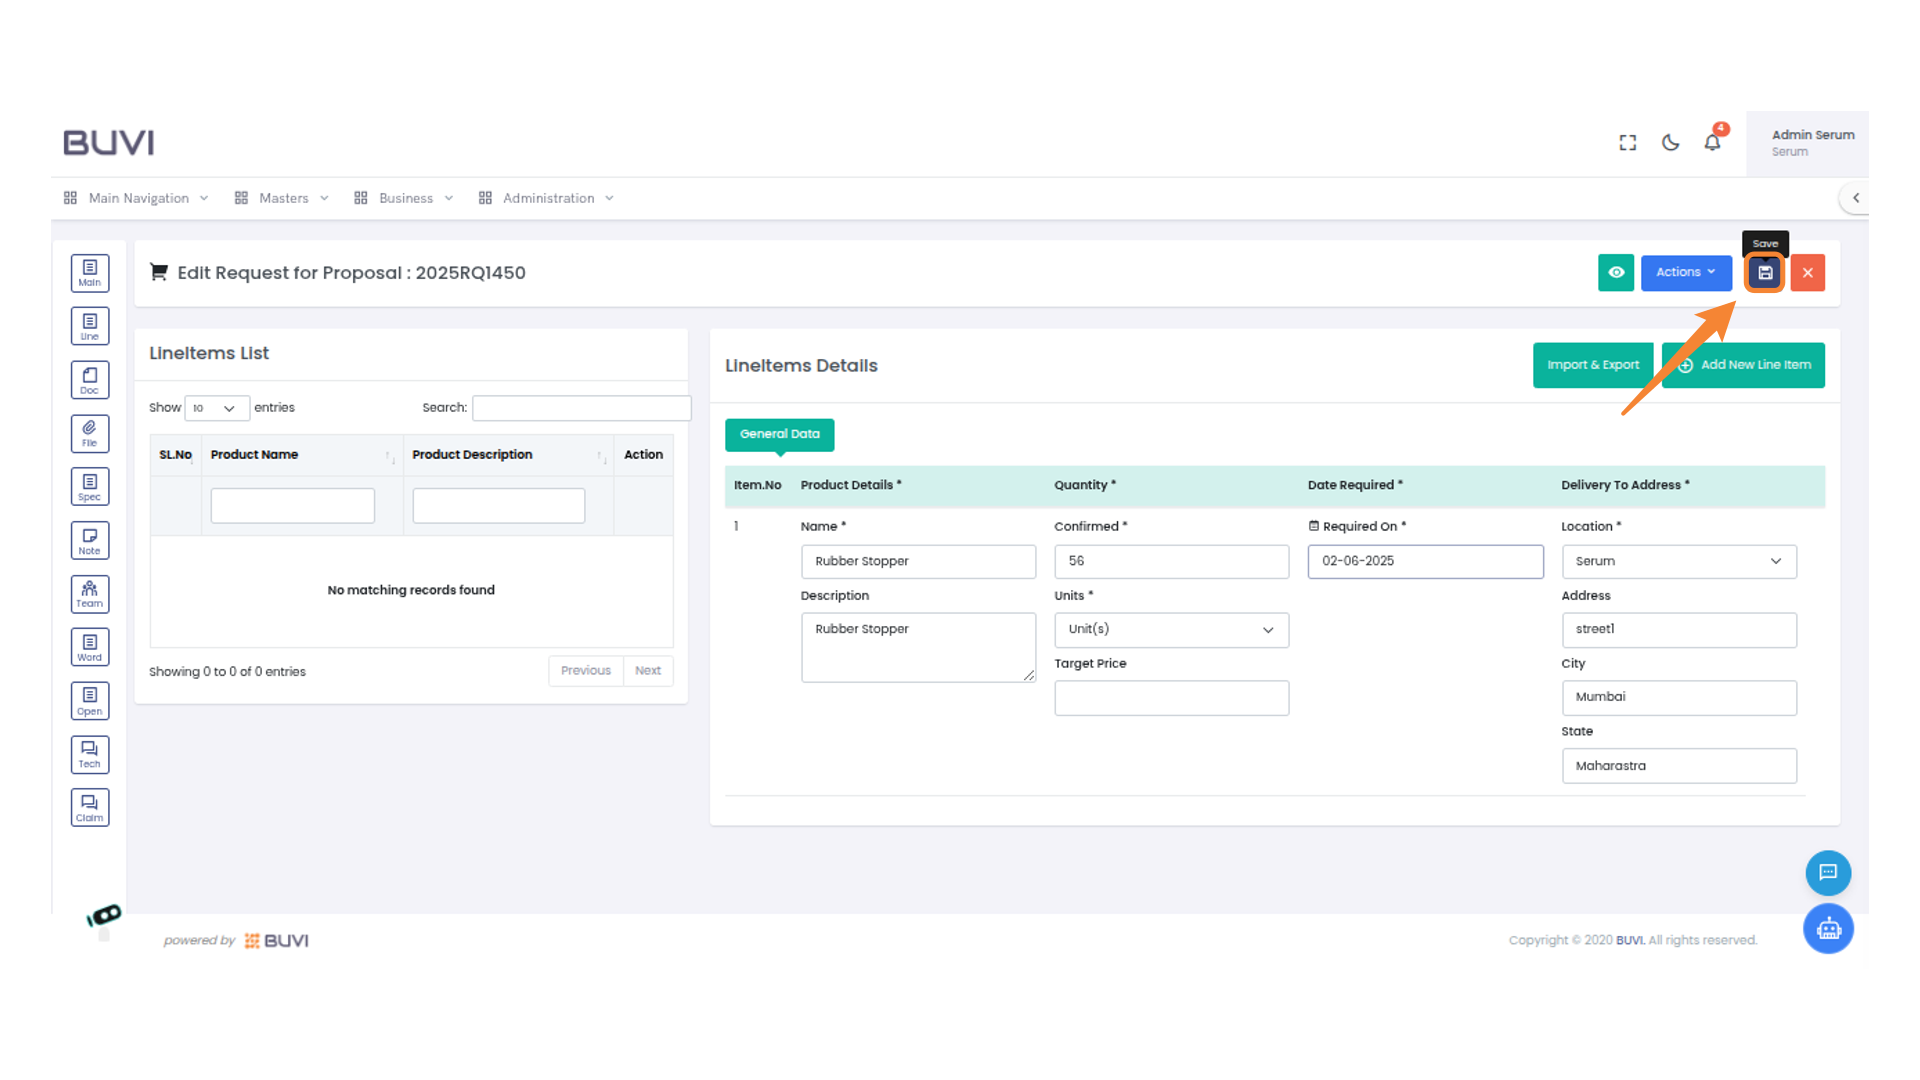
15. Save Current Progress
Click the icon to save your current progress in the request for proposal.
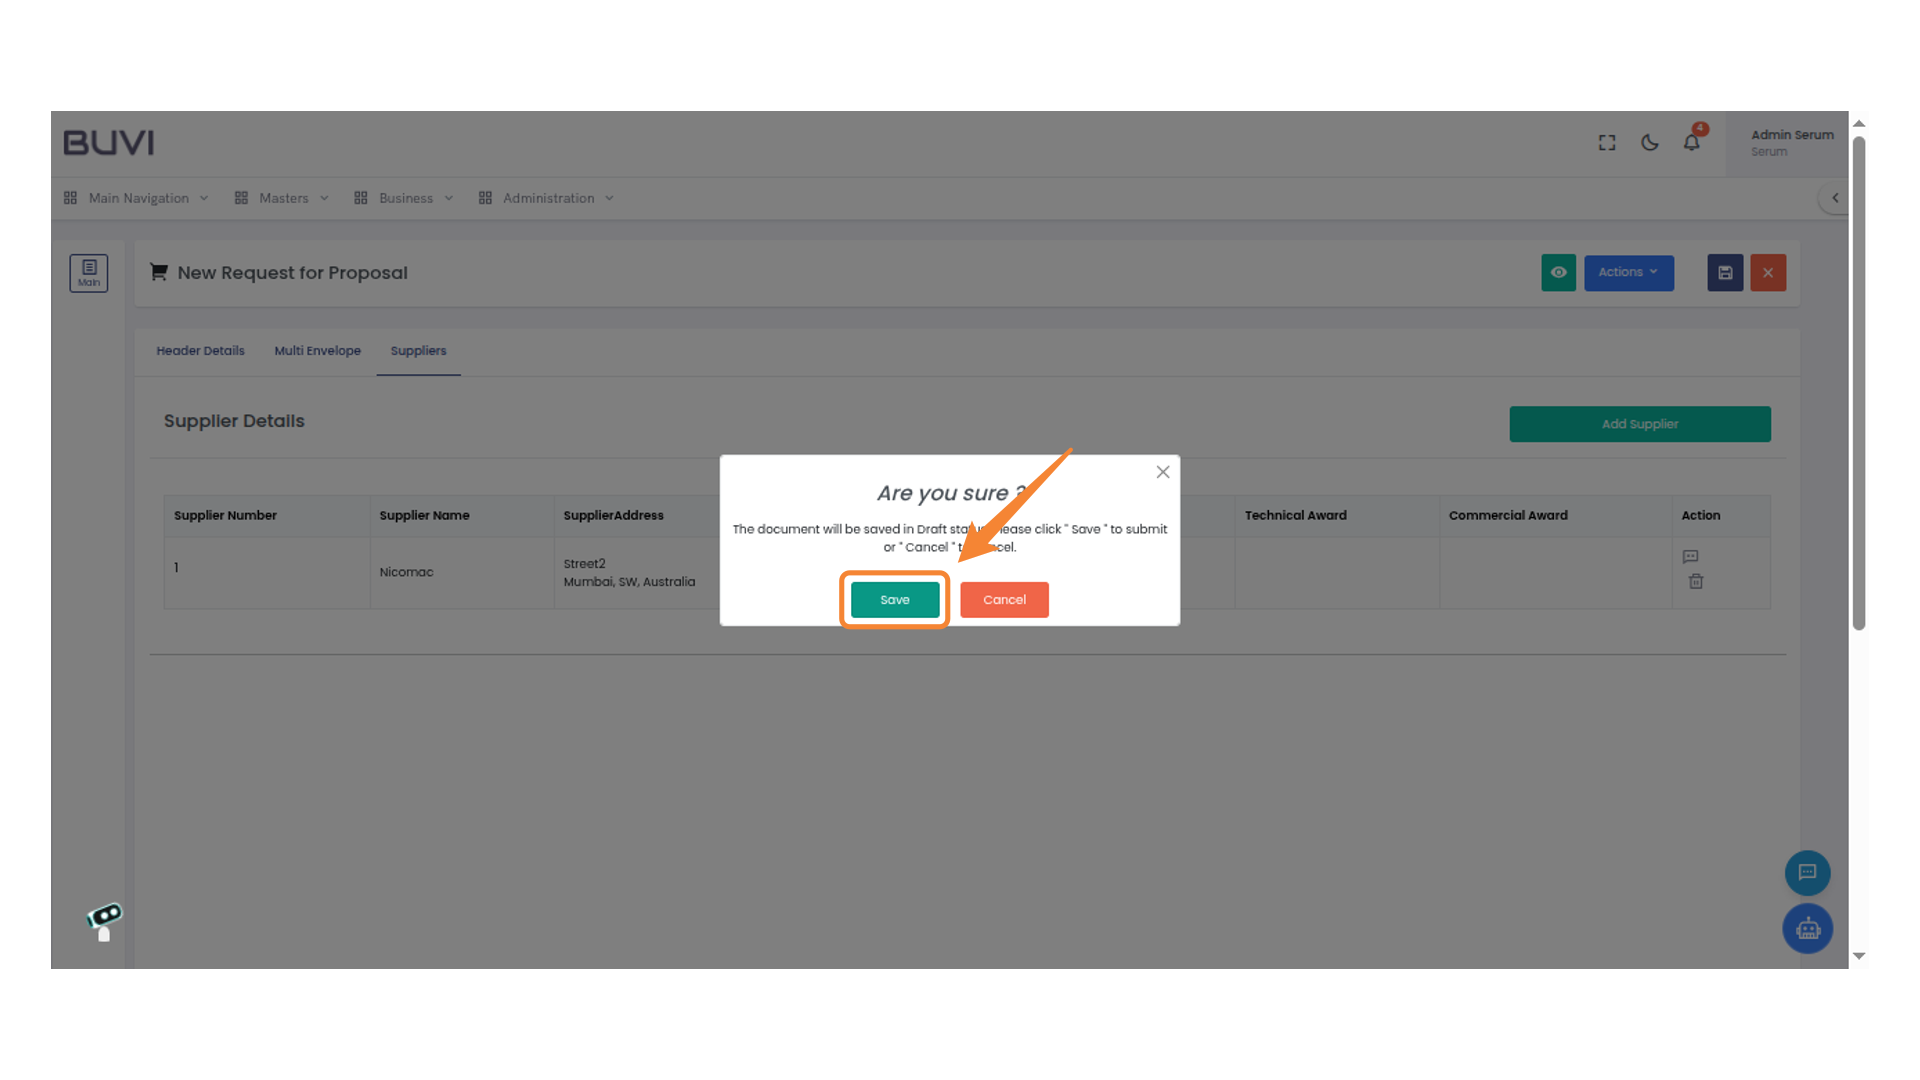
16. Confirm Save Action
Click 'Save' to submit the document in Draft status or select 'Cancel' to abort the operation.
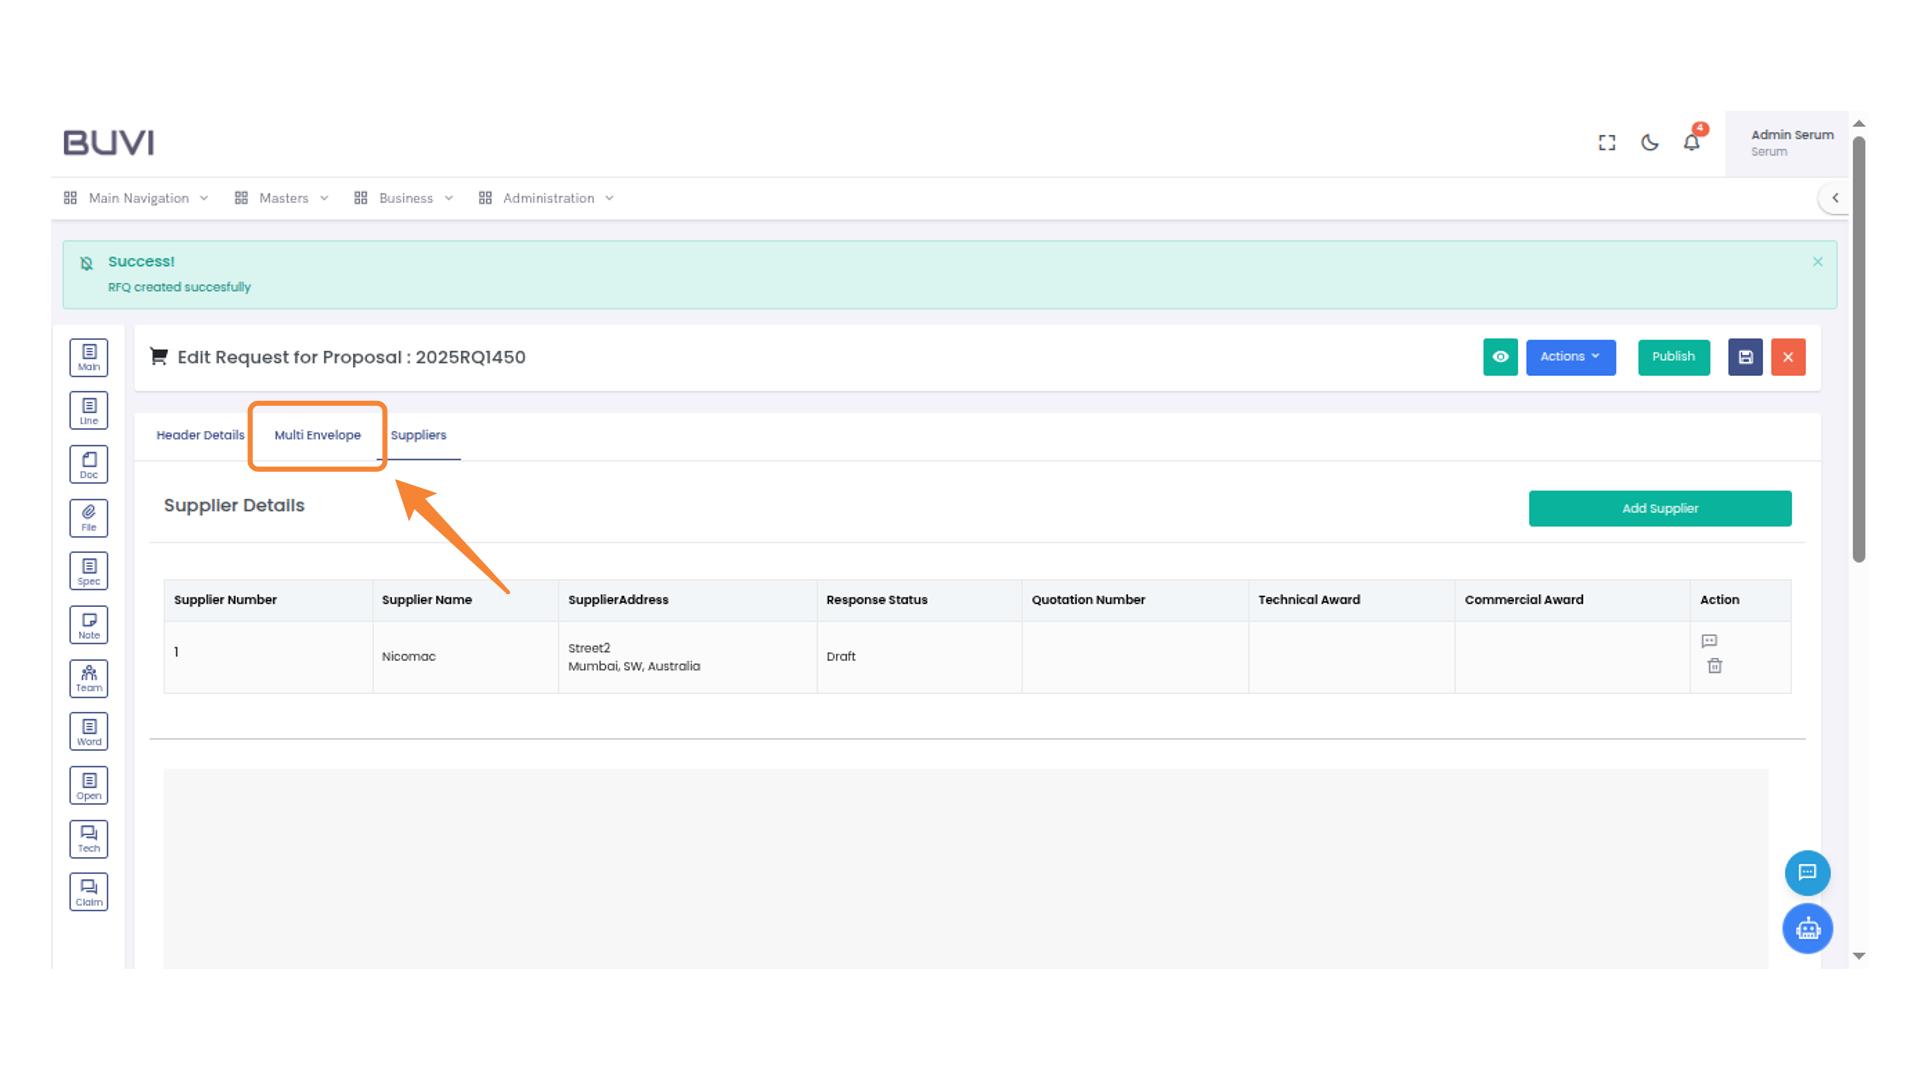
17. Select Multi Envelope Tab
Select the Multi Envelope tab to access related options and settings for your proposal request.
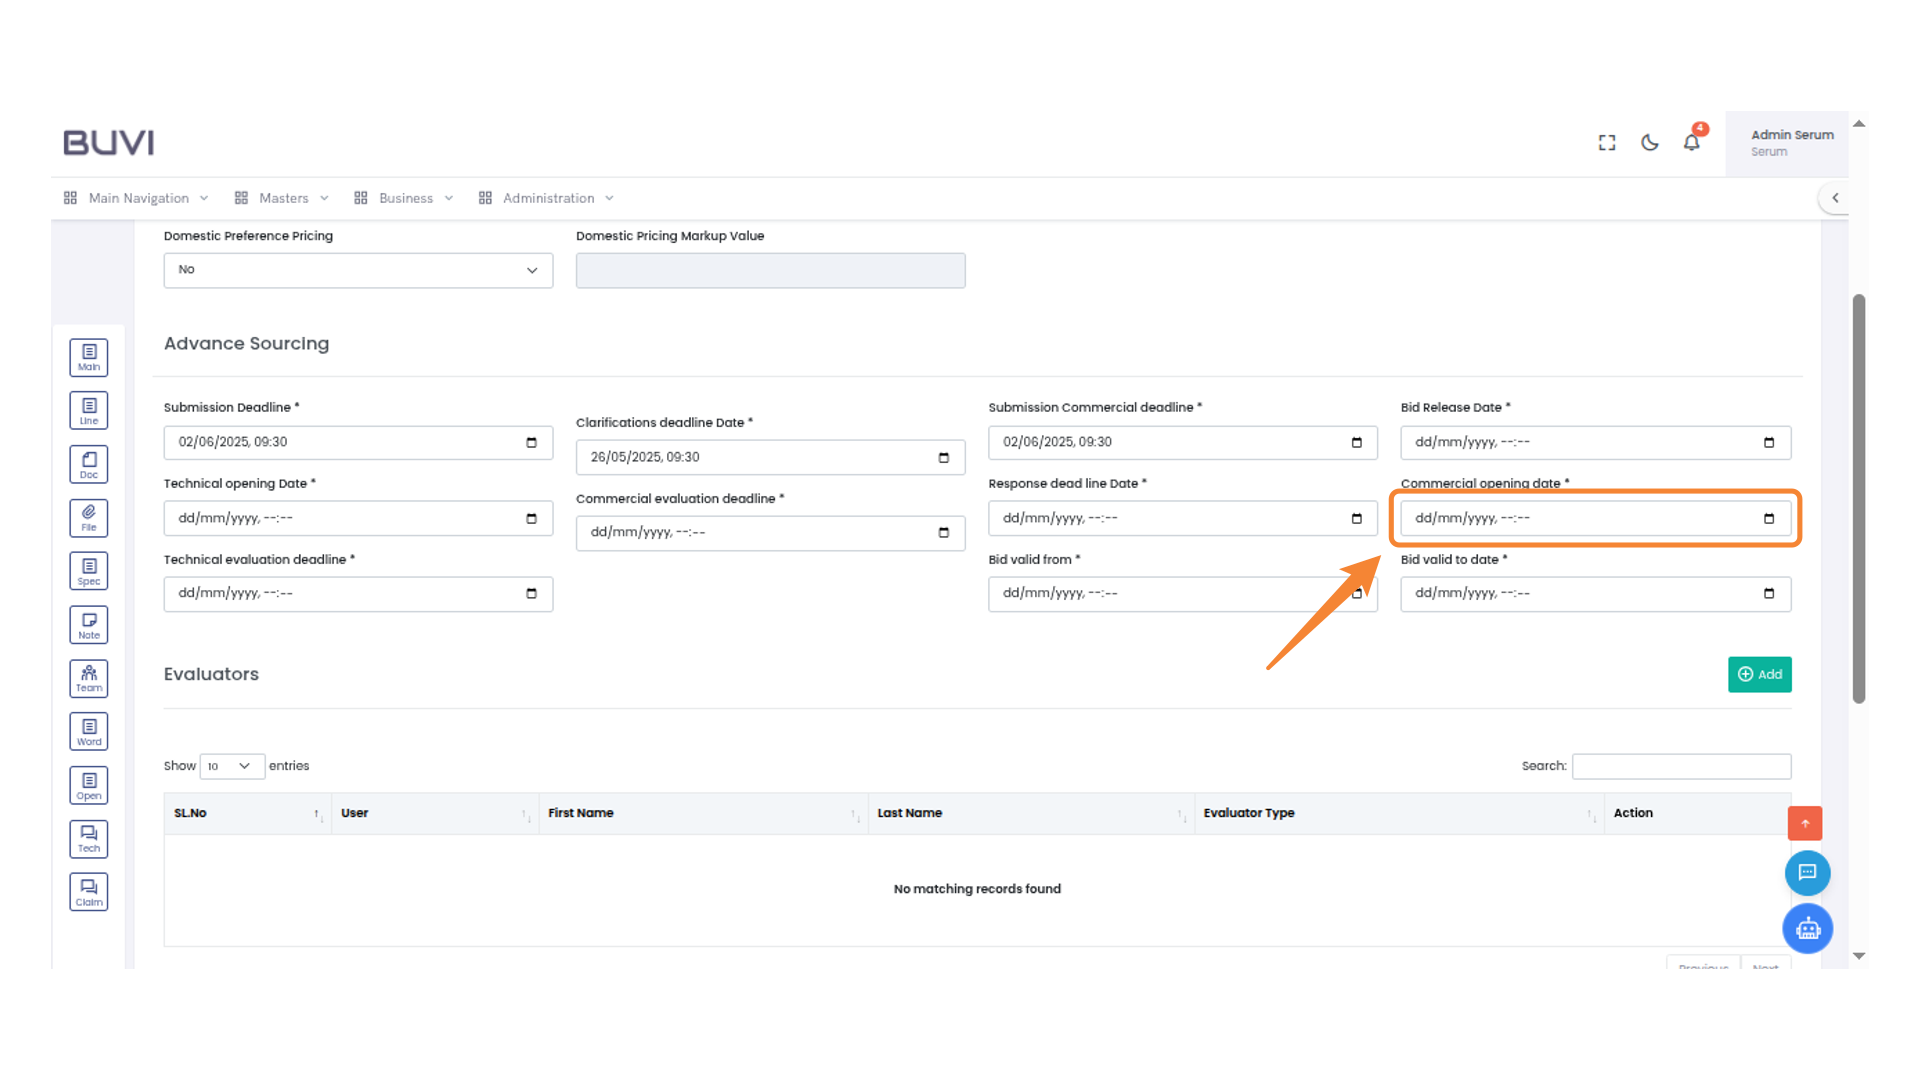
18. Set Commercial Opening Date
Enter the commercial opening date using the calendar picker to schedule when evaluations can begin.
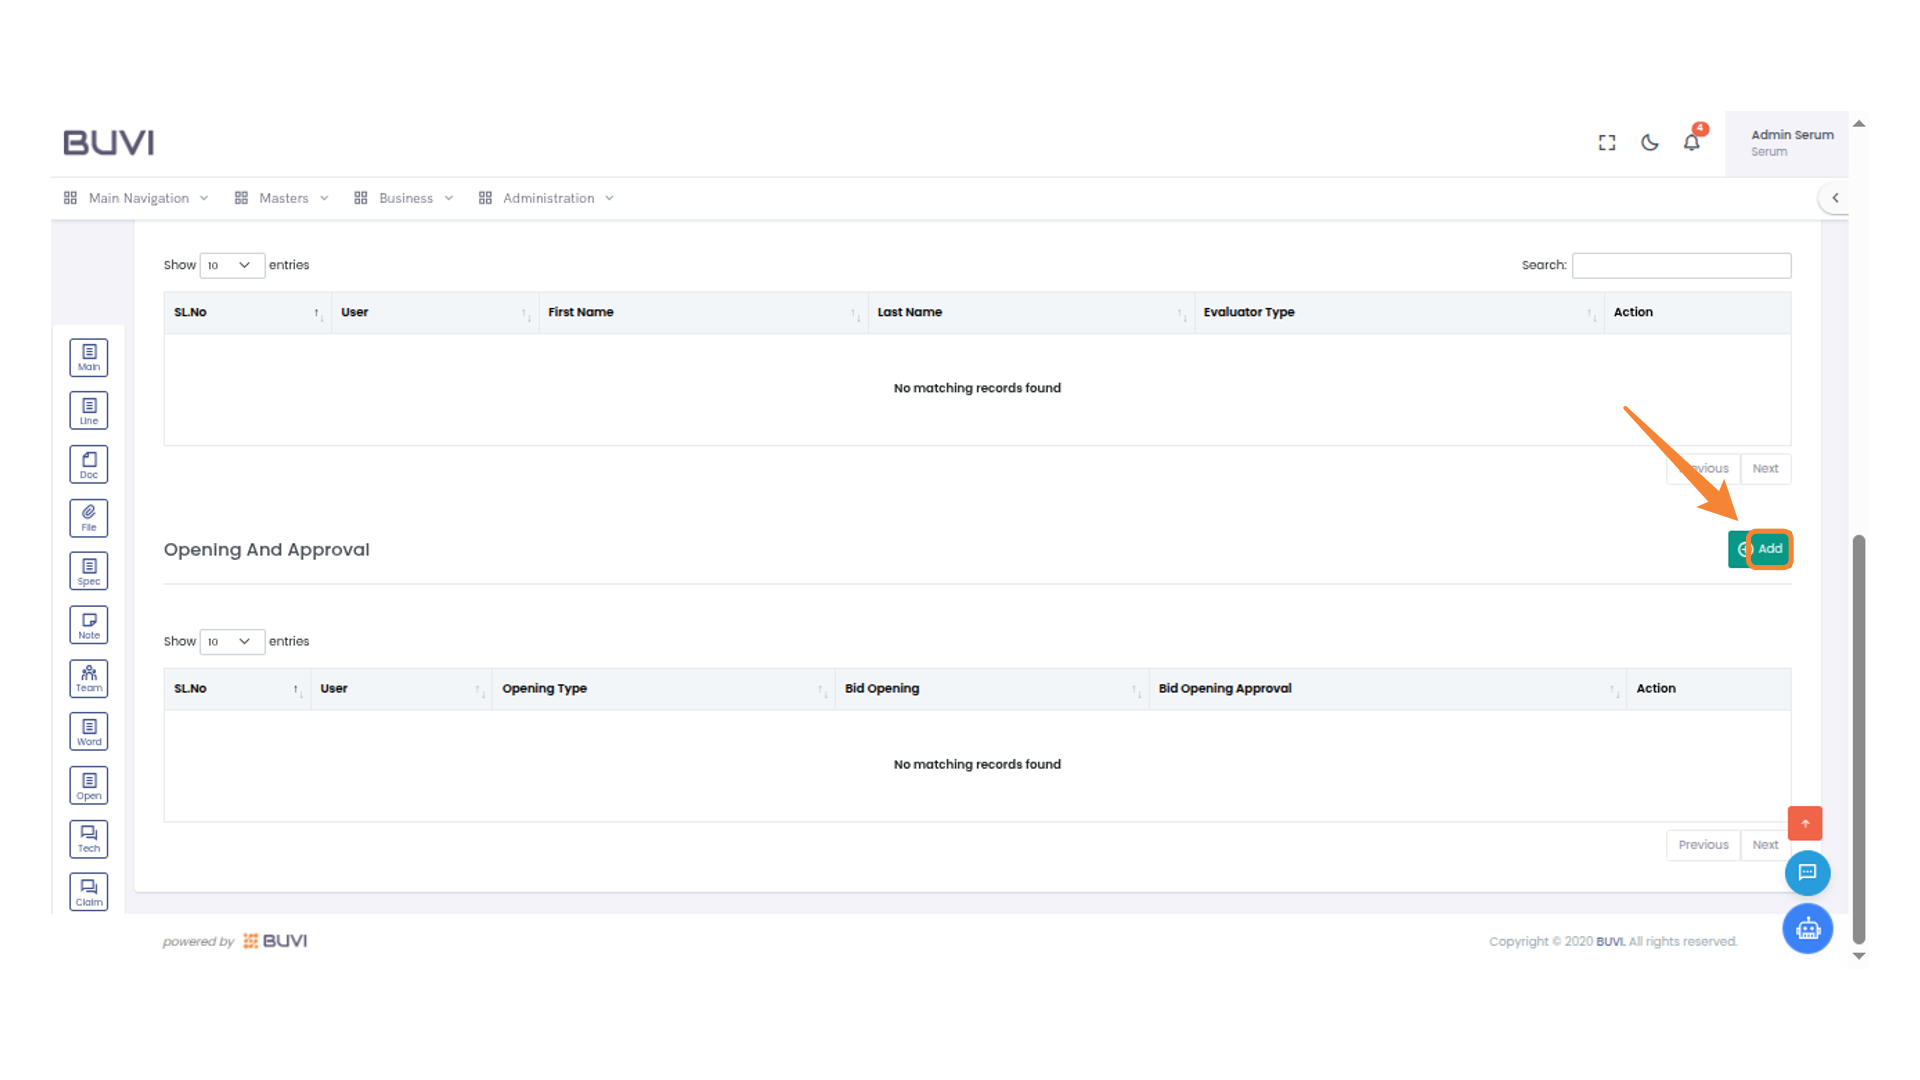
19. Click to Add Entry
Click the 'Add' button to create a new entry in the system.
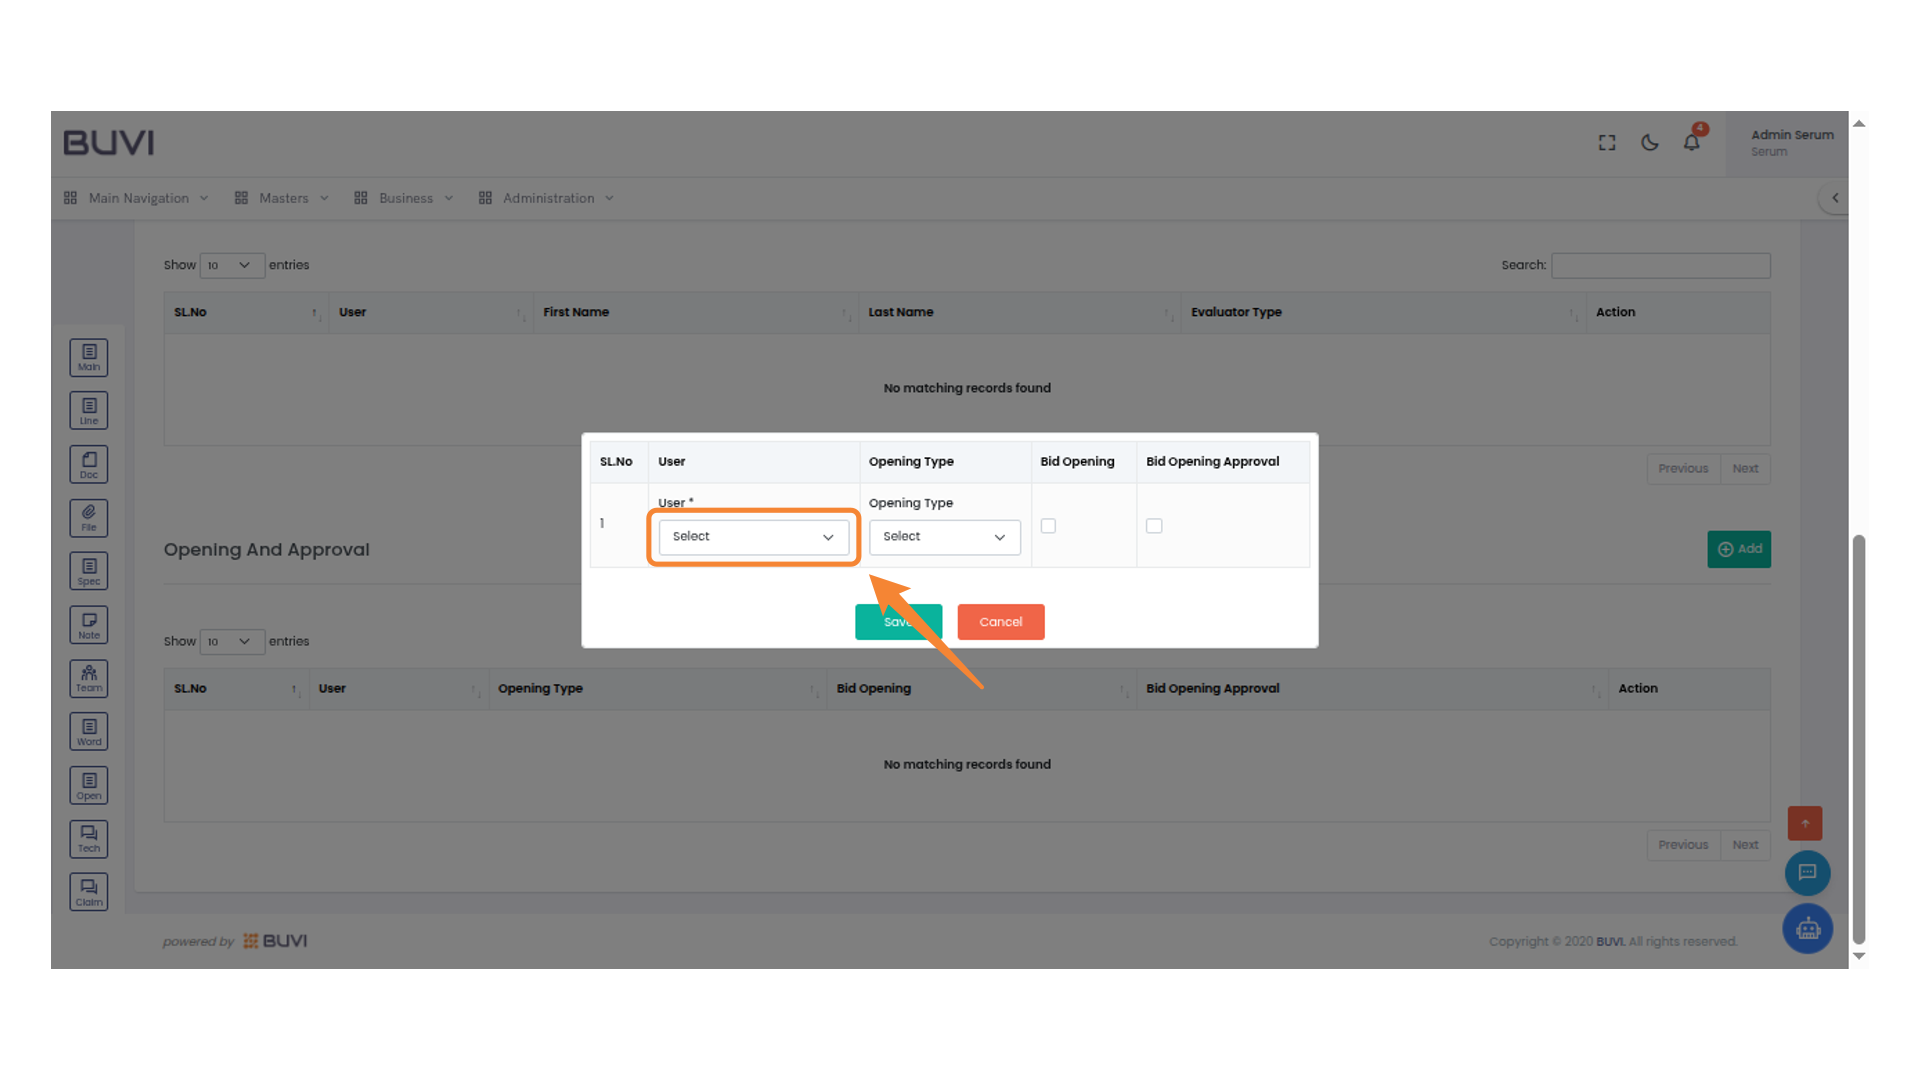
20. Select User Dropdown
Choose an option from the 'Select User' dropdown menu to proceed.
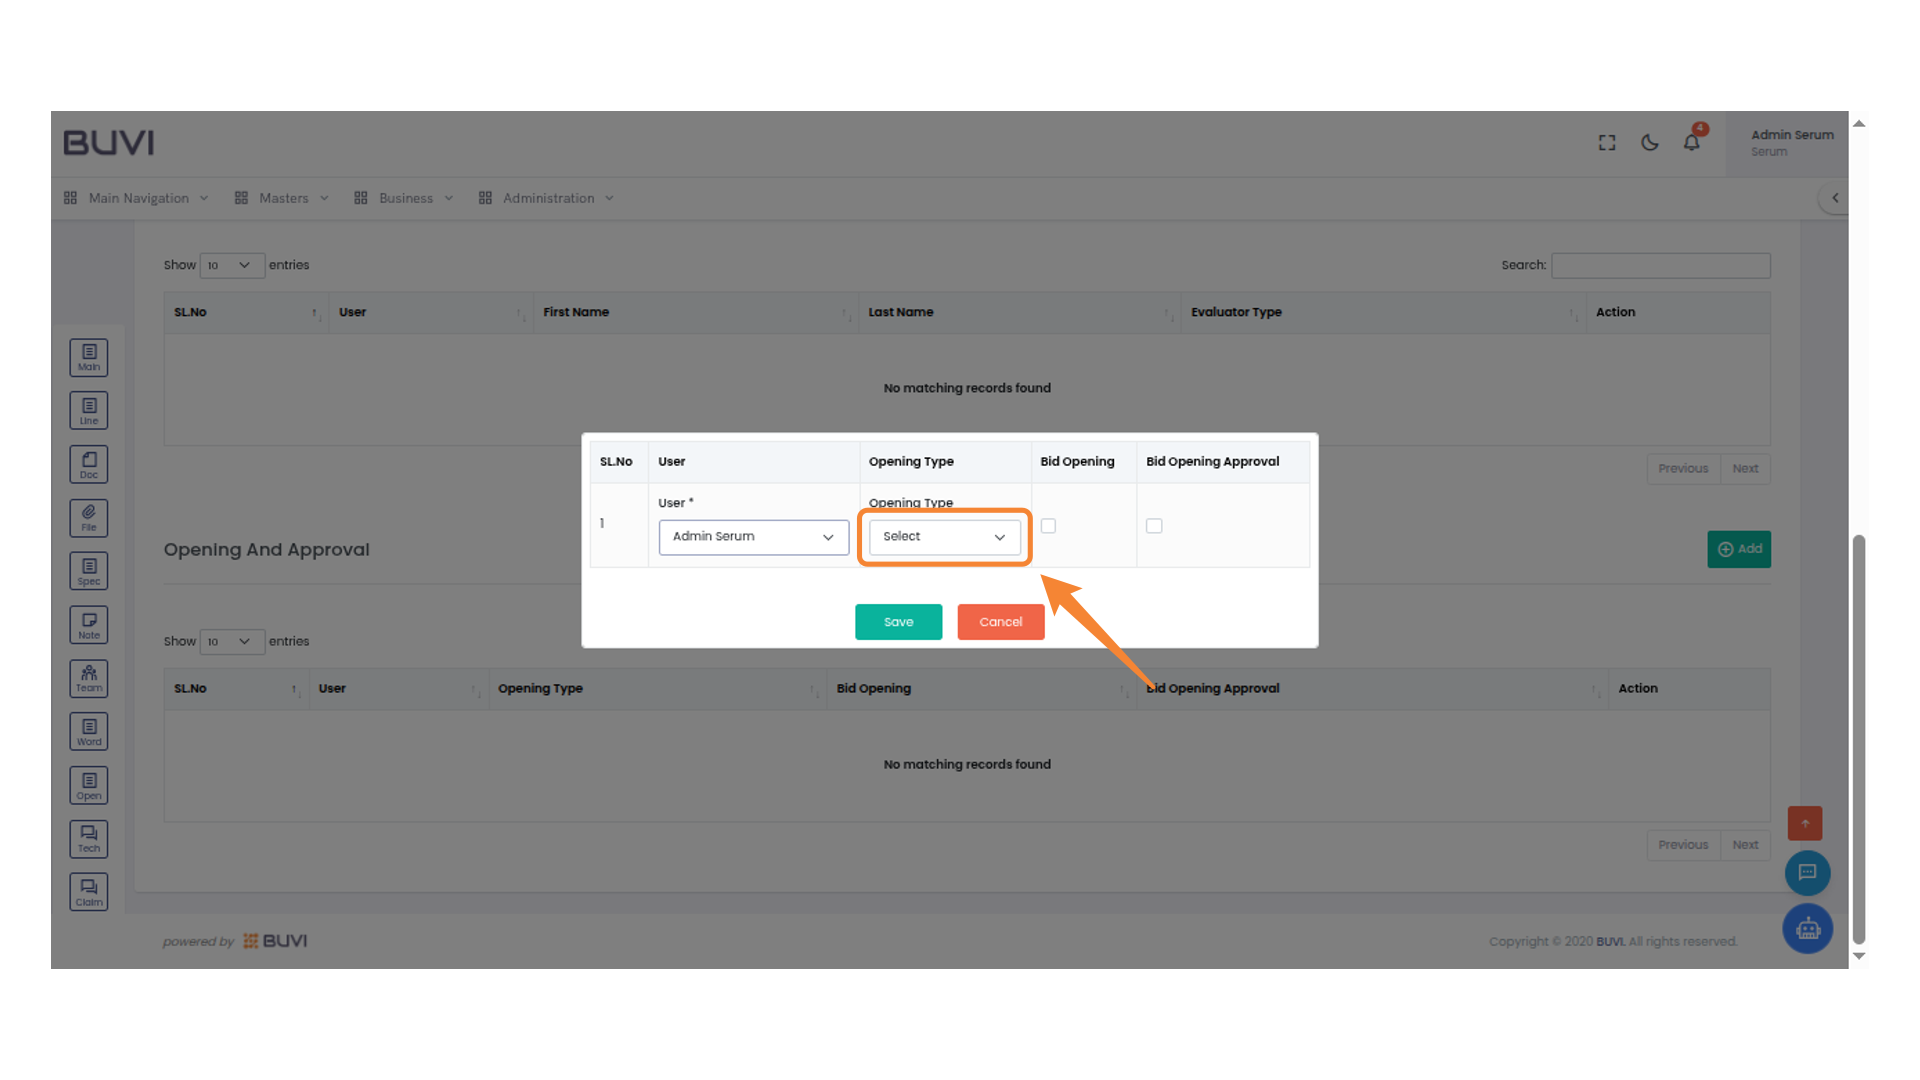
21. Select Opening Type
Click the dropdown to select an opening type.
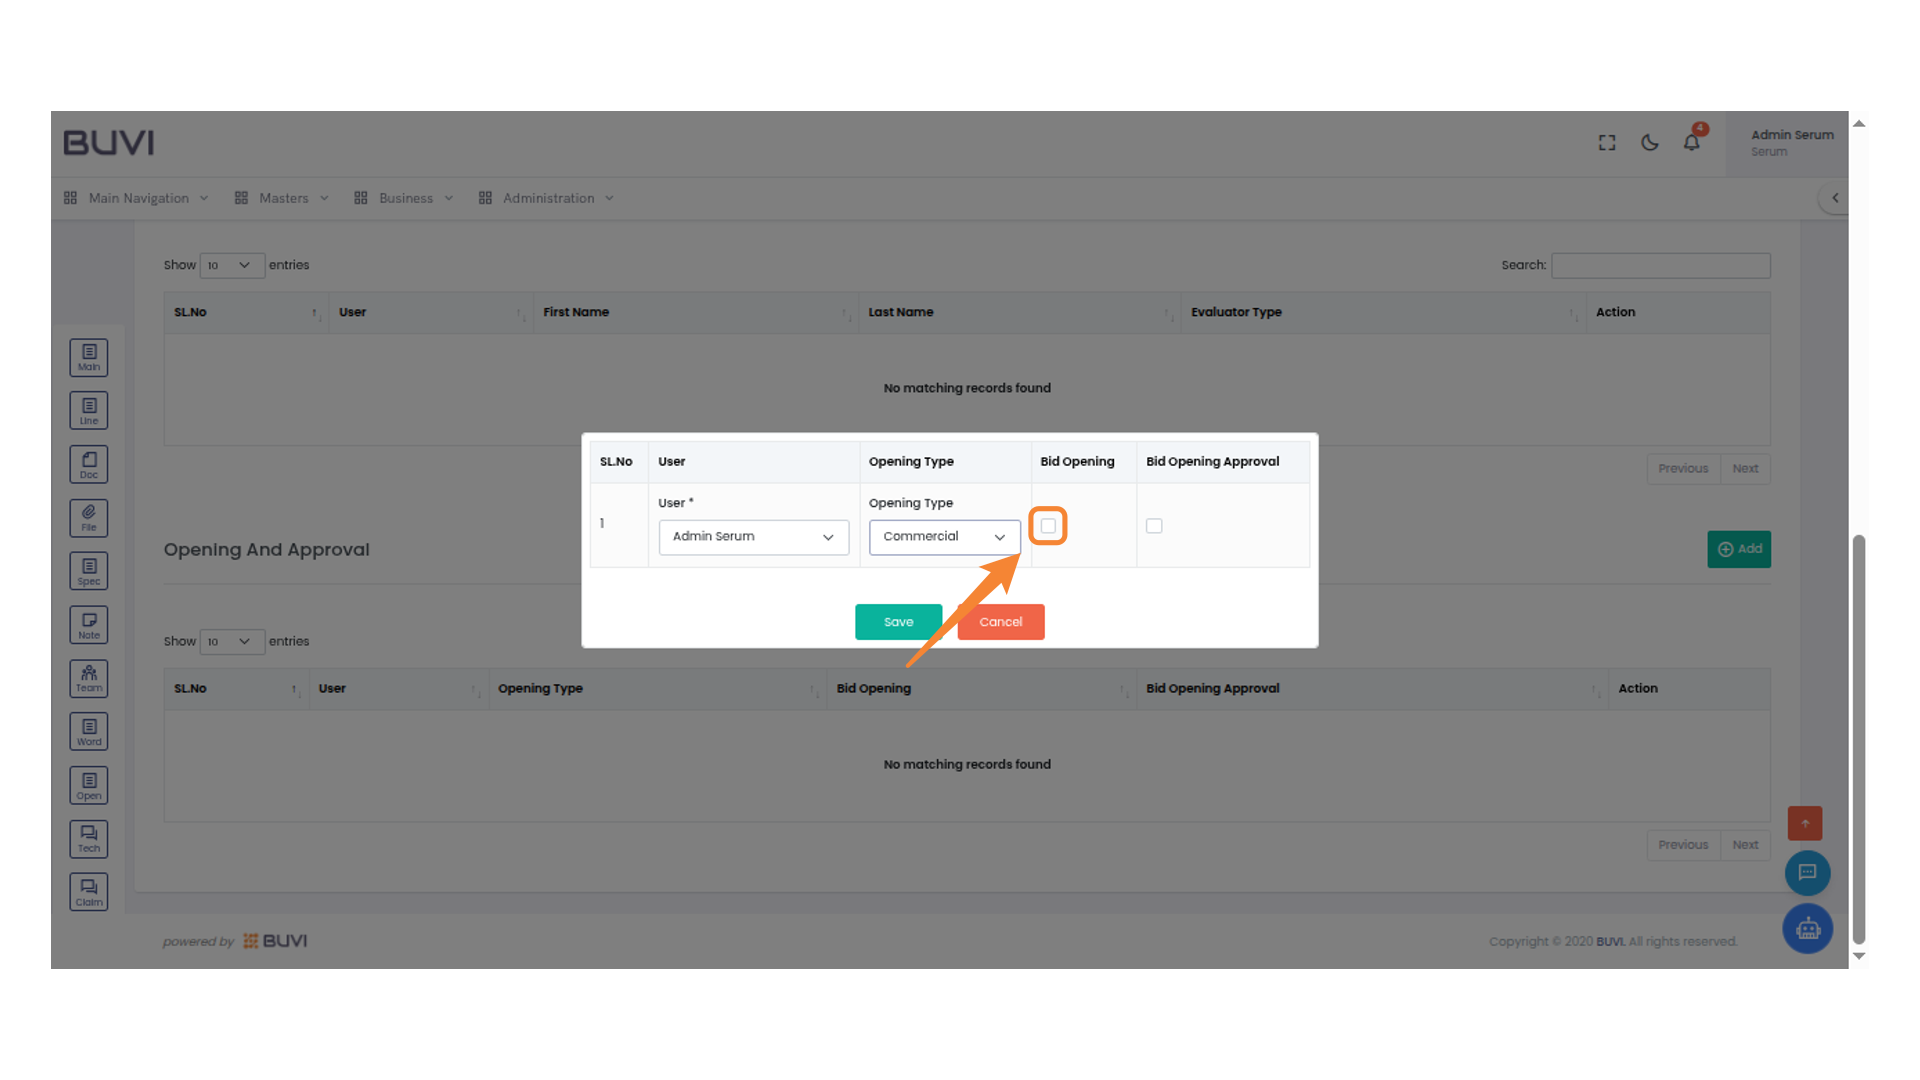
22. Select Checkbox for Bid Opening
Click the checkbox to enable or approve the bid opening for the specified user and opening type.
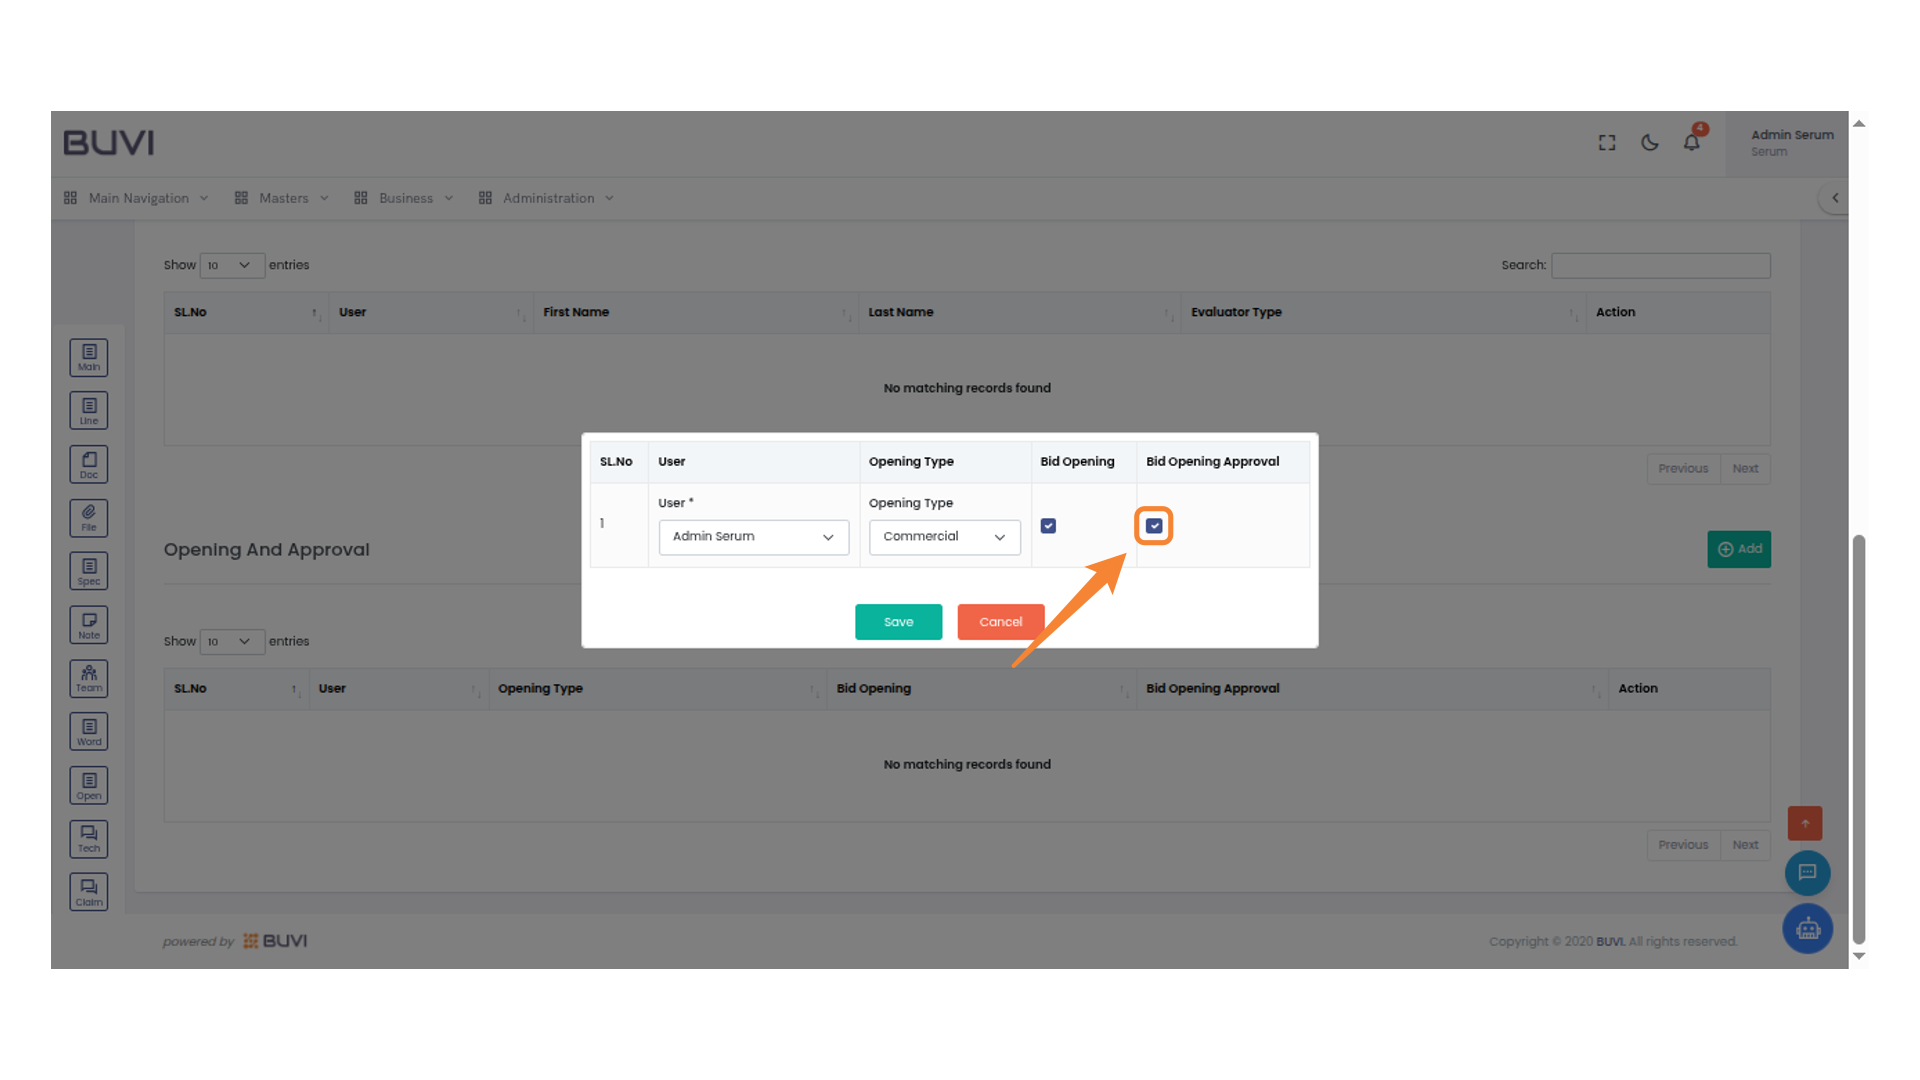
23. Select Bid Opening Approval
Click the checkbox in the 'Bid Opening Approval' column to approve bid openings.
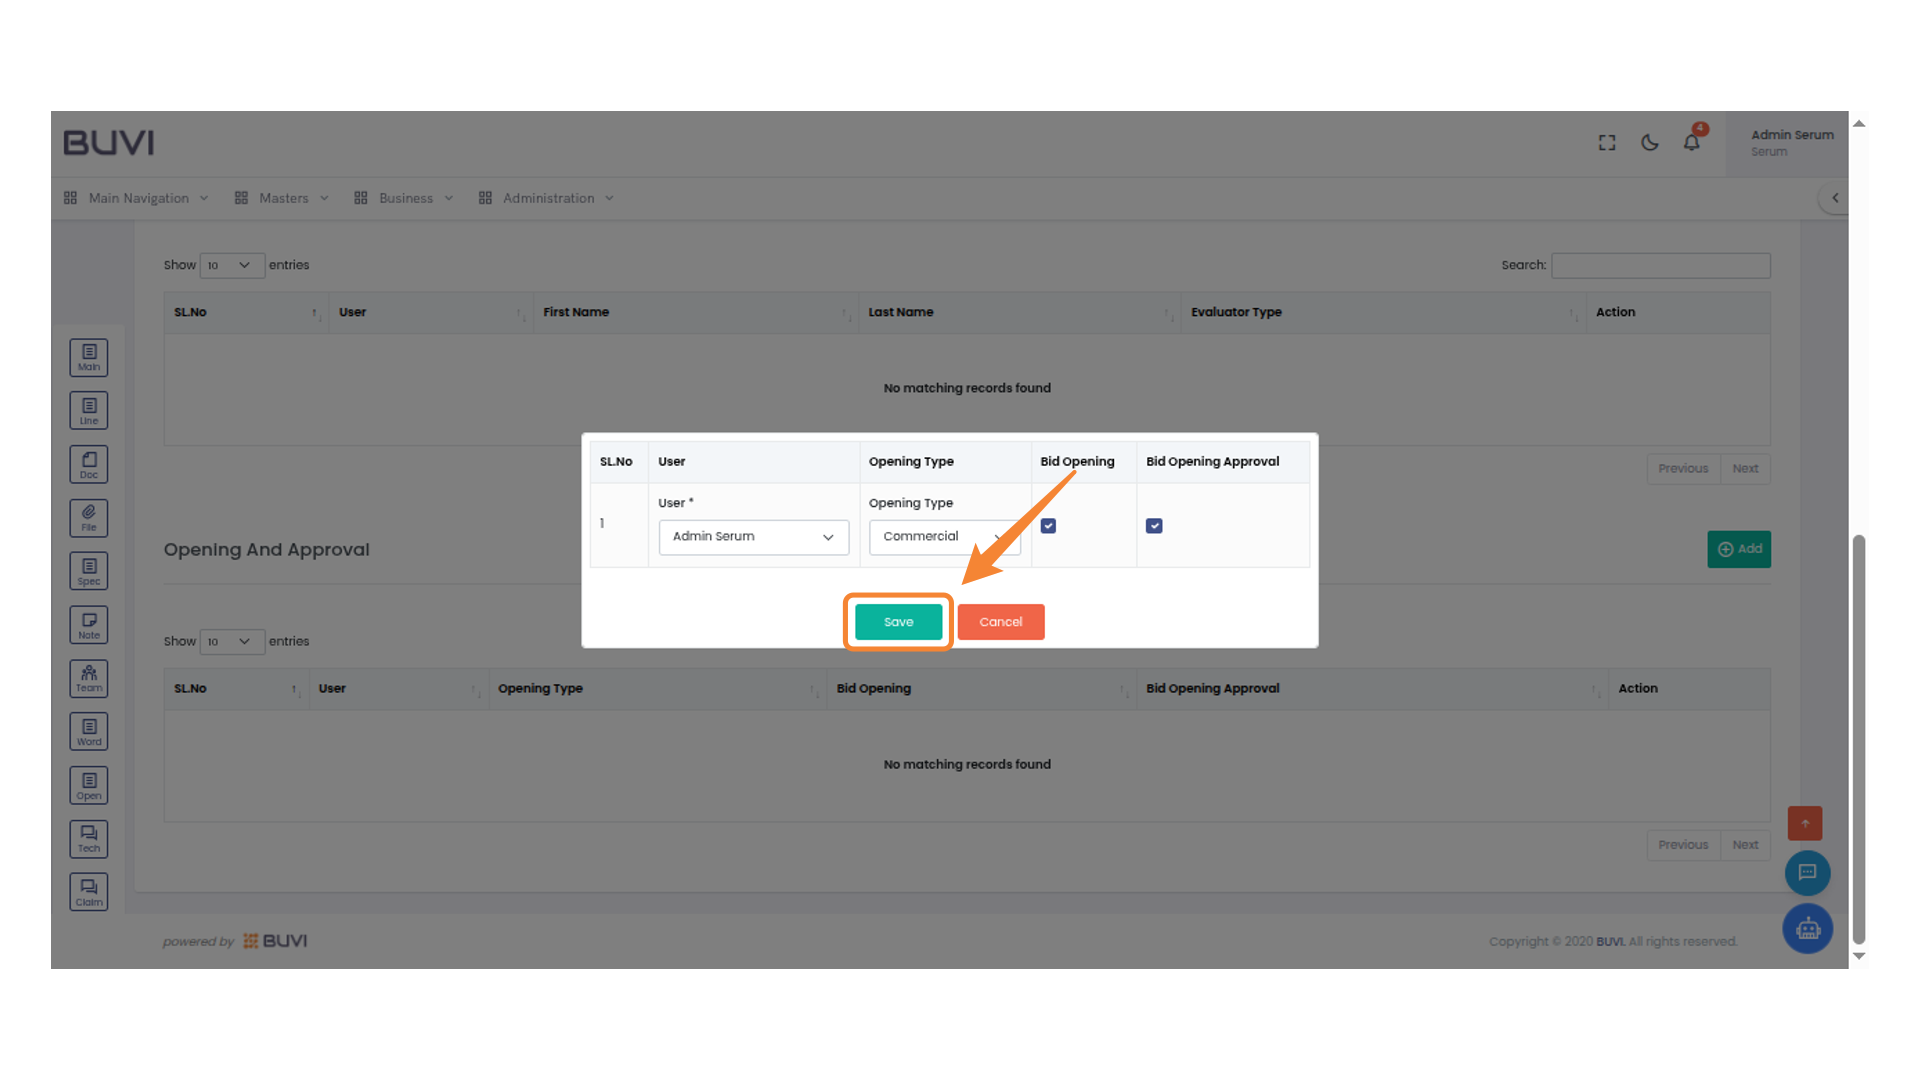
24. Save Changes
Click 'Save' to confirm your selections.
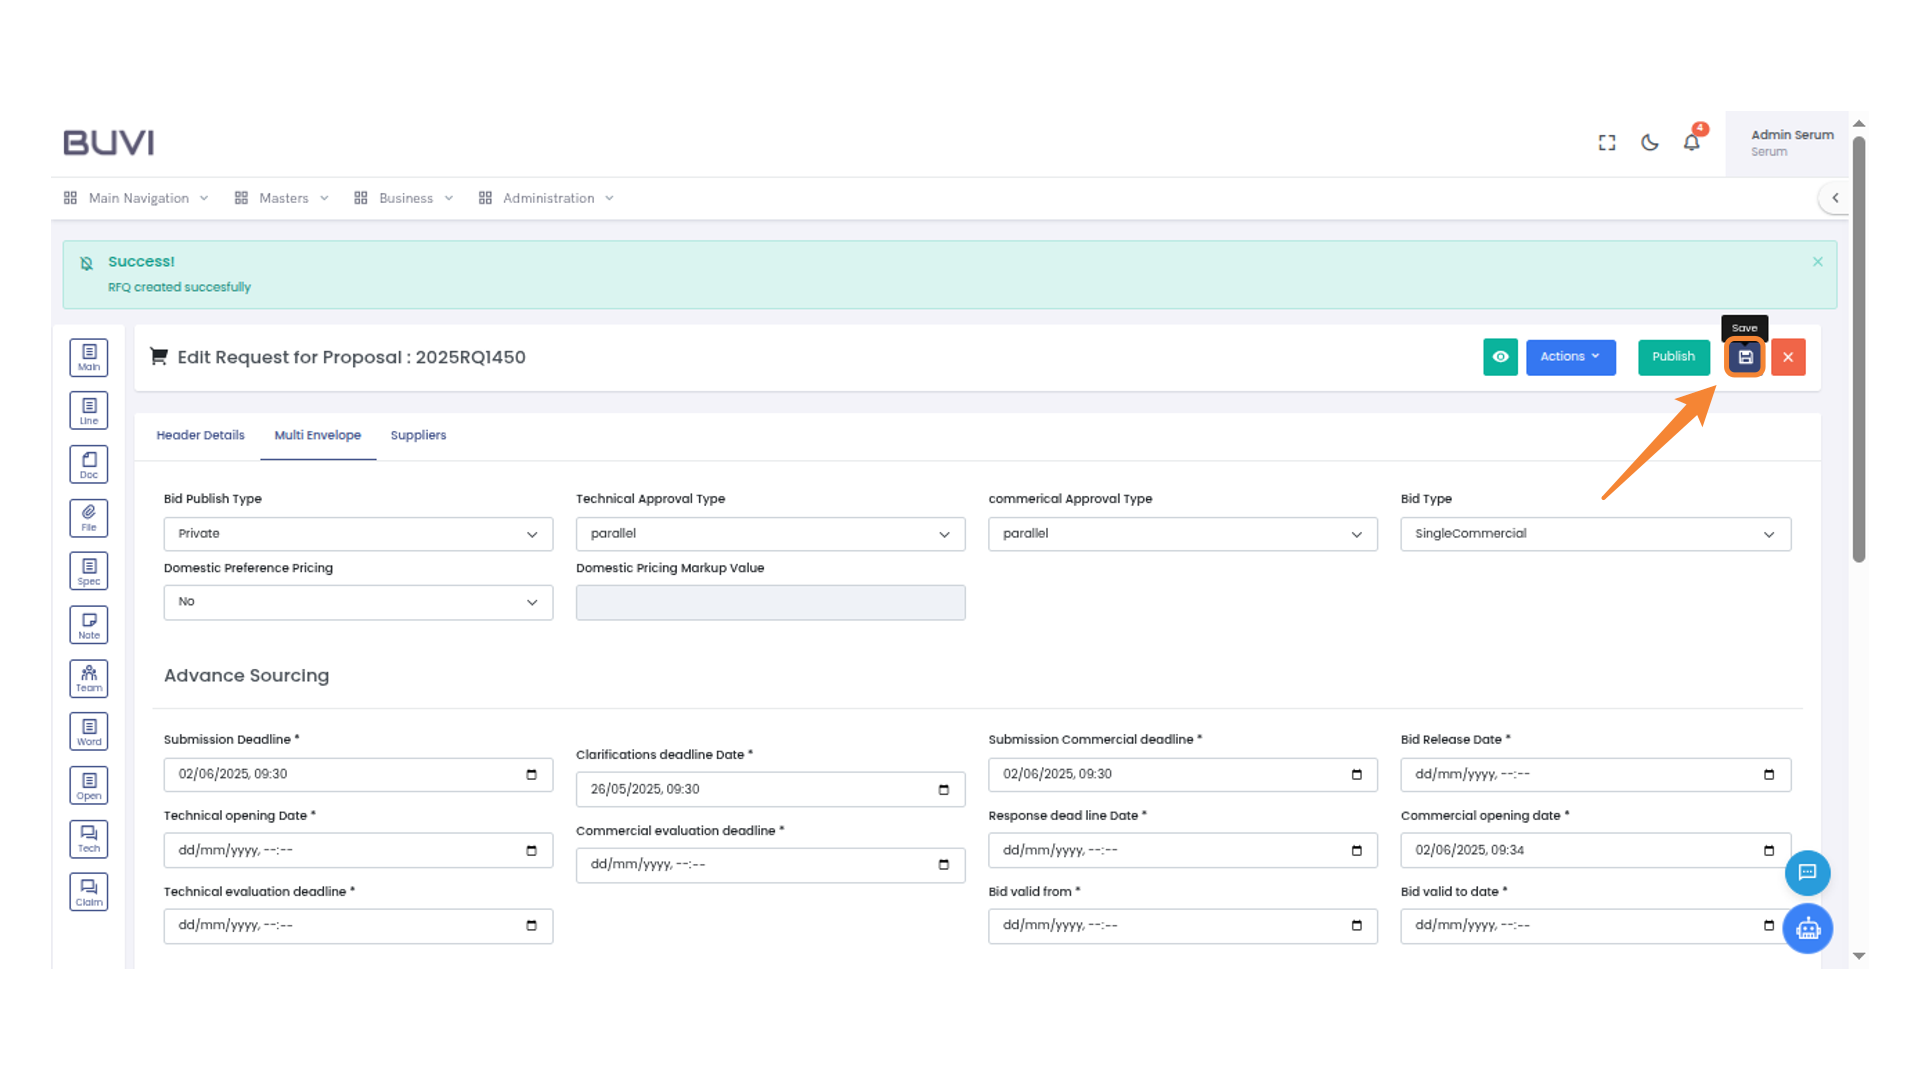
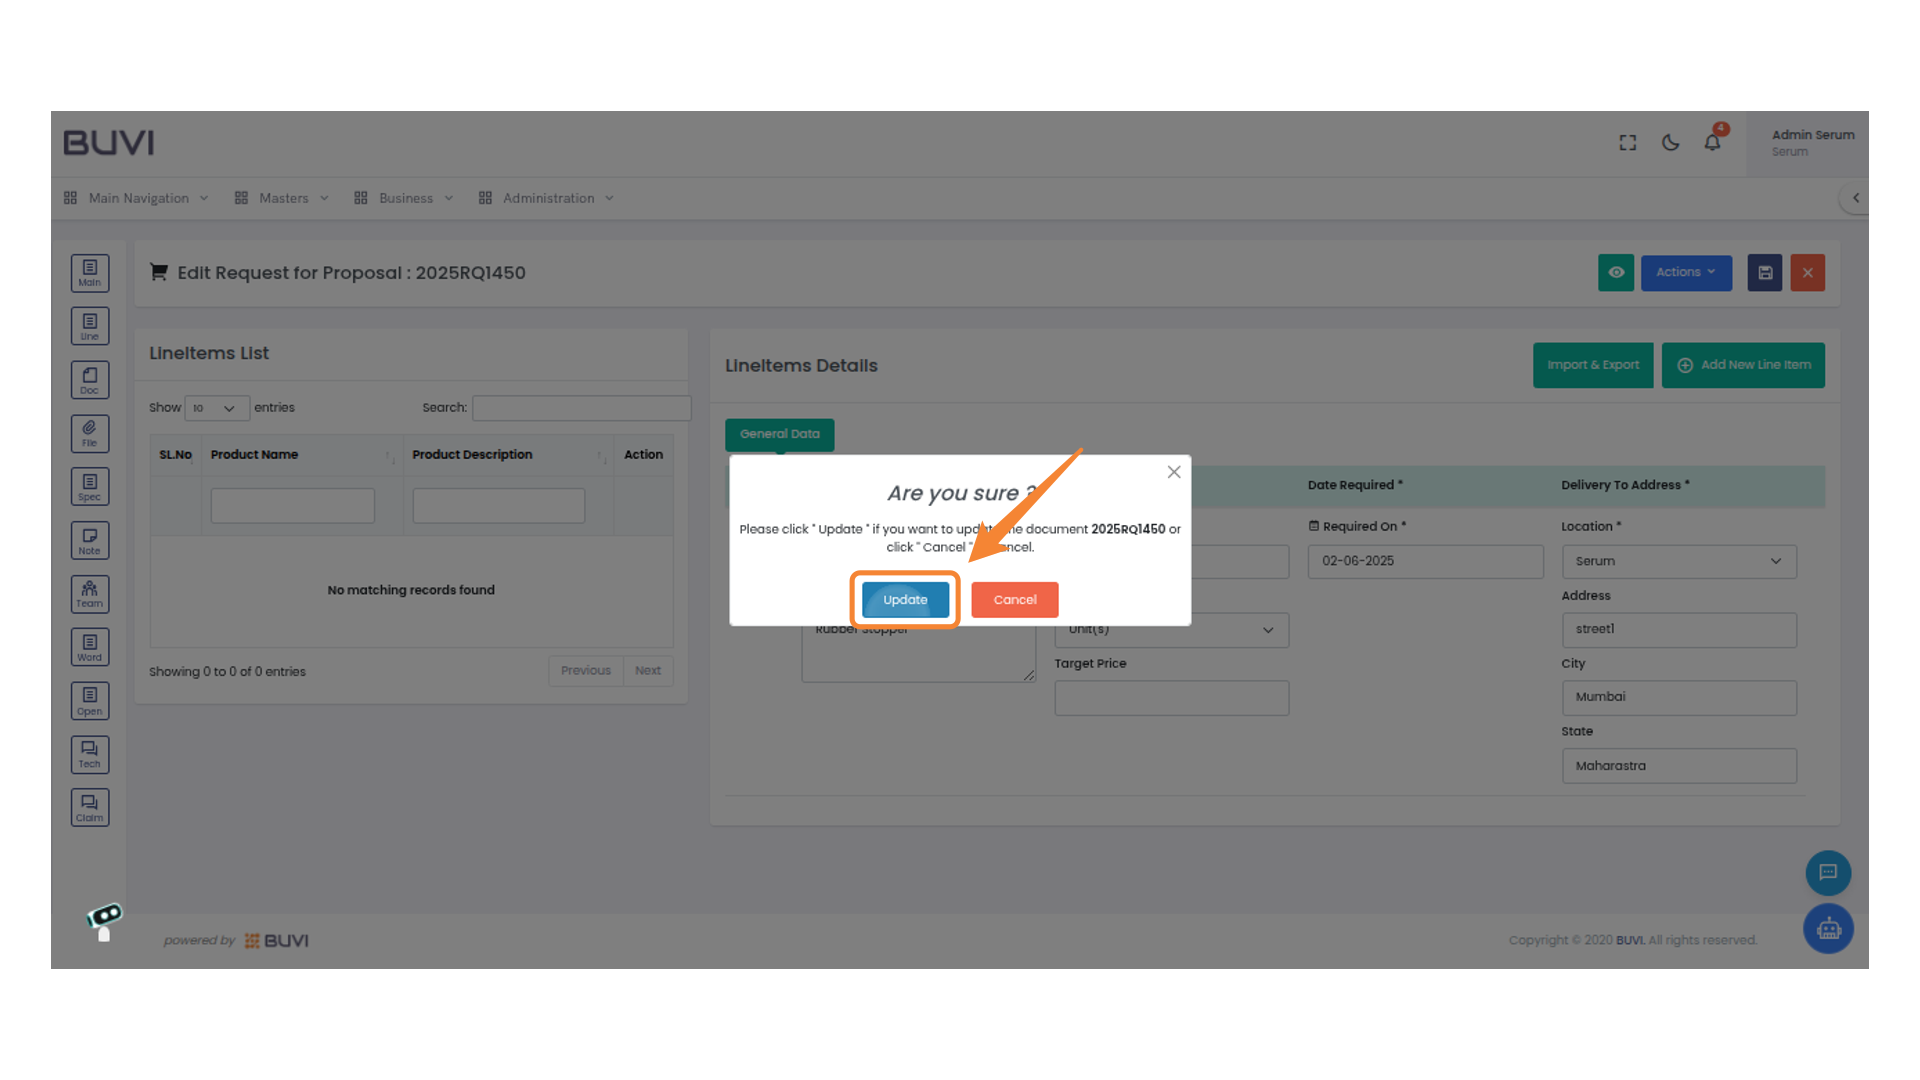
25. Save the Document
Click the save icon to store changes made to the proposal.
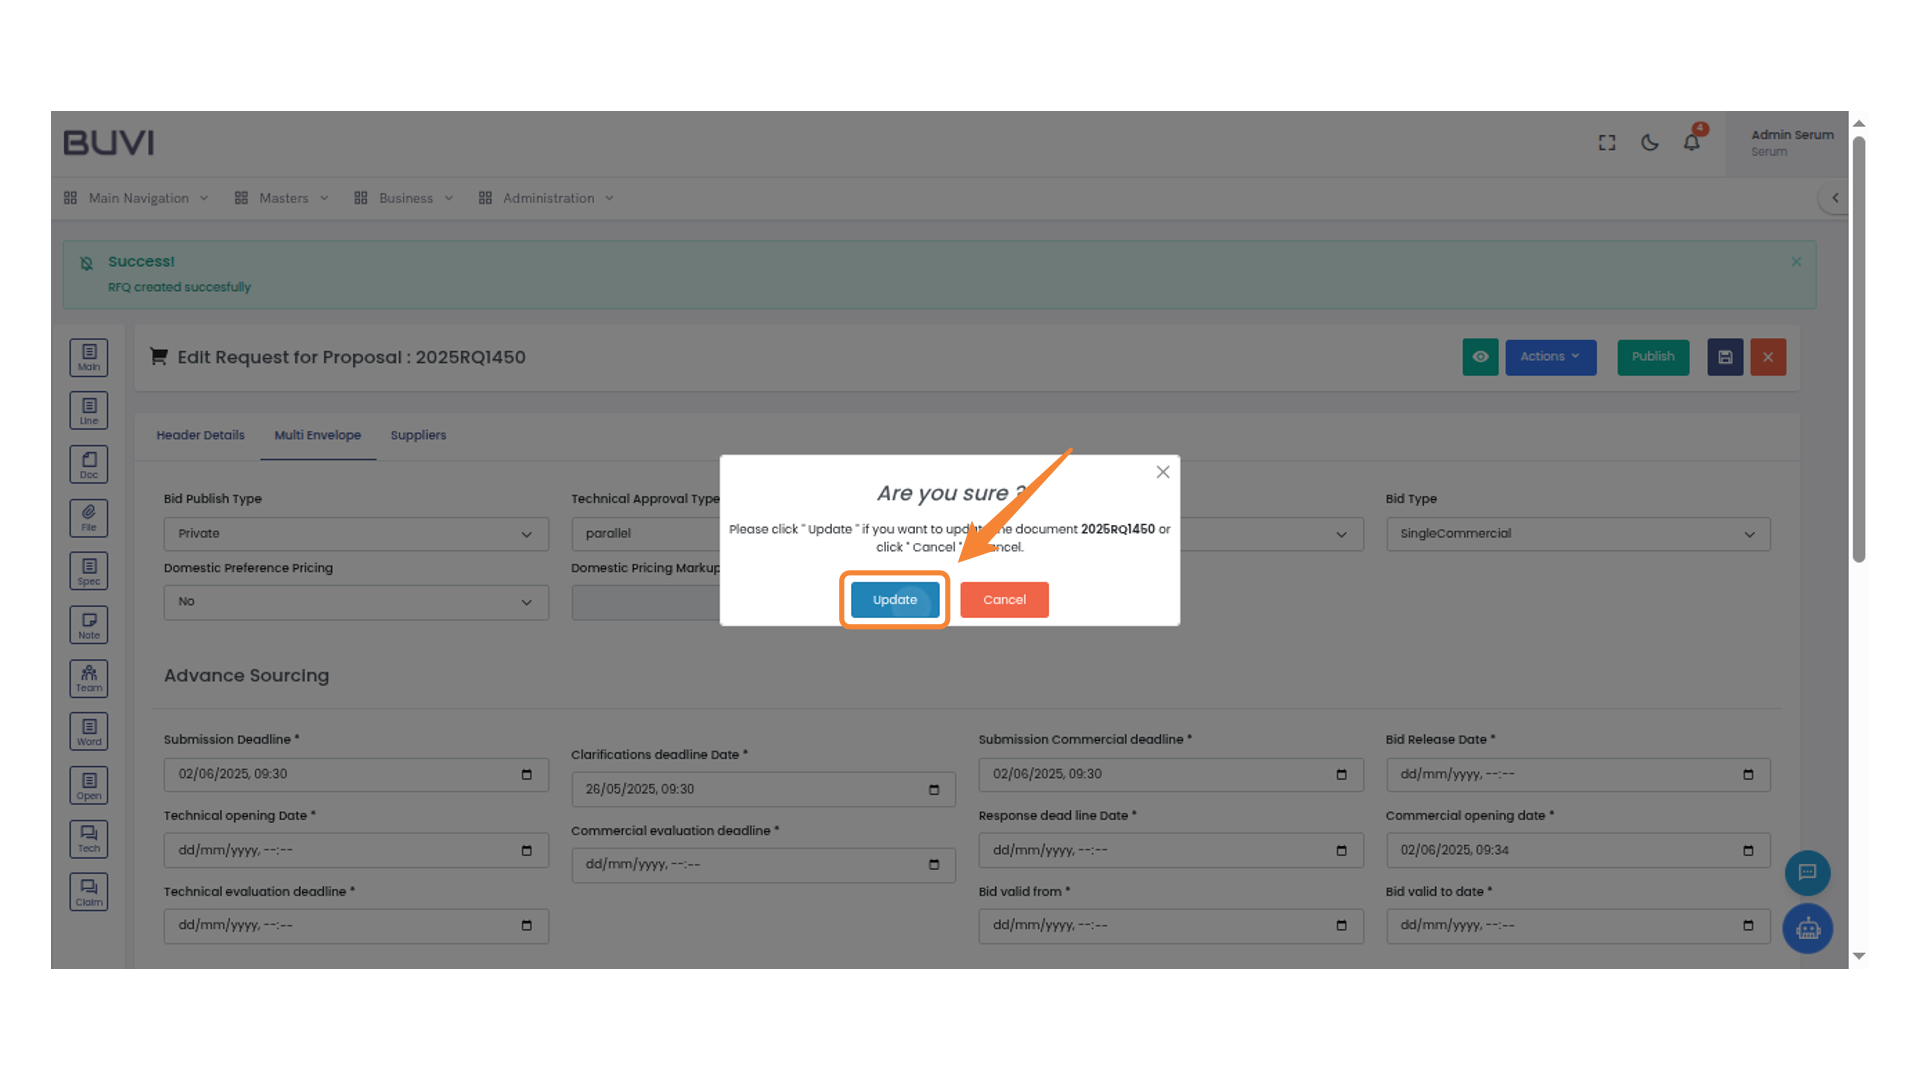
26. Confirm Update
Click 'Update' to proceed with changes to document 2025RQ1450 or choose 'Cancel' to abort.
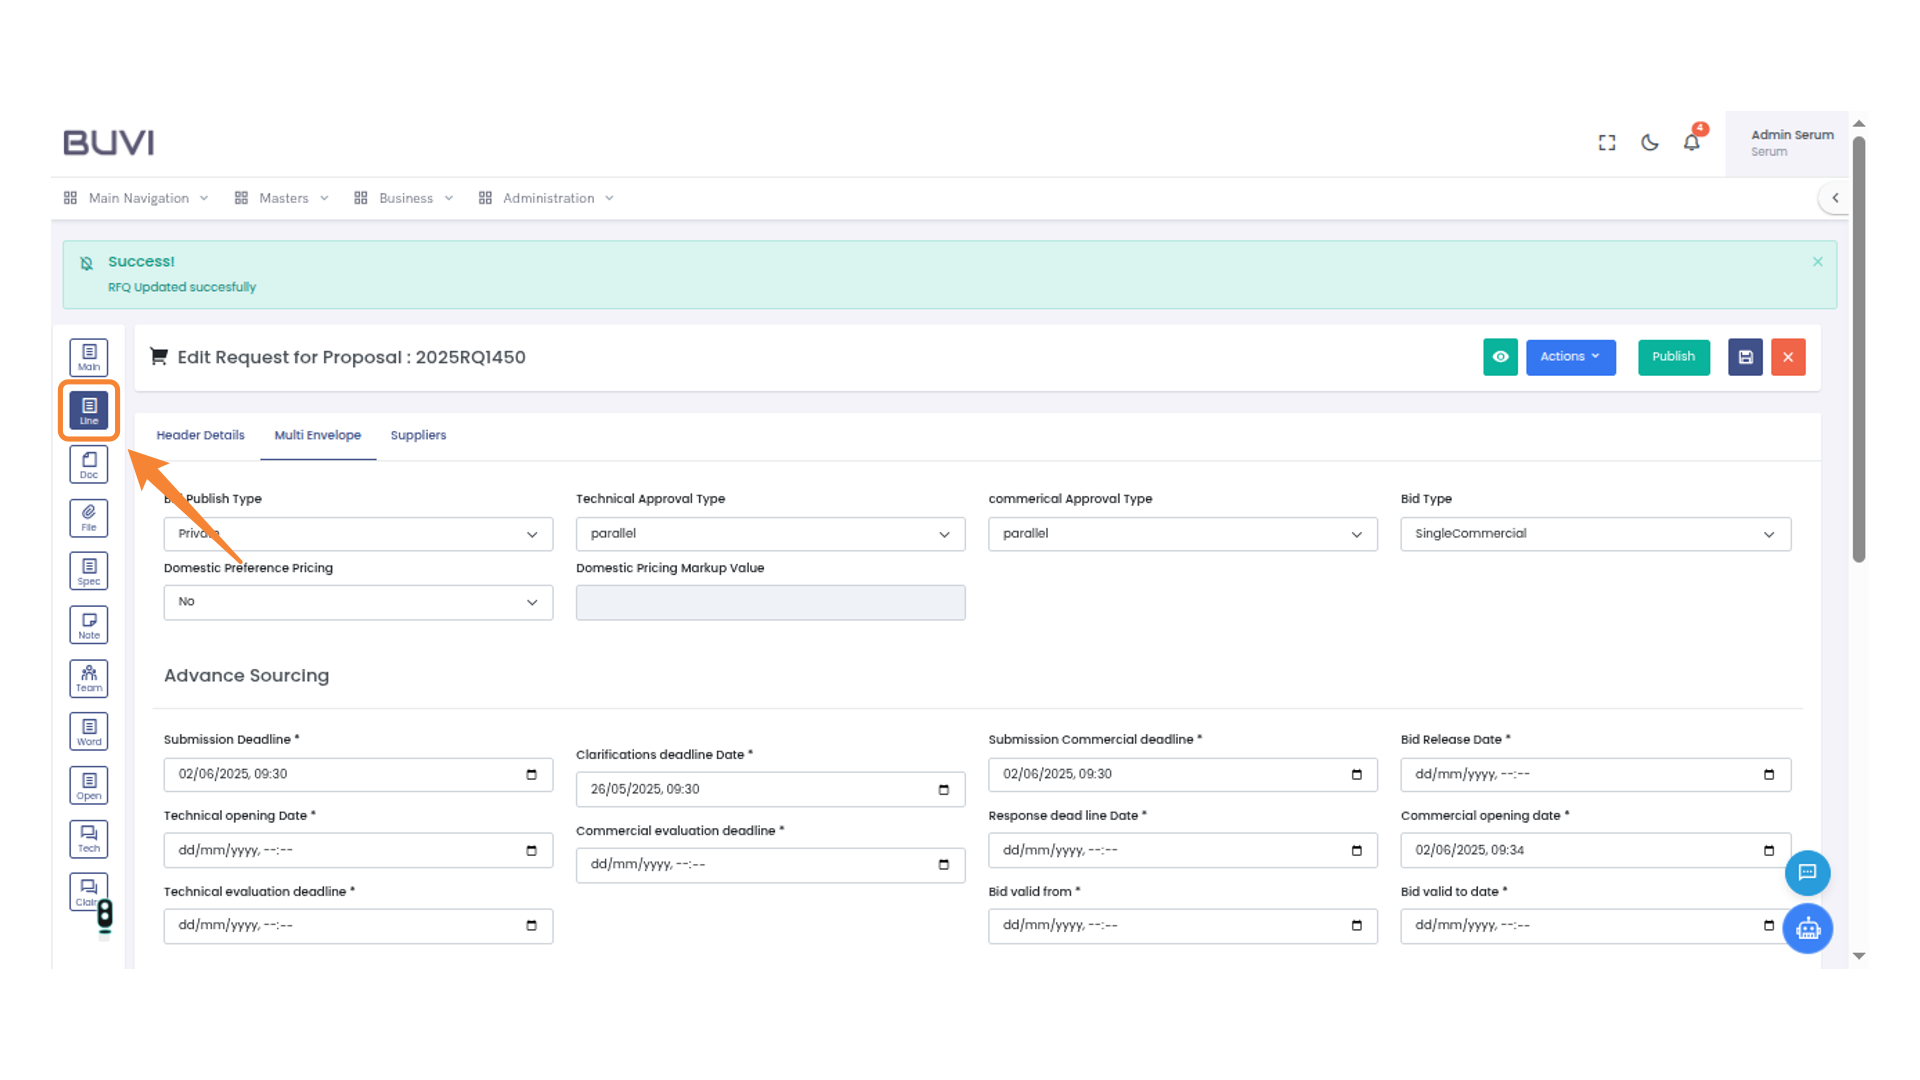
27. Select Line Function
Select the 'Line' button to access line items for the proposal.
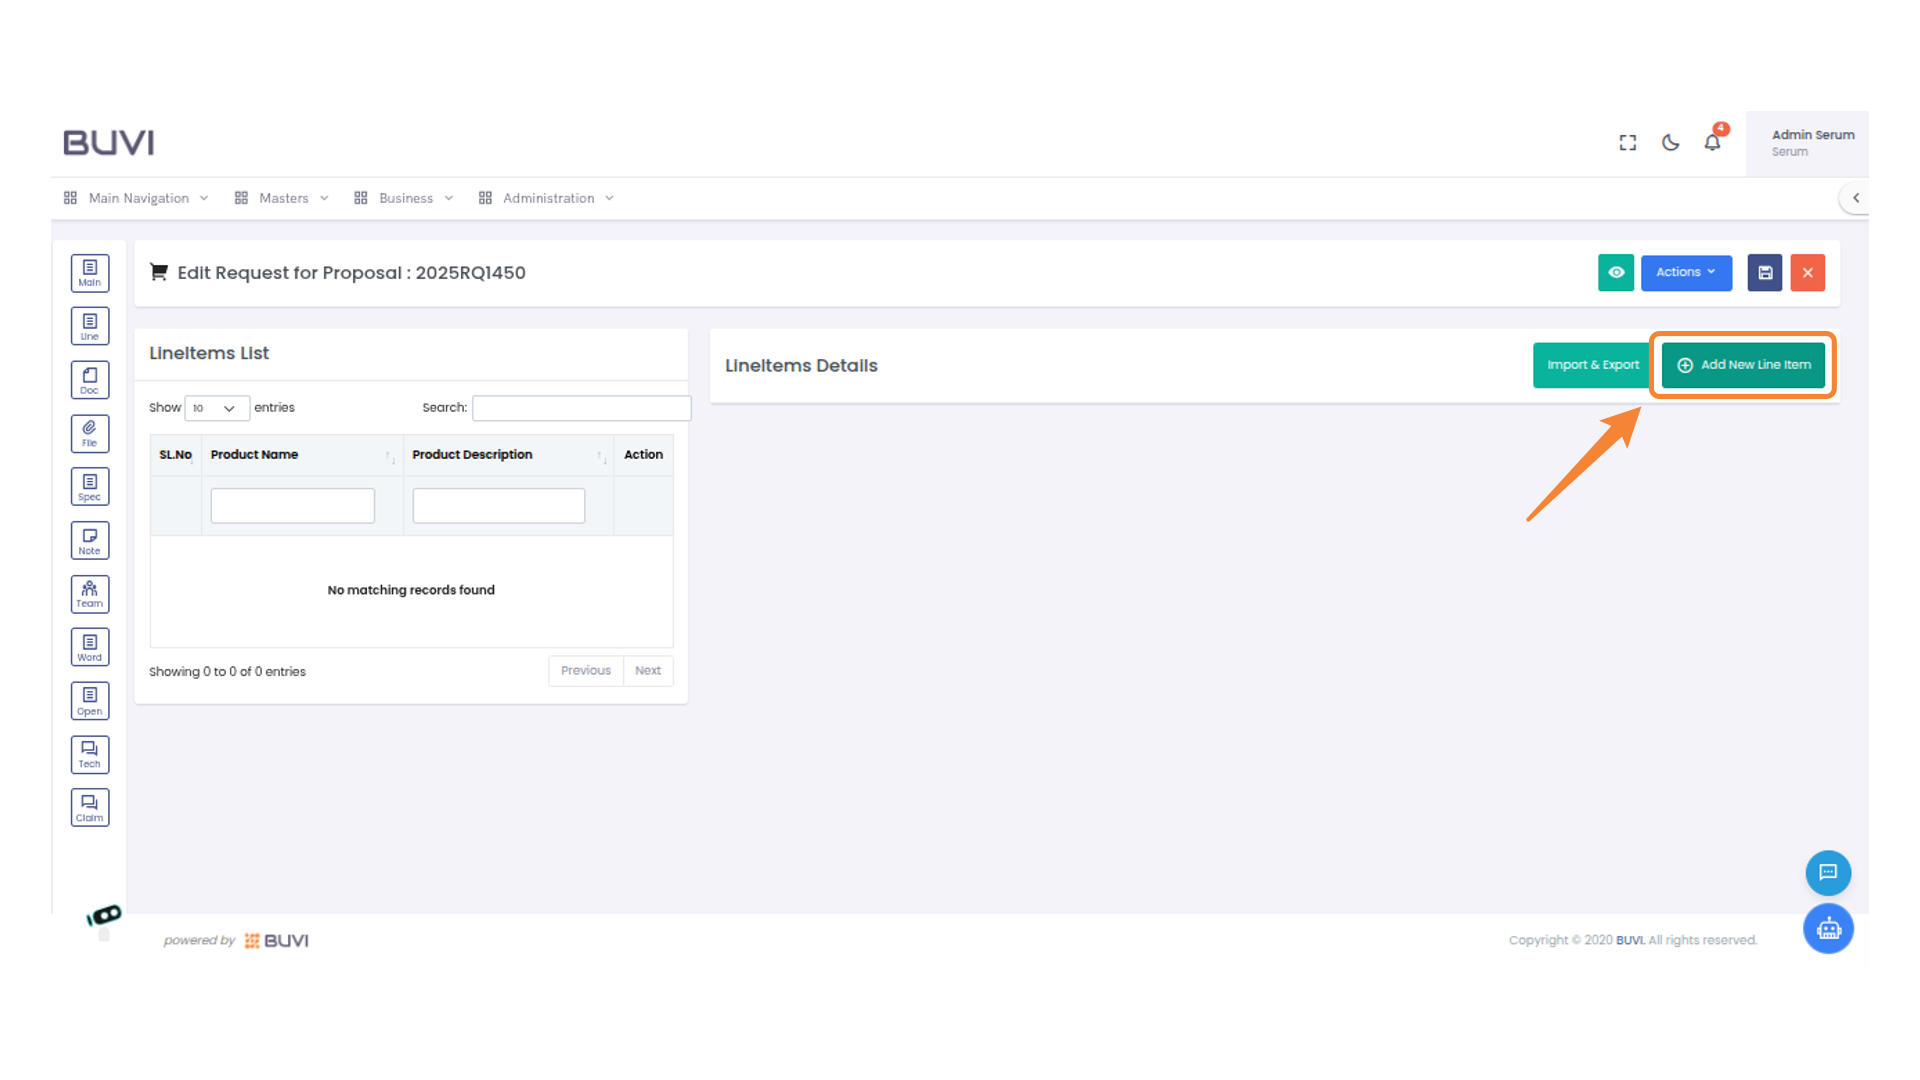
28. Add a Line Item
Click 'Add New Line Item' to create a new entry in the list.
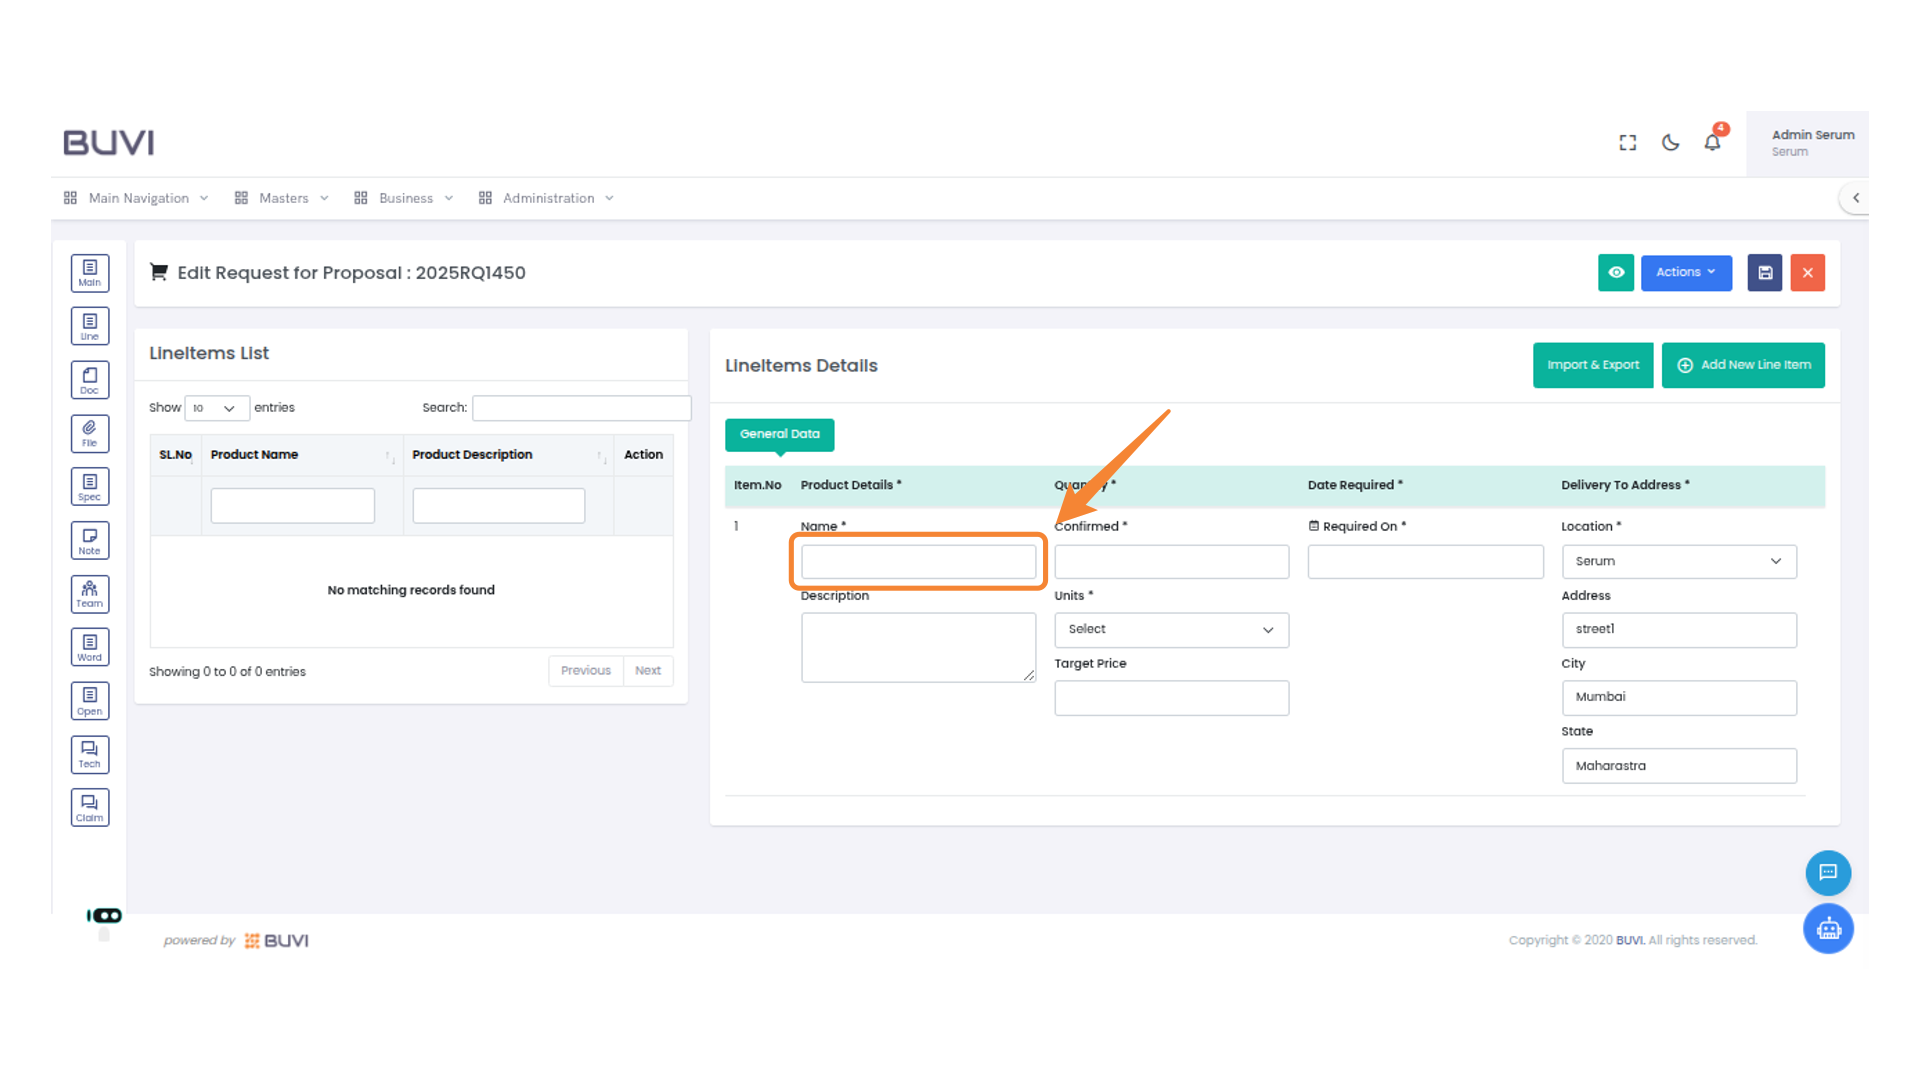
29. Enter Product Name
Input the product name in the provided field.
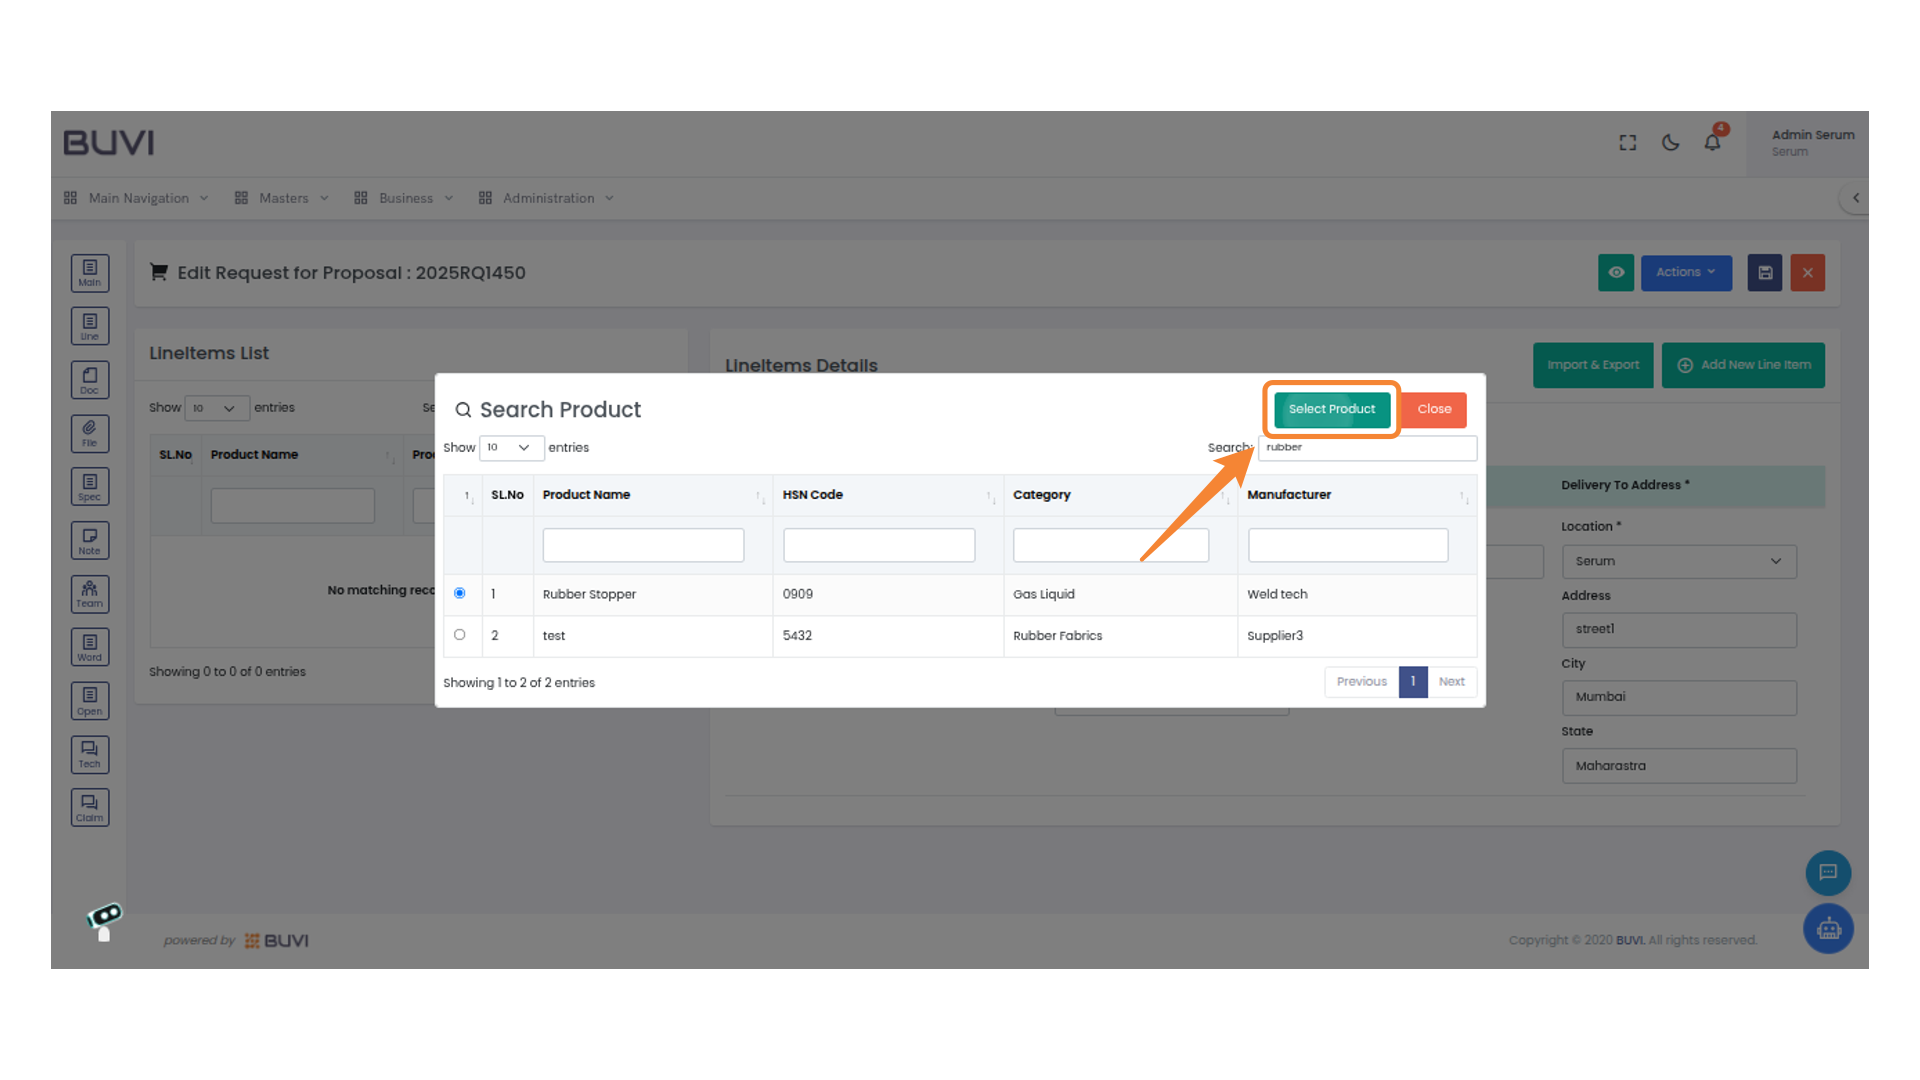
30. Utilize the Search Feature
Enter your query into the search bar to locate specific products within the list quickly.
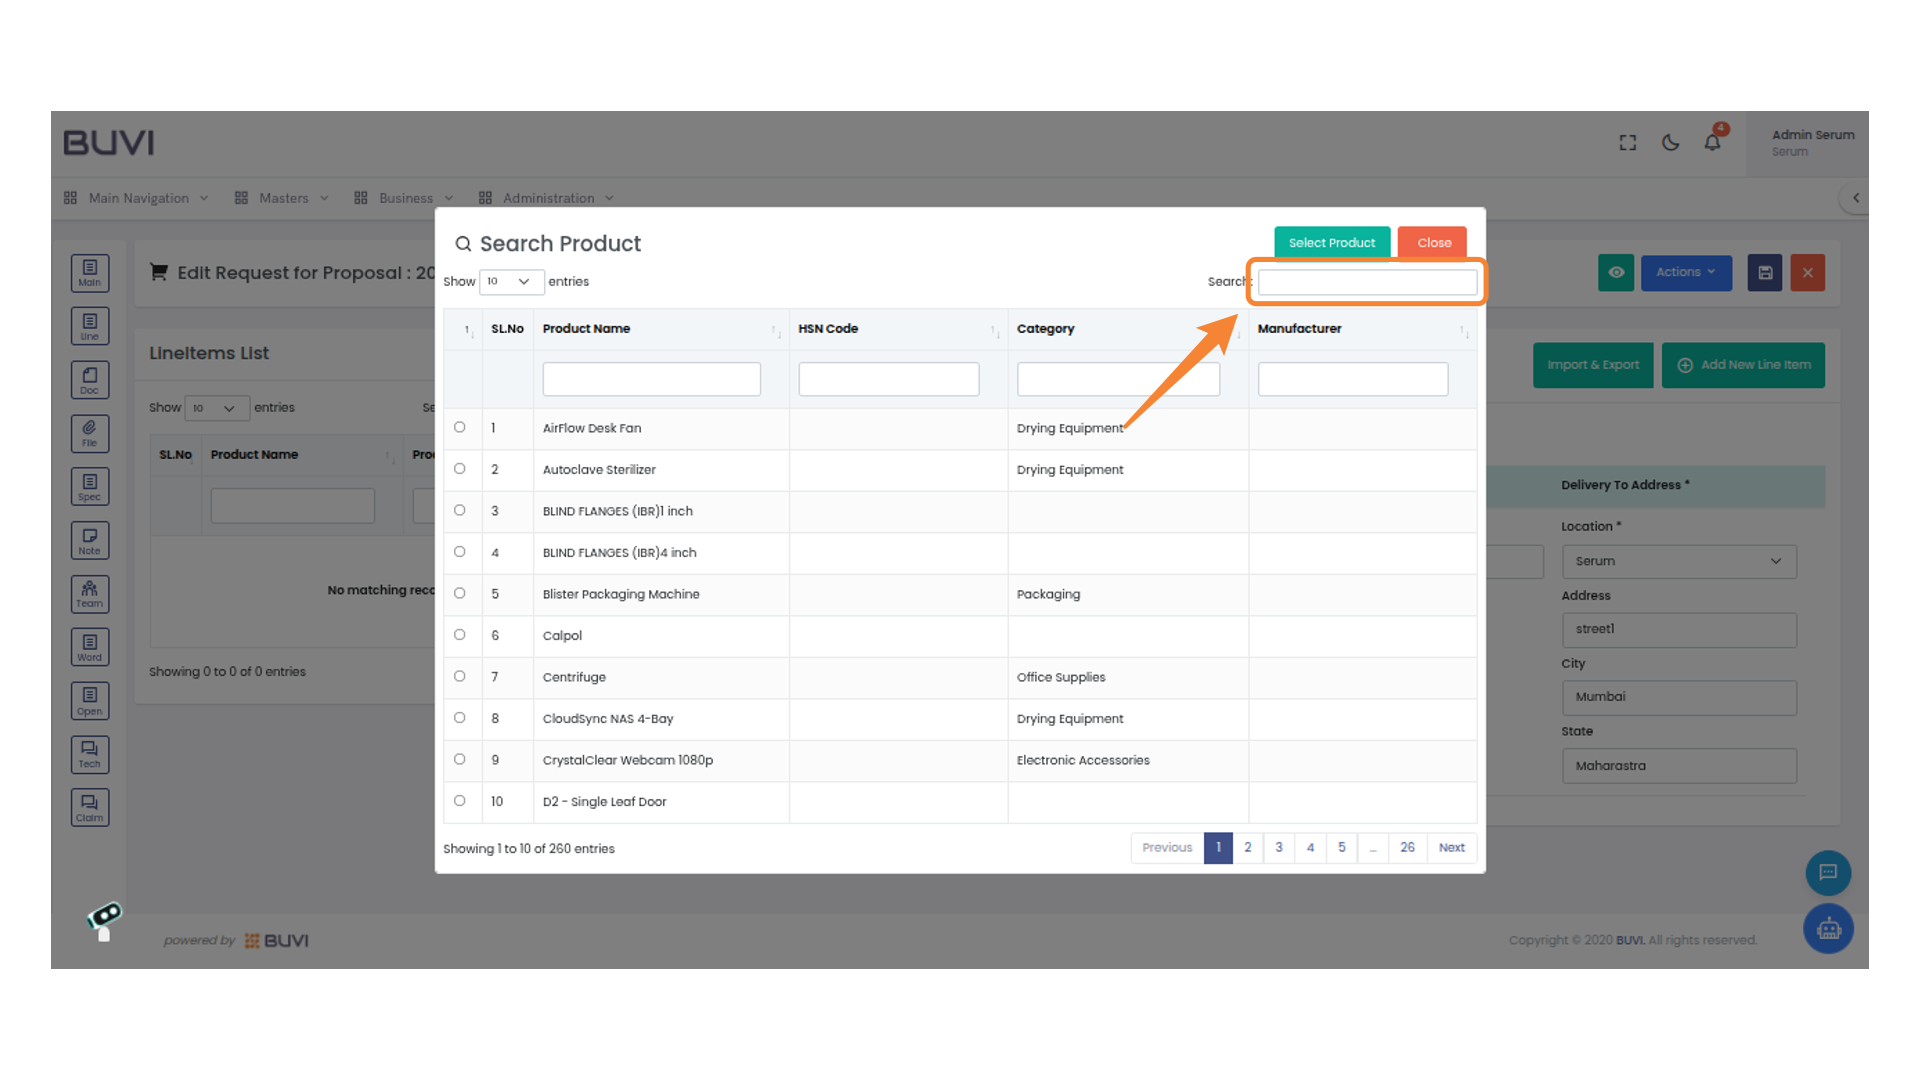
31. Select the Product
Click the 'Select Product' button to choose the desired item from the list.
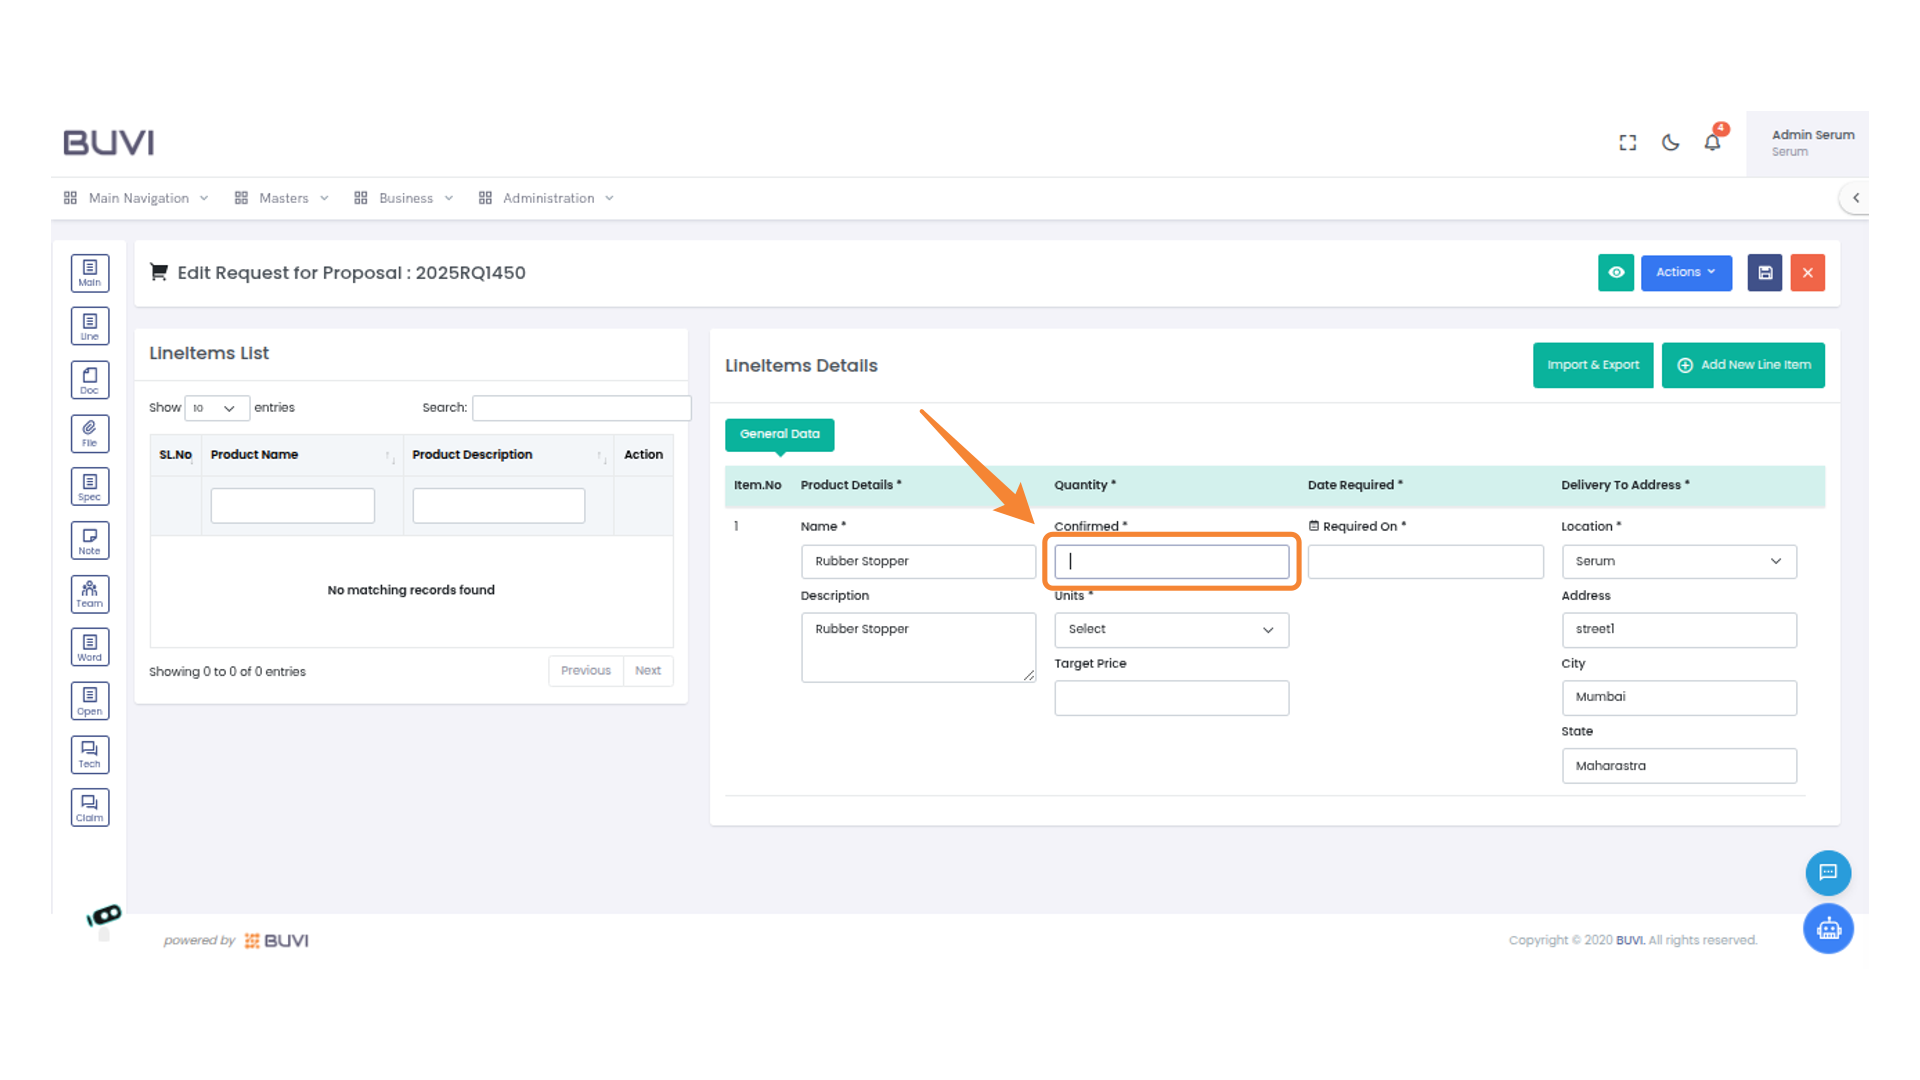
32. Enter Confirmed Quantity
Enter the confirmed quantity for the item in the input field.
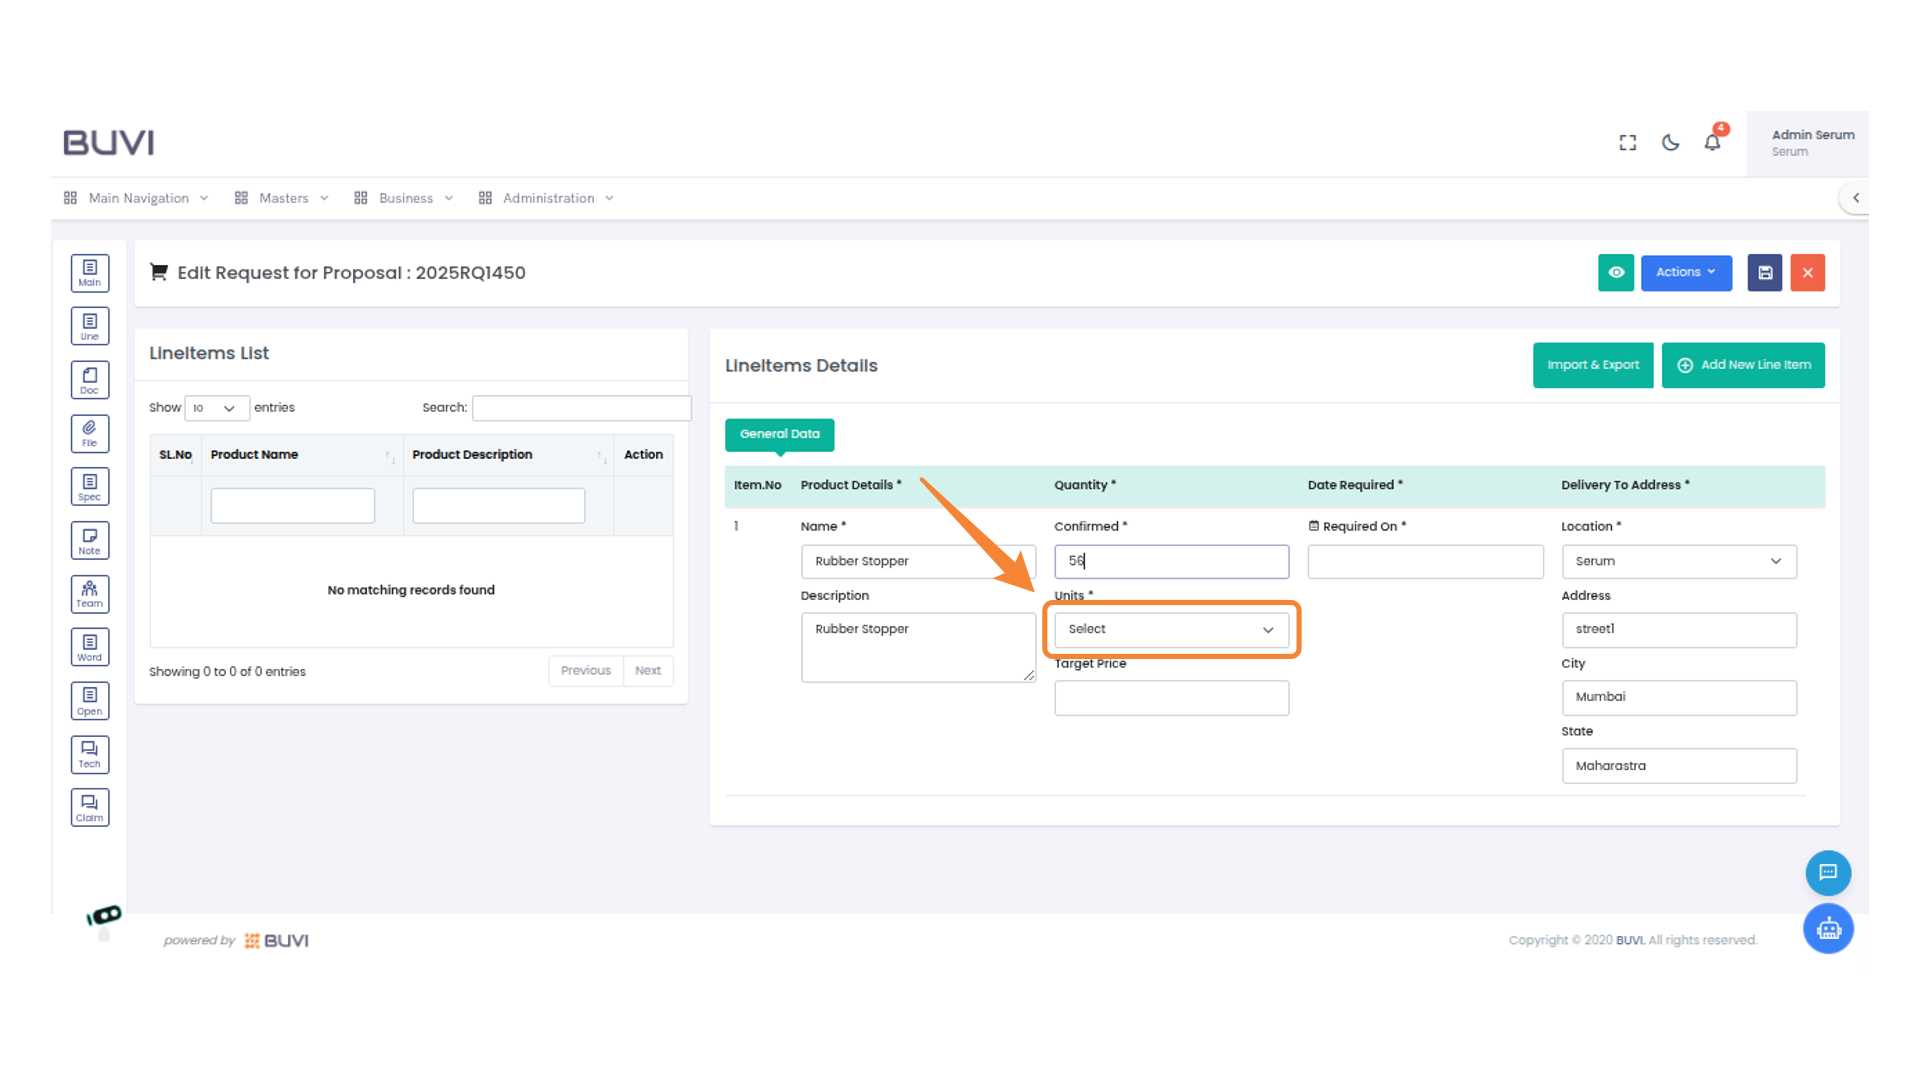
33. Select Units in Line Items
select units
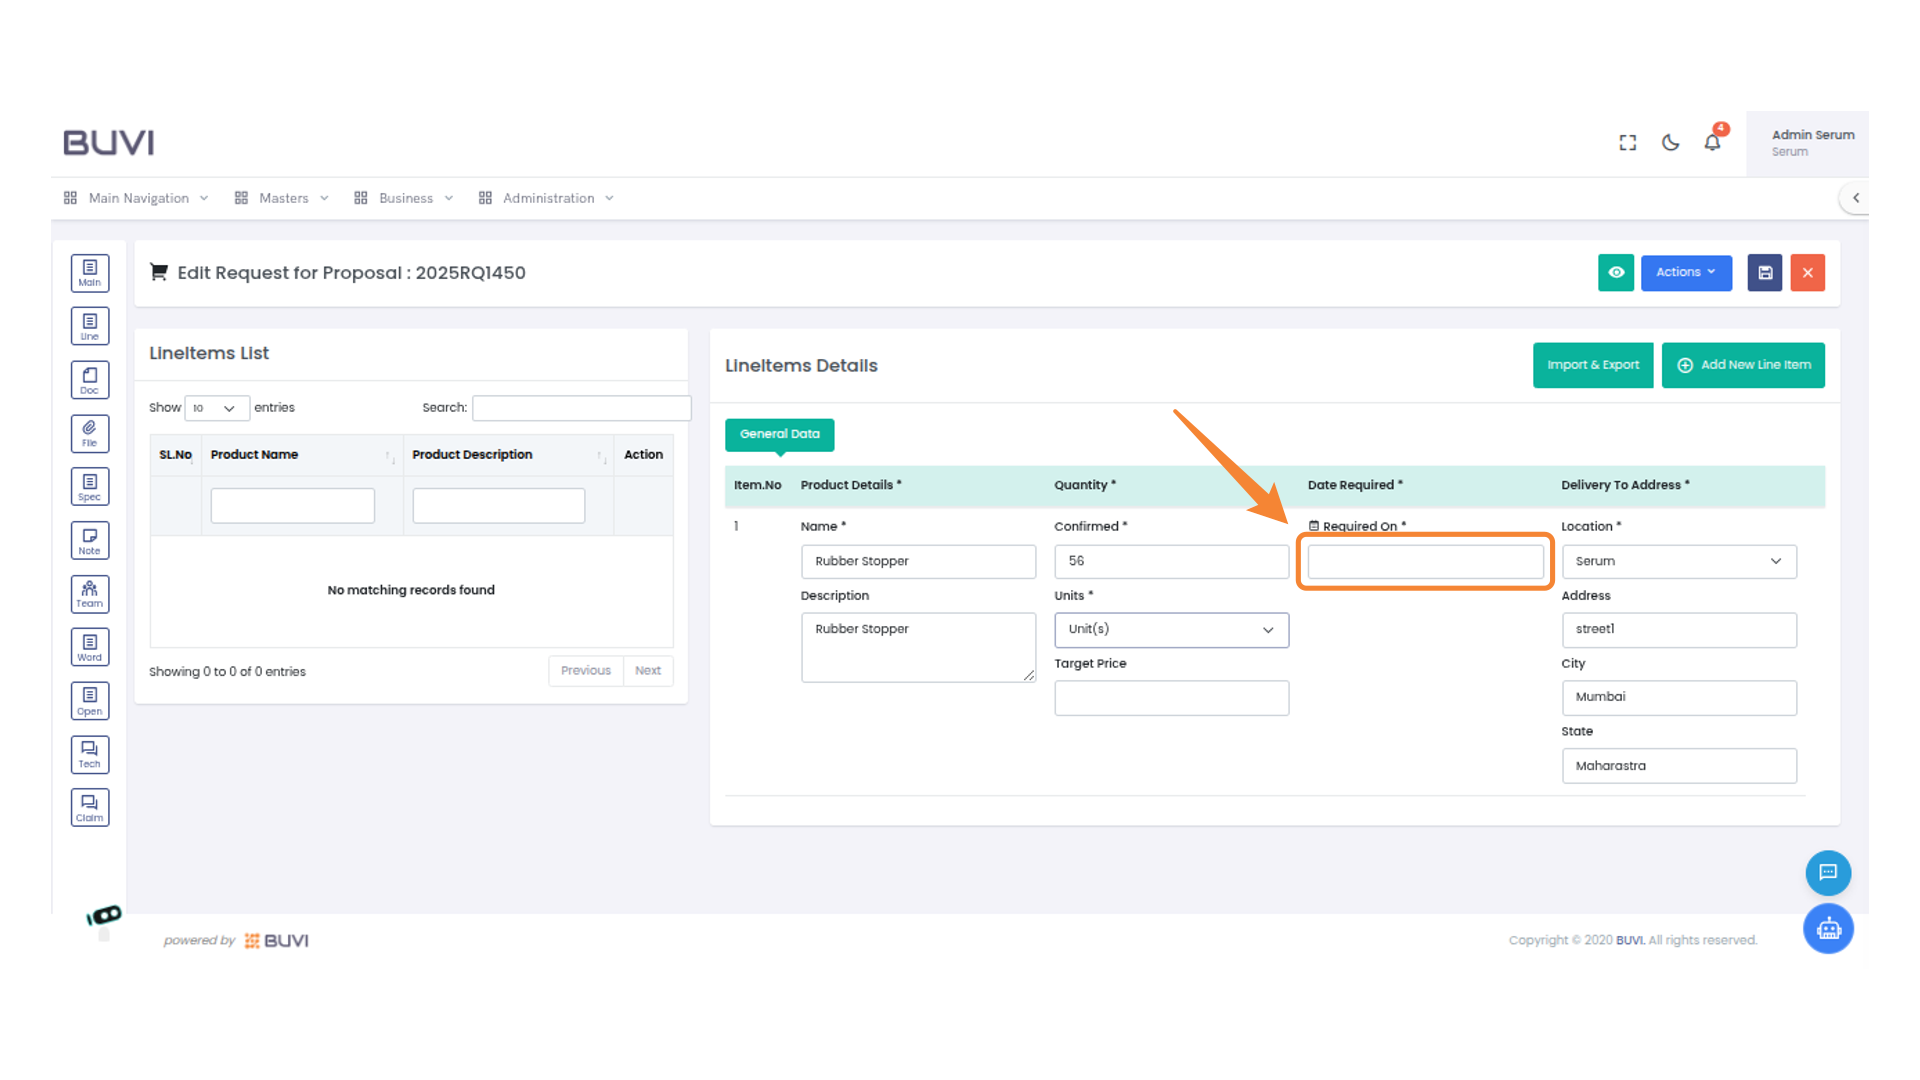
34. Enter Date Required
Enter the required delivery date for the product.
35. Enter Target Price
Input the target price for the line item.

36. Save
save the line item details
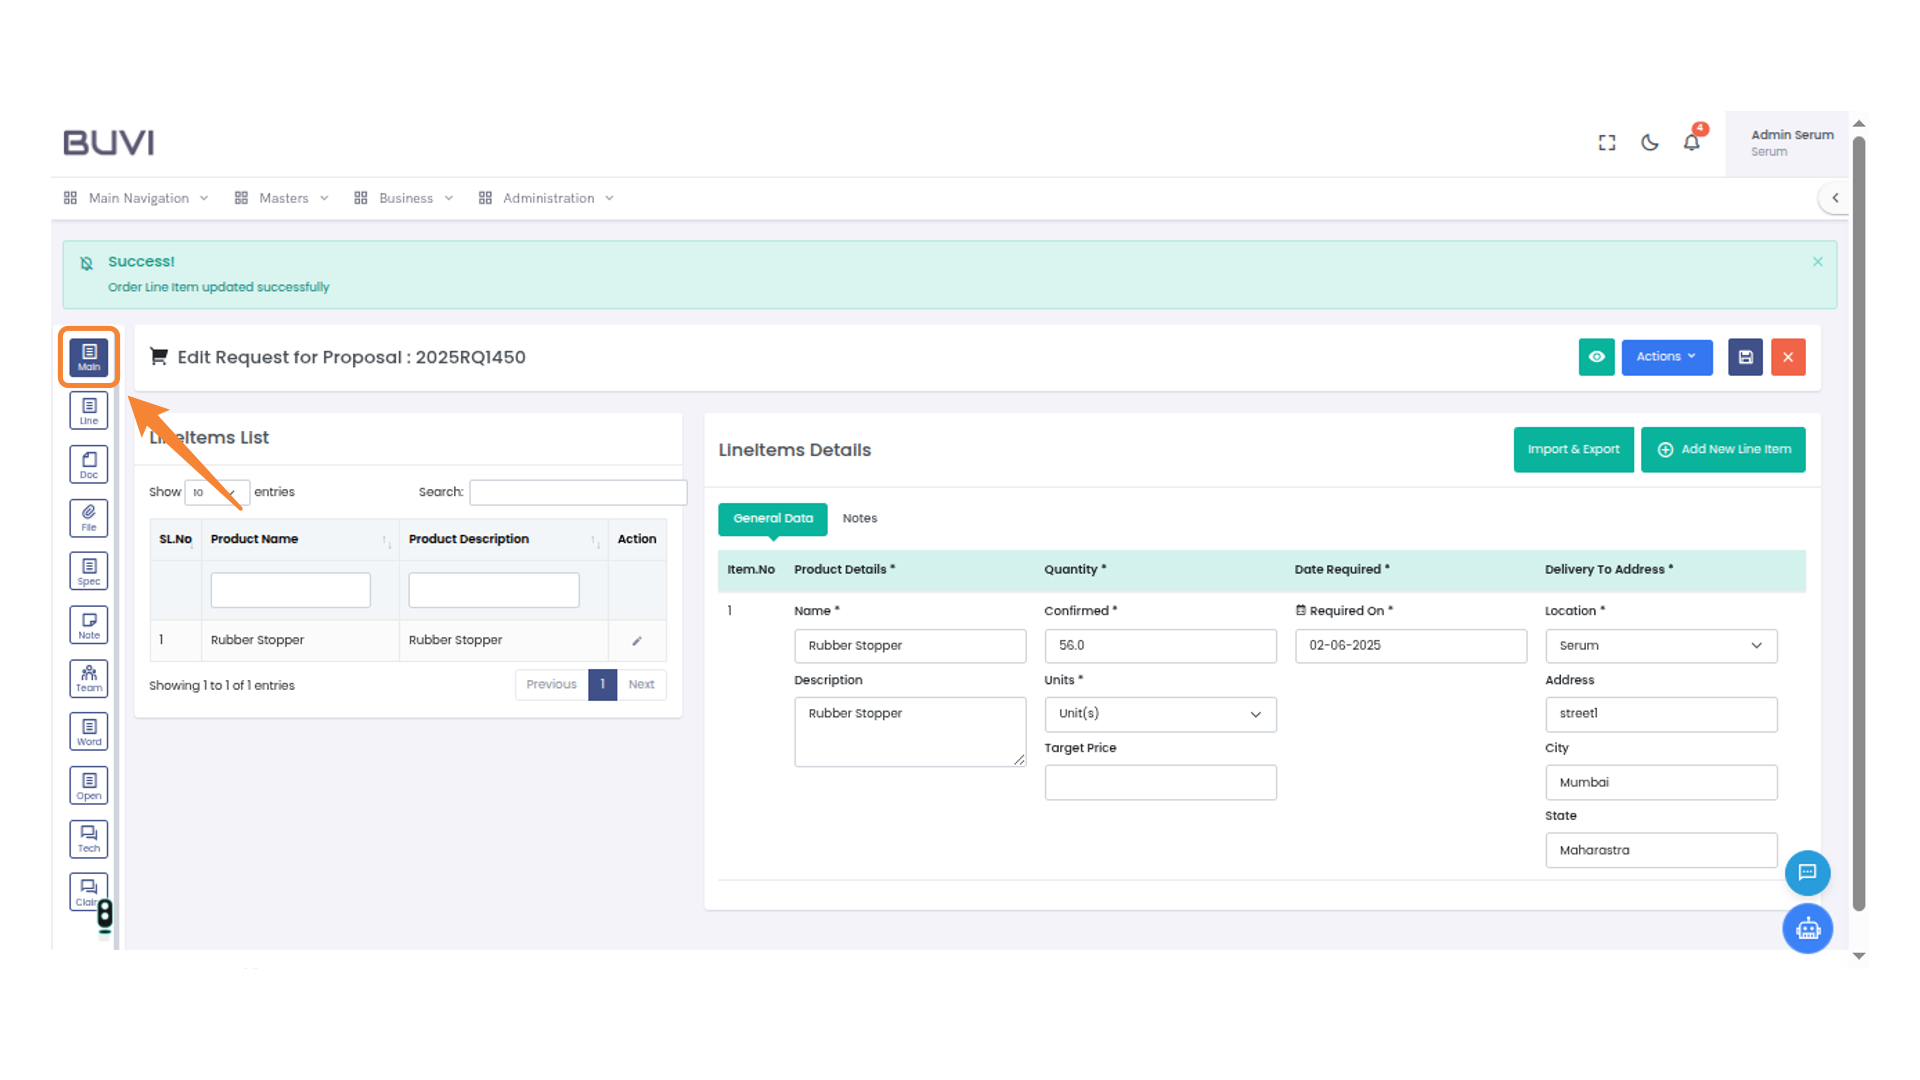
37. Confirm Update Action
Click 'Update' to confirm the changes.
38. Access Main Section
Click to navigate to the main section of the application.
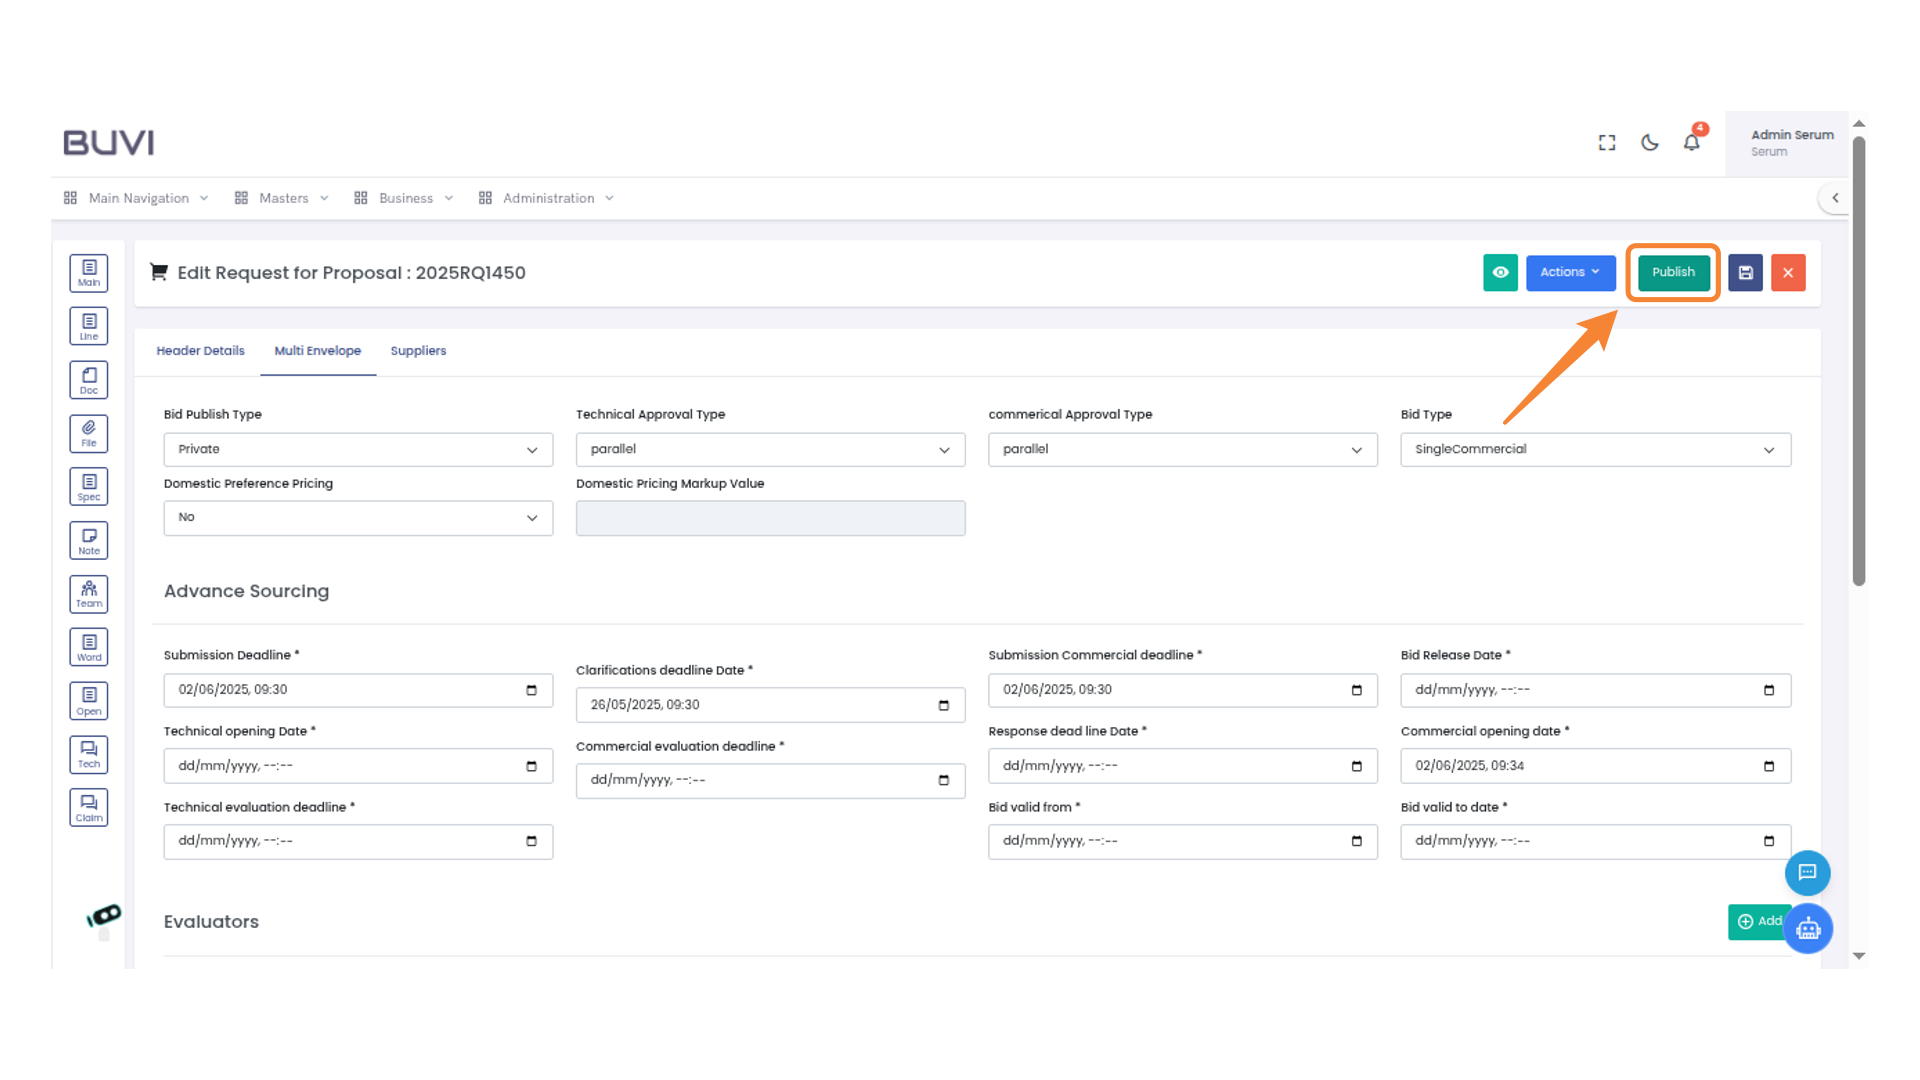
39. Publishing the Proposal
Click 'Publish' to finalize and release the proposal for review.
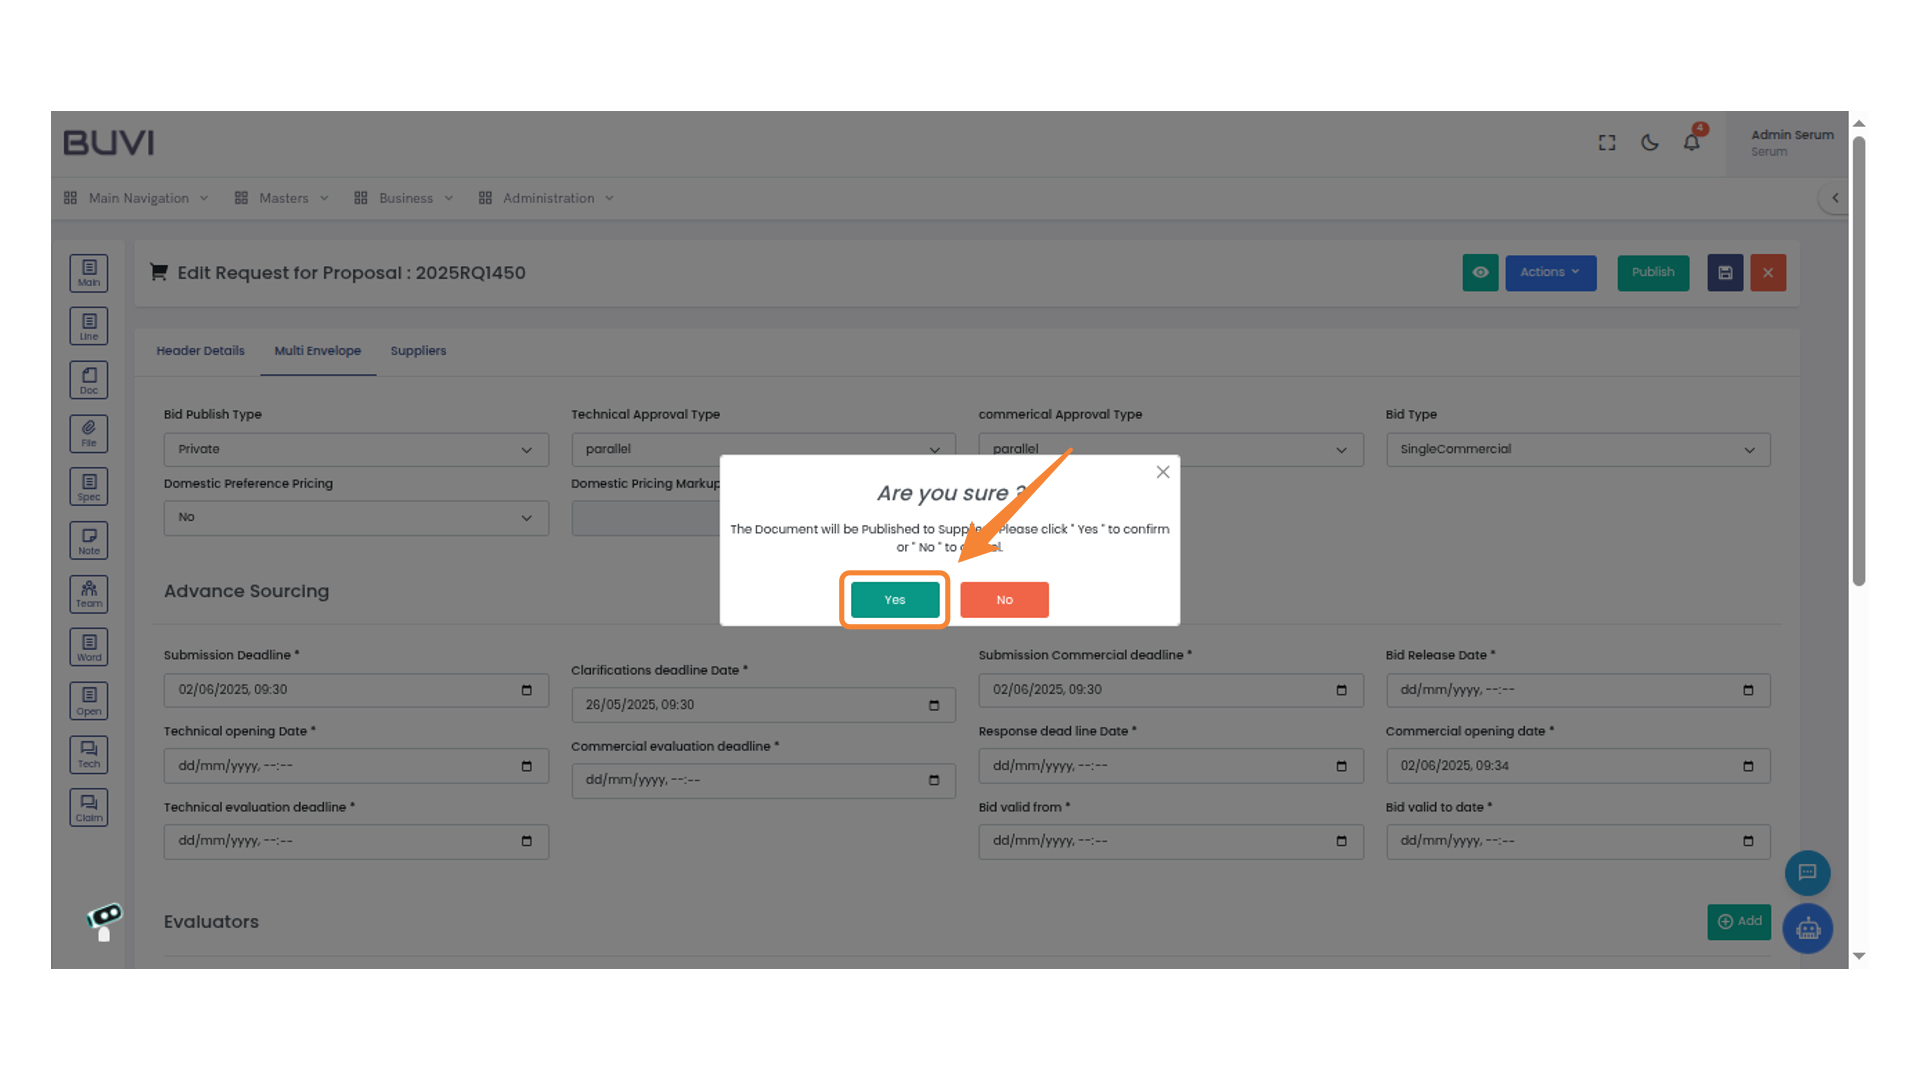
40. Confirm Document Publication
Click 'Yes' to confirm the document publication to suppliers.
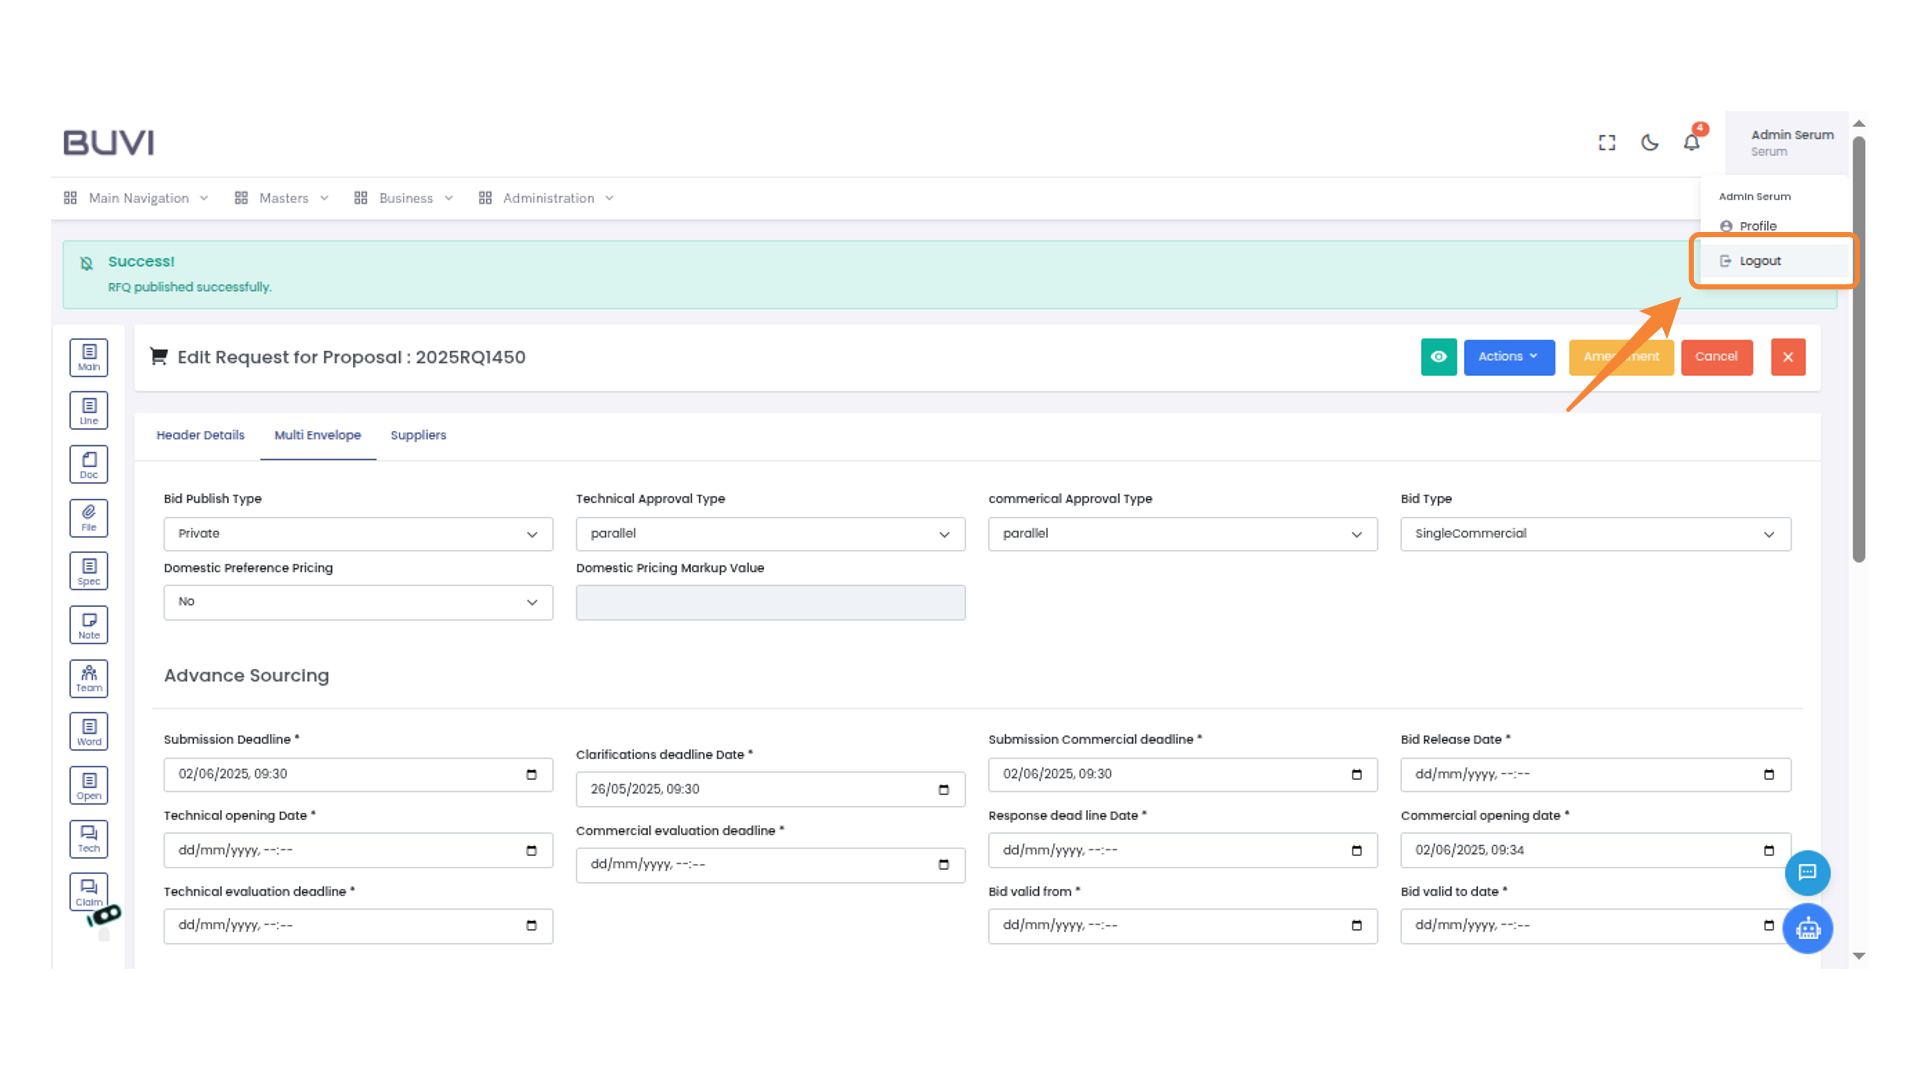
41. Log Out Action
Select 'Logout' to exit your session.
42. Log In
Login to the application

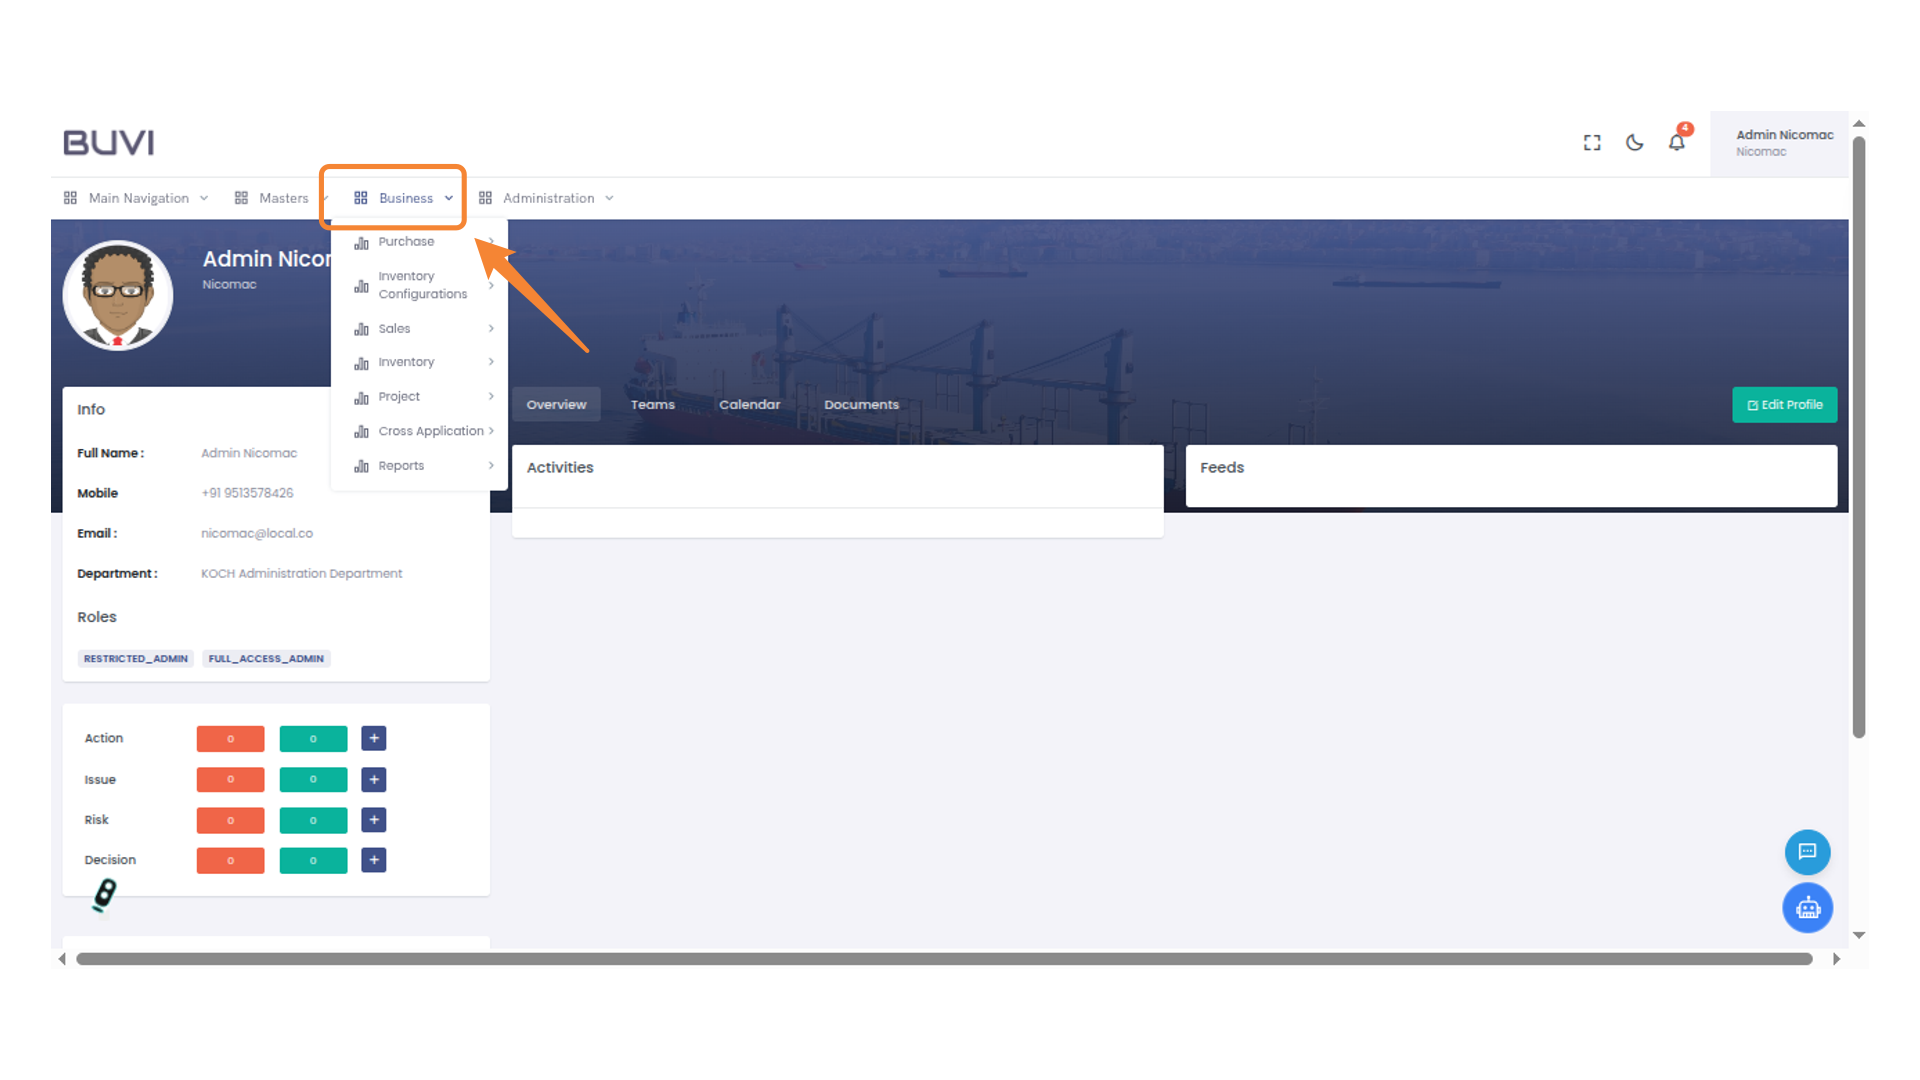
43. Access Business Menu
Access business menu
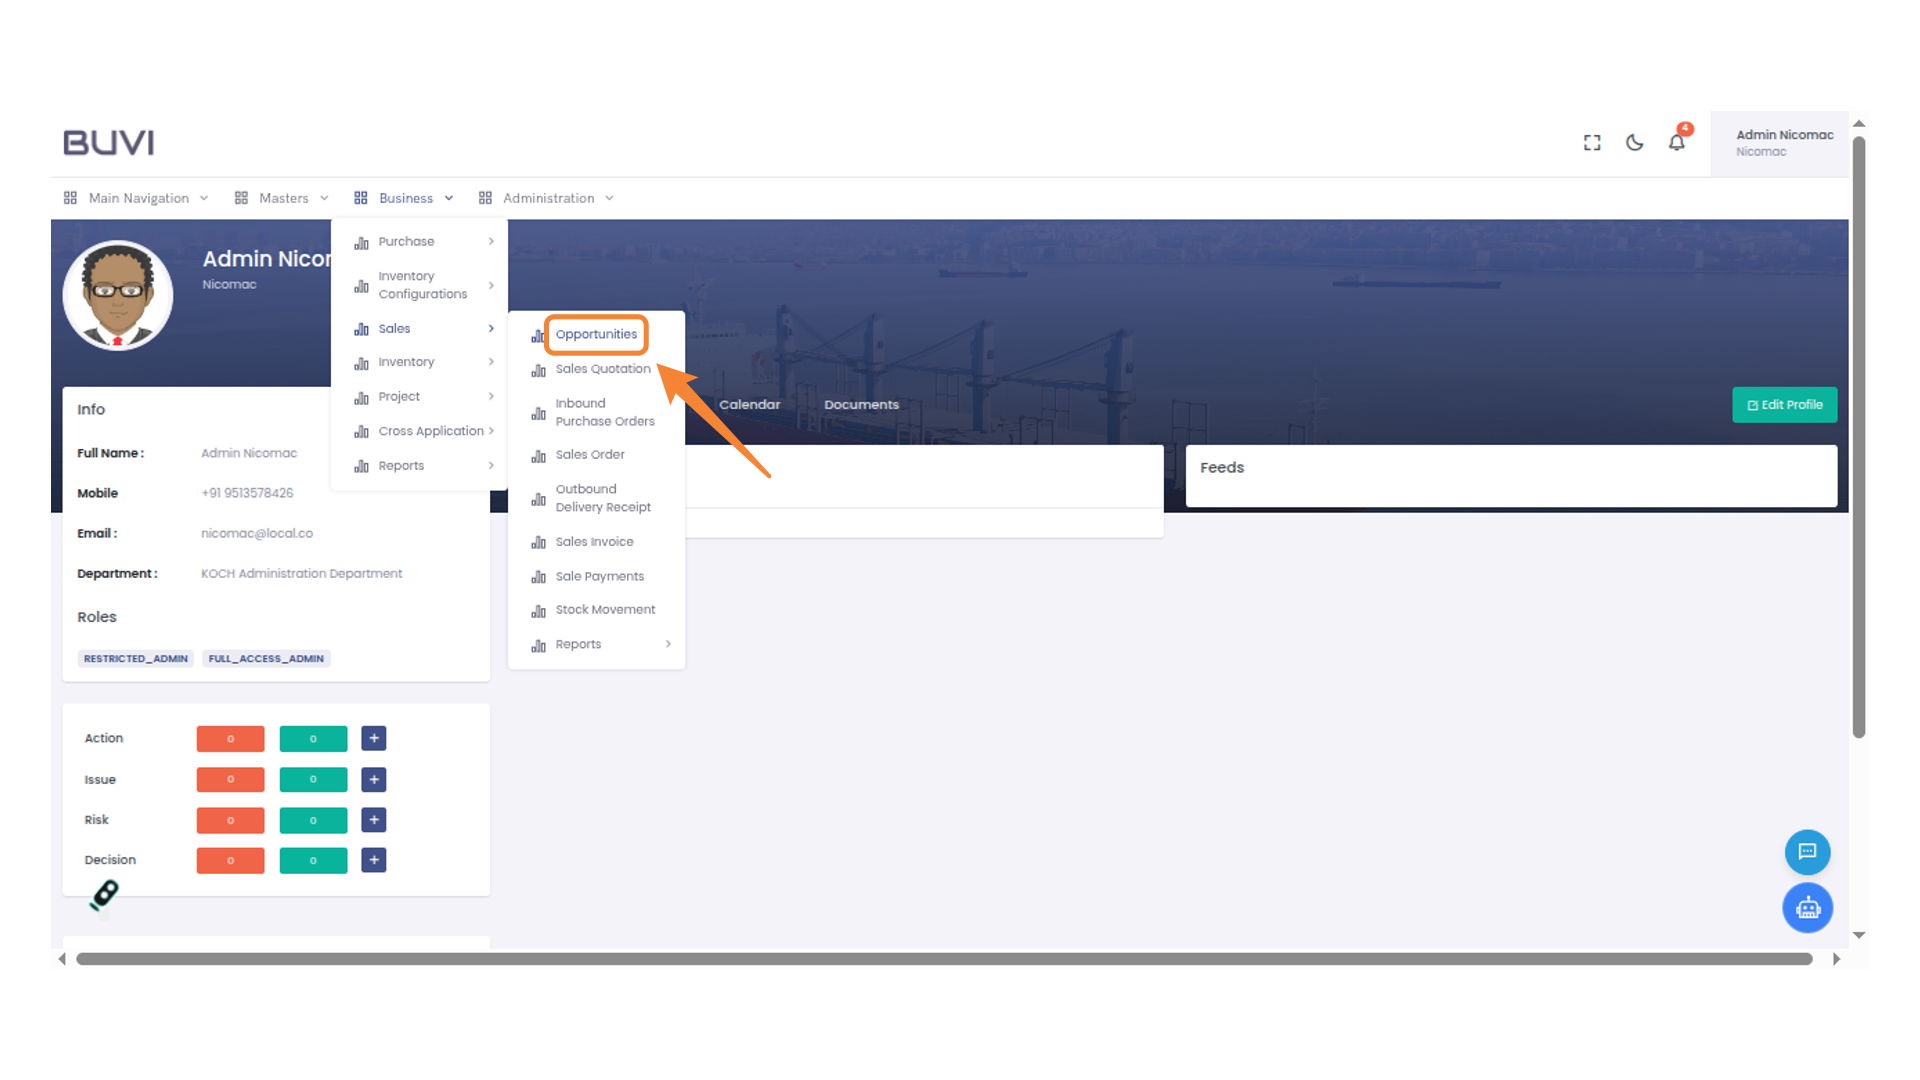
44. Access Opportunities Menu
Select 'Opportunities' .
45. Edit Opportunity
Click the pencil icon to edit the selected opportunity.

46. Approve the Opportunity
Click 'Accept' to approve the current opportunity in the system.

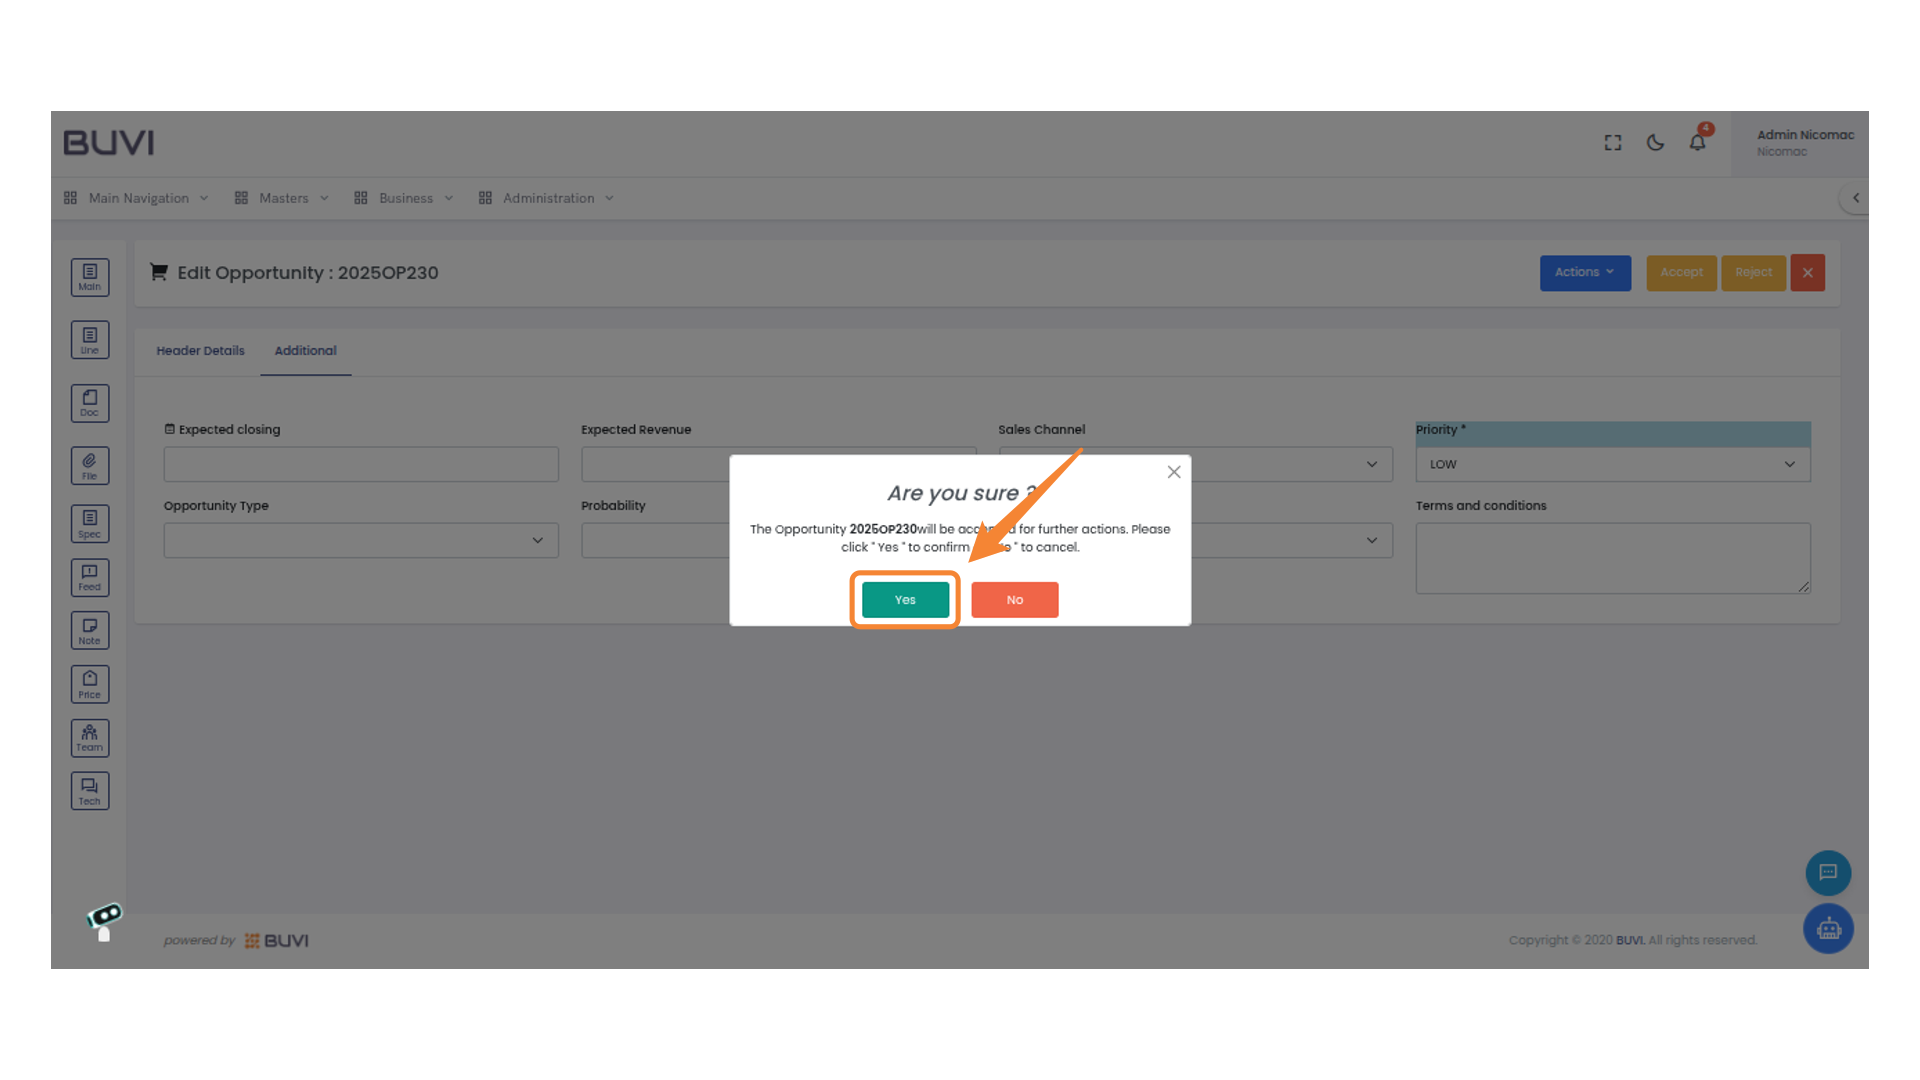
47. Confirm Opportunity Action
Click 'Yes' to confirm the action for opportunity 2025OP230 or 'No' to cancel.
48. Confirm Creation of Quotation
Click 'Yes' to proceed with creating the quotation, ensuring document currency is confirmed.

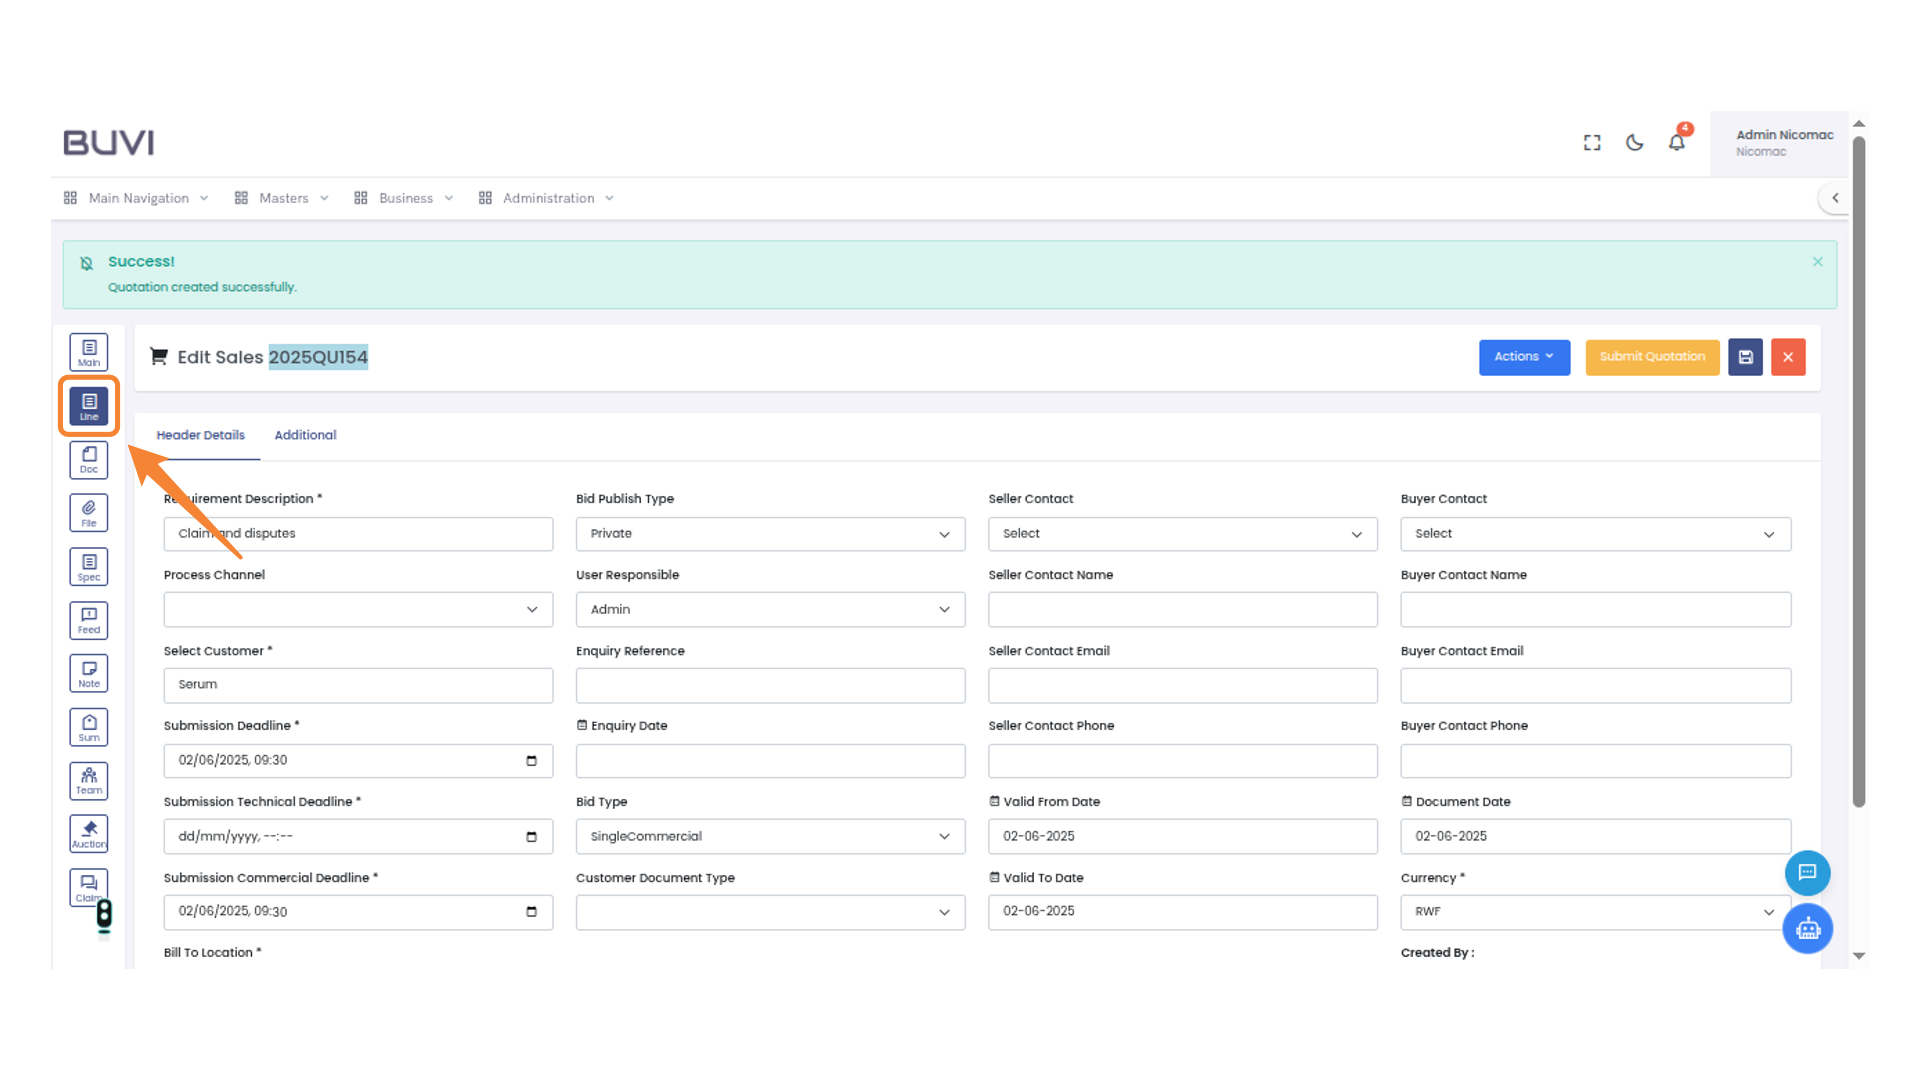
49. Access Line Details
Select the 'Line' icon to view or edit the line details for the document you are working on.
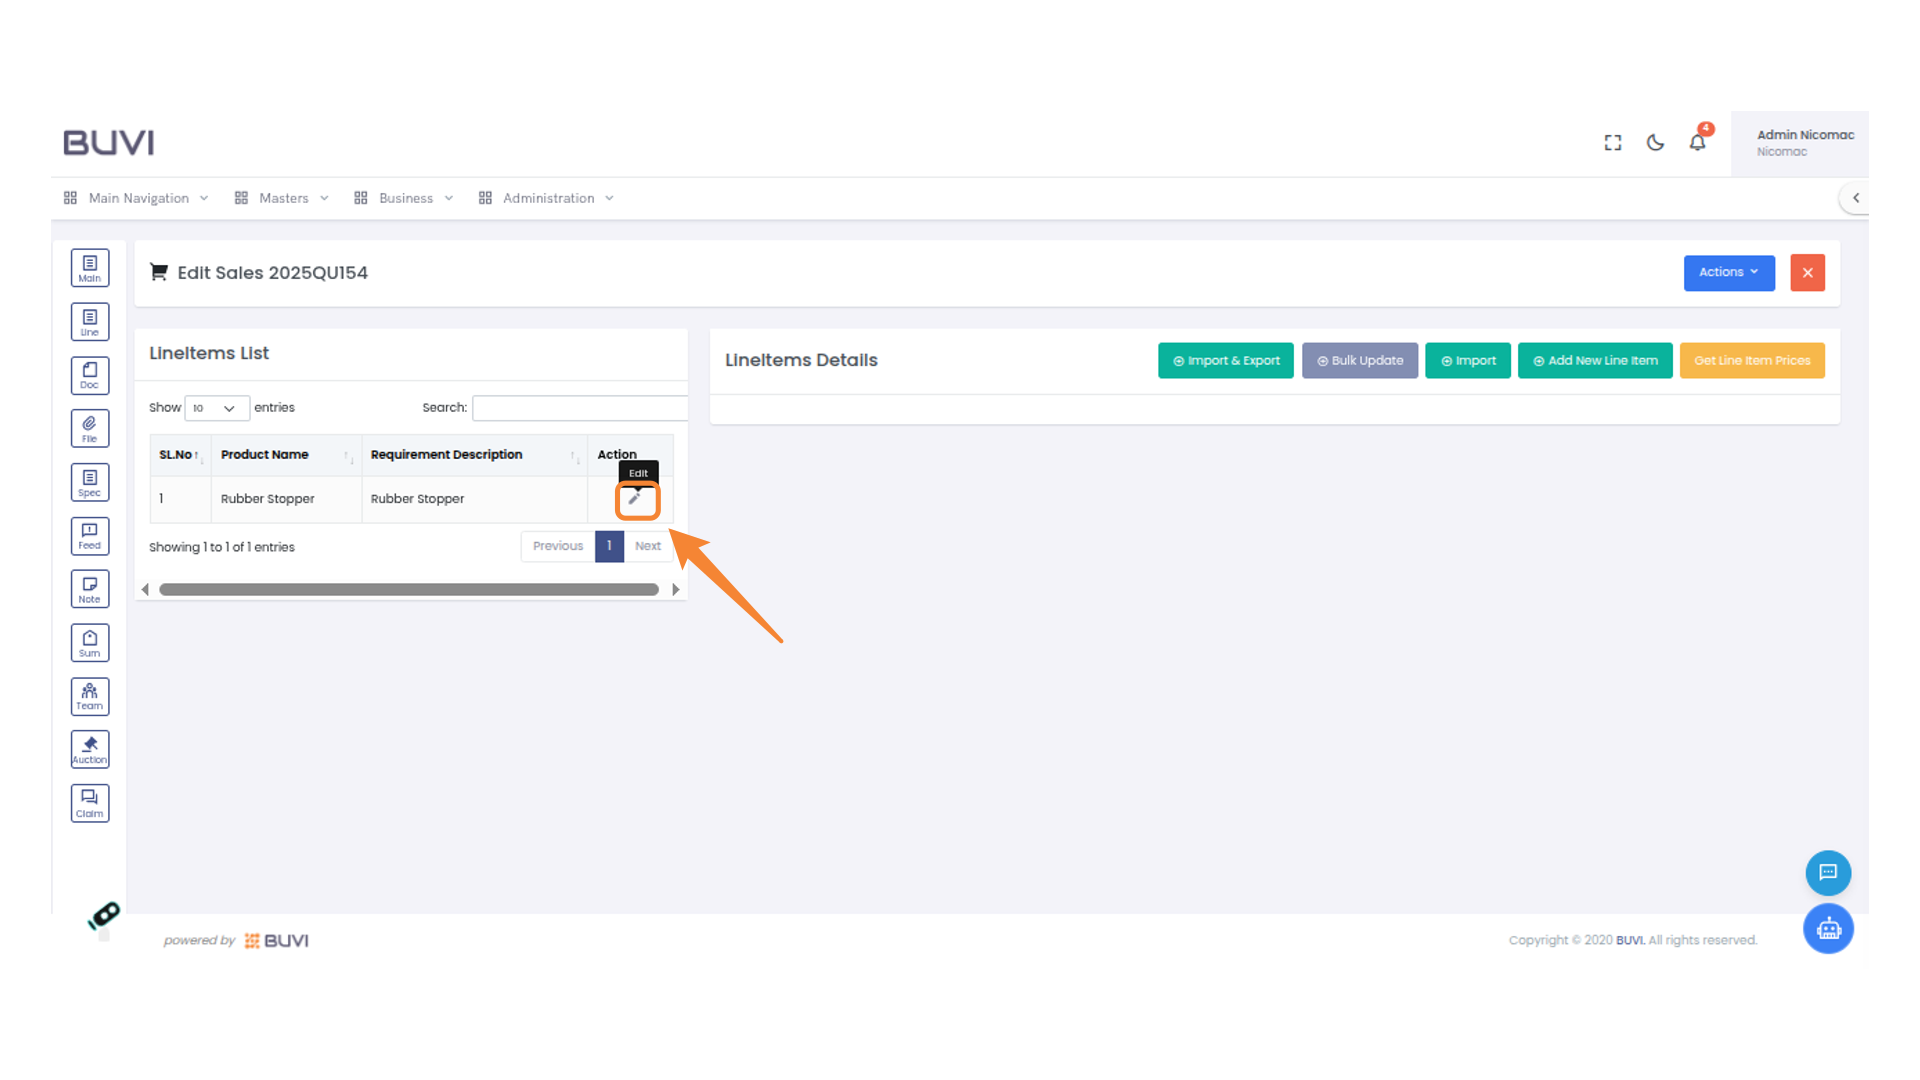
50. Edit Line Item
Click the pencil icon to edit the line item.
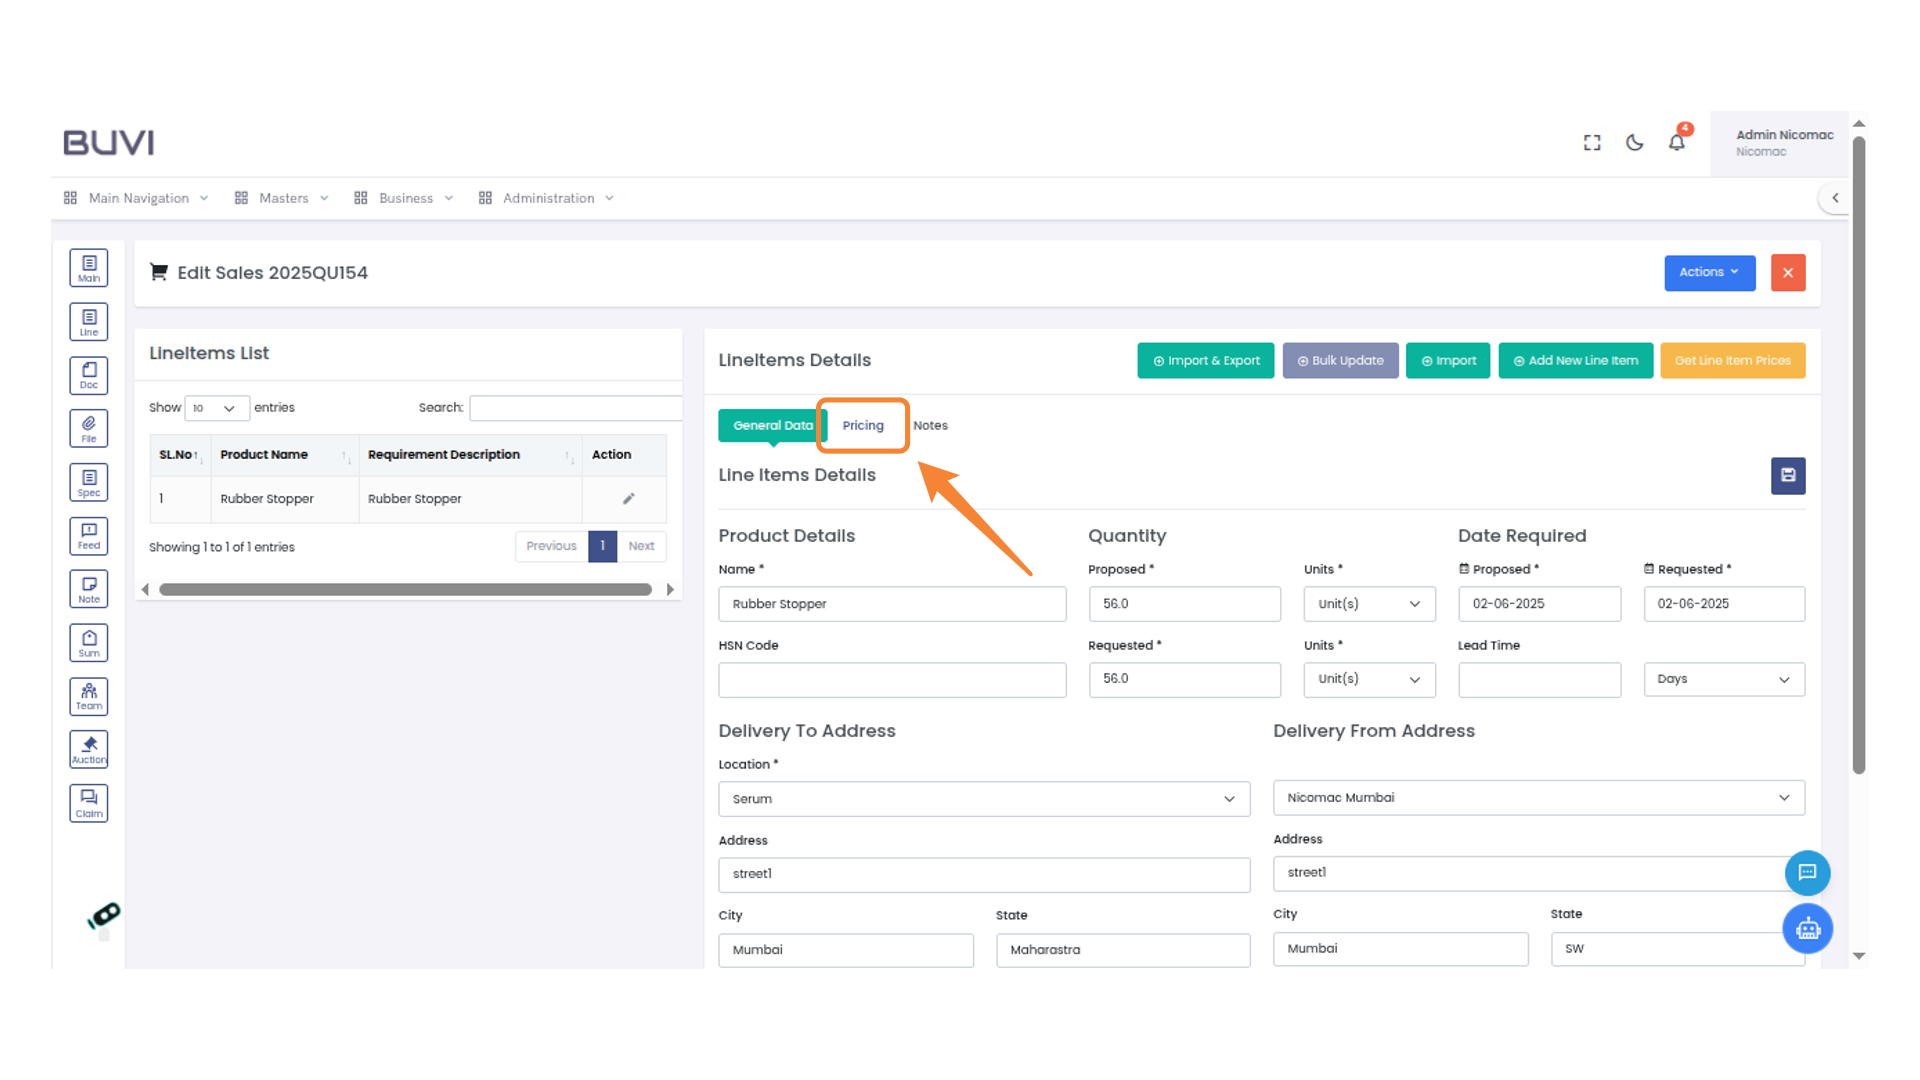
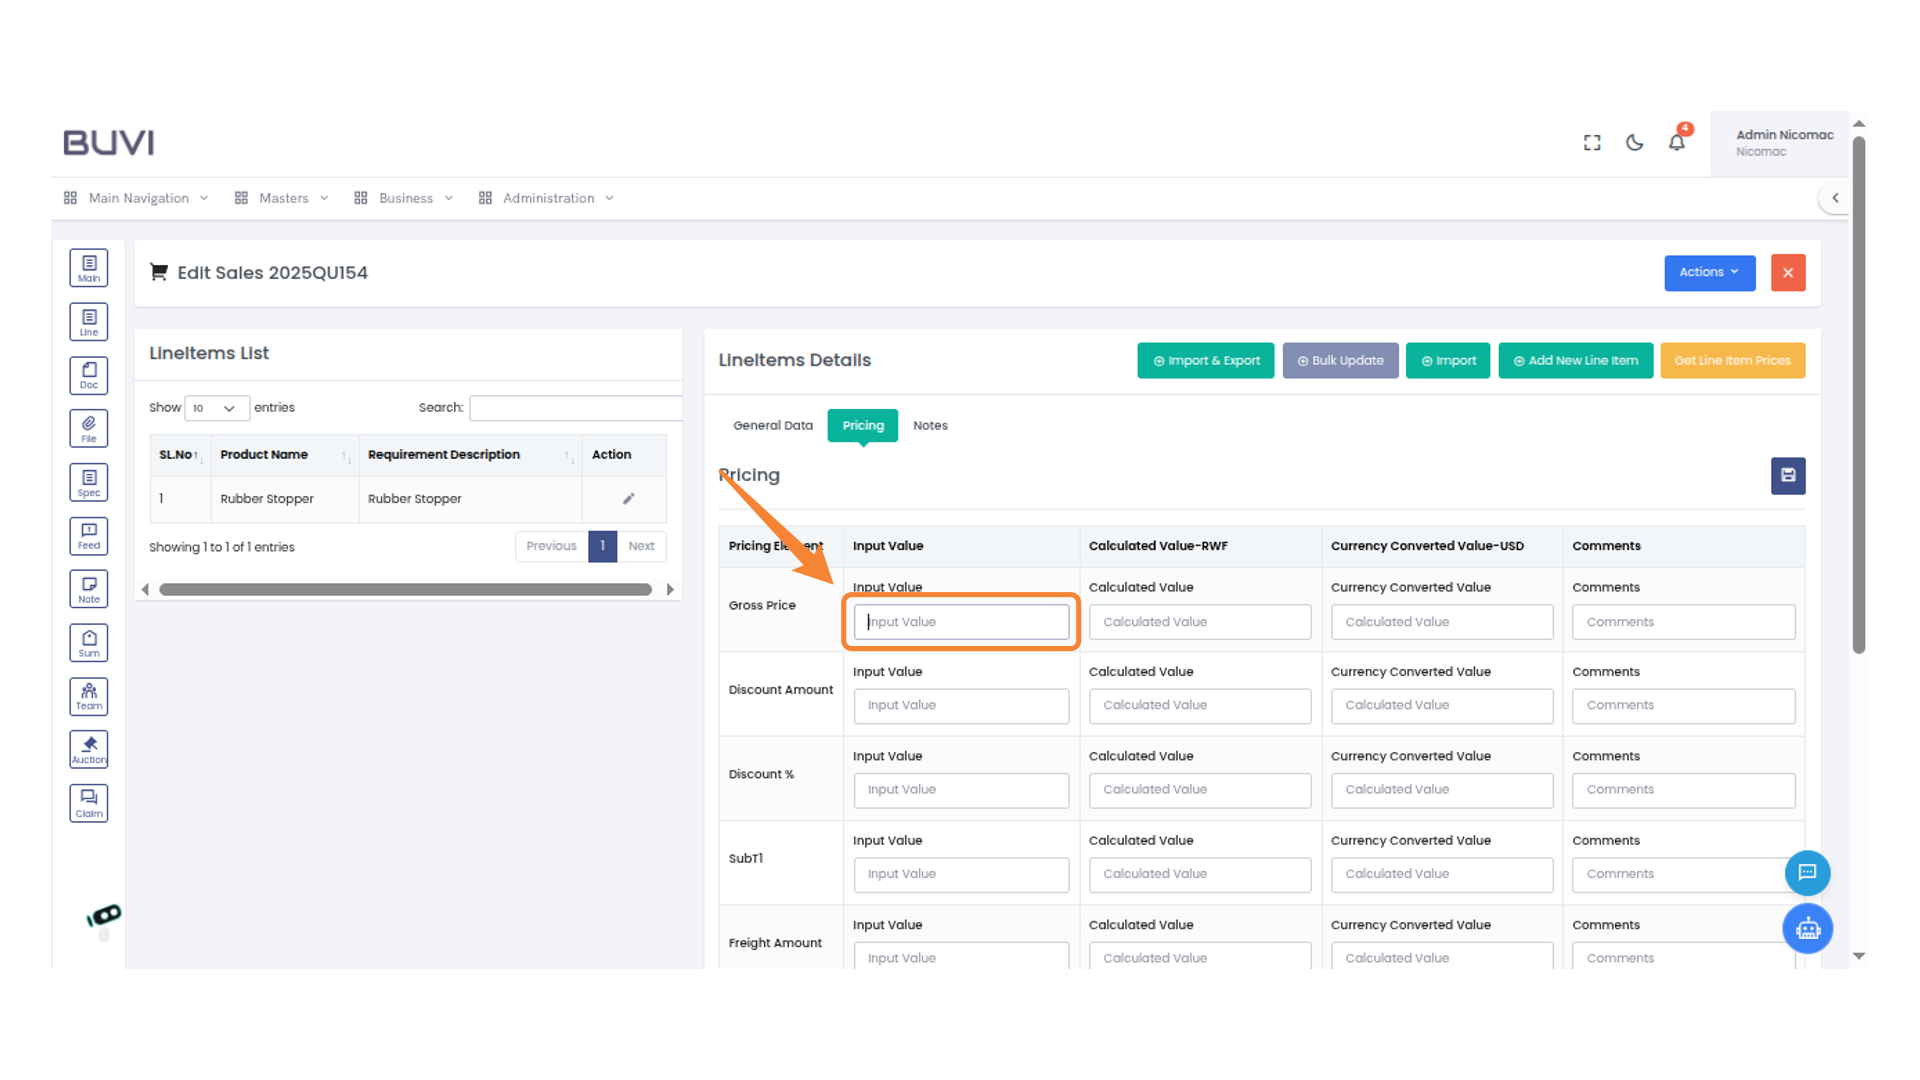
51. Switch to Pricing Tab
Click on 'Pricing' to view and modify line item pricing details.
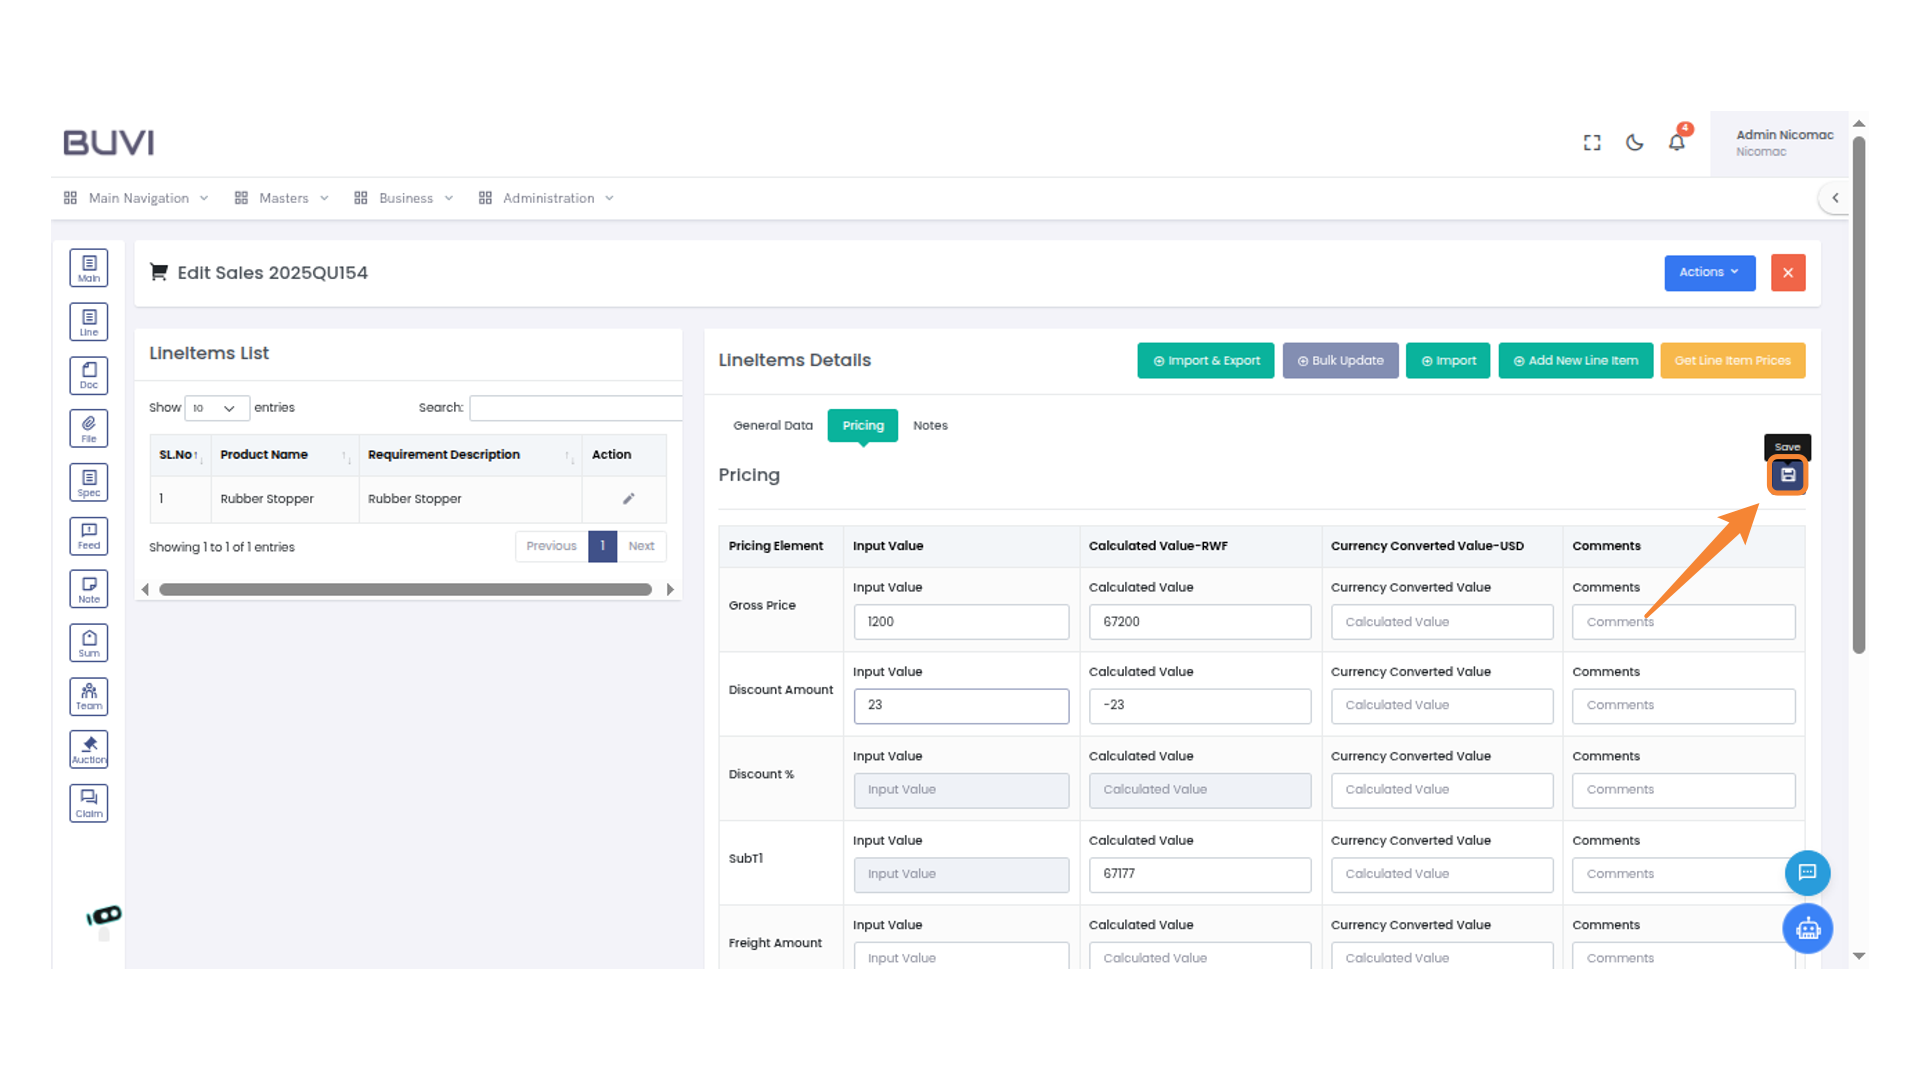
52. Enter Pricing details
Input the pricing details
53. Delete the Entry
Click the trash can icon to delete the item from the list.
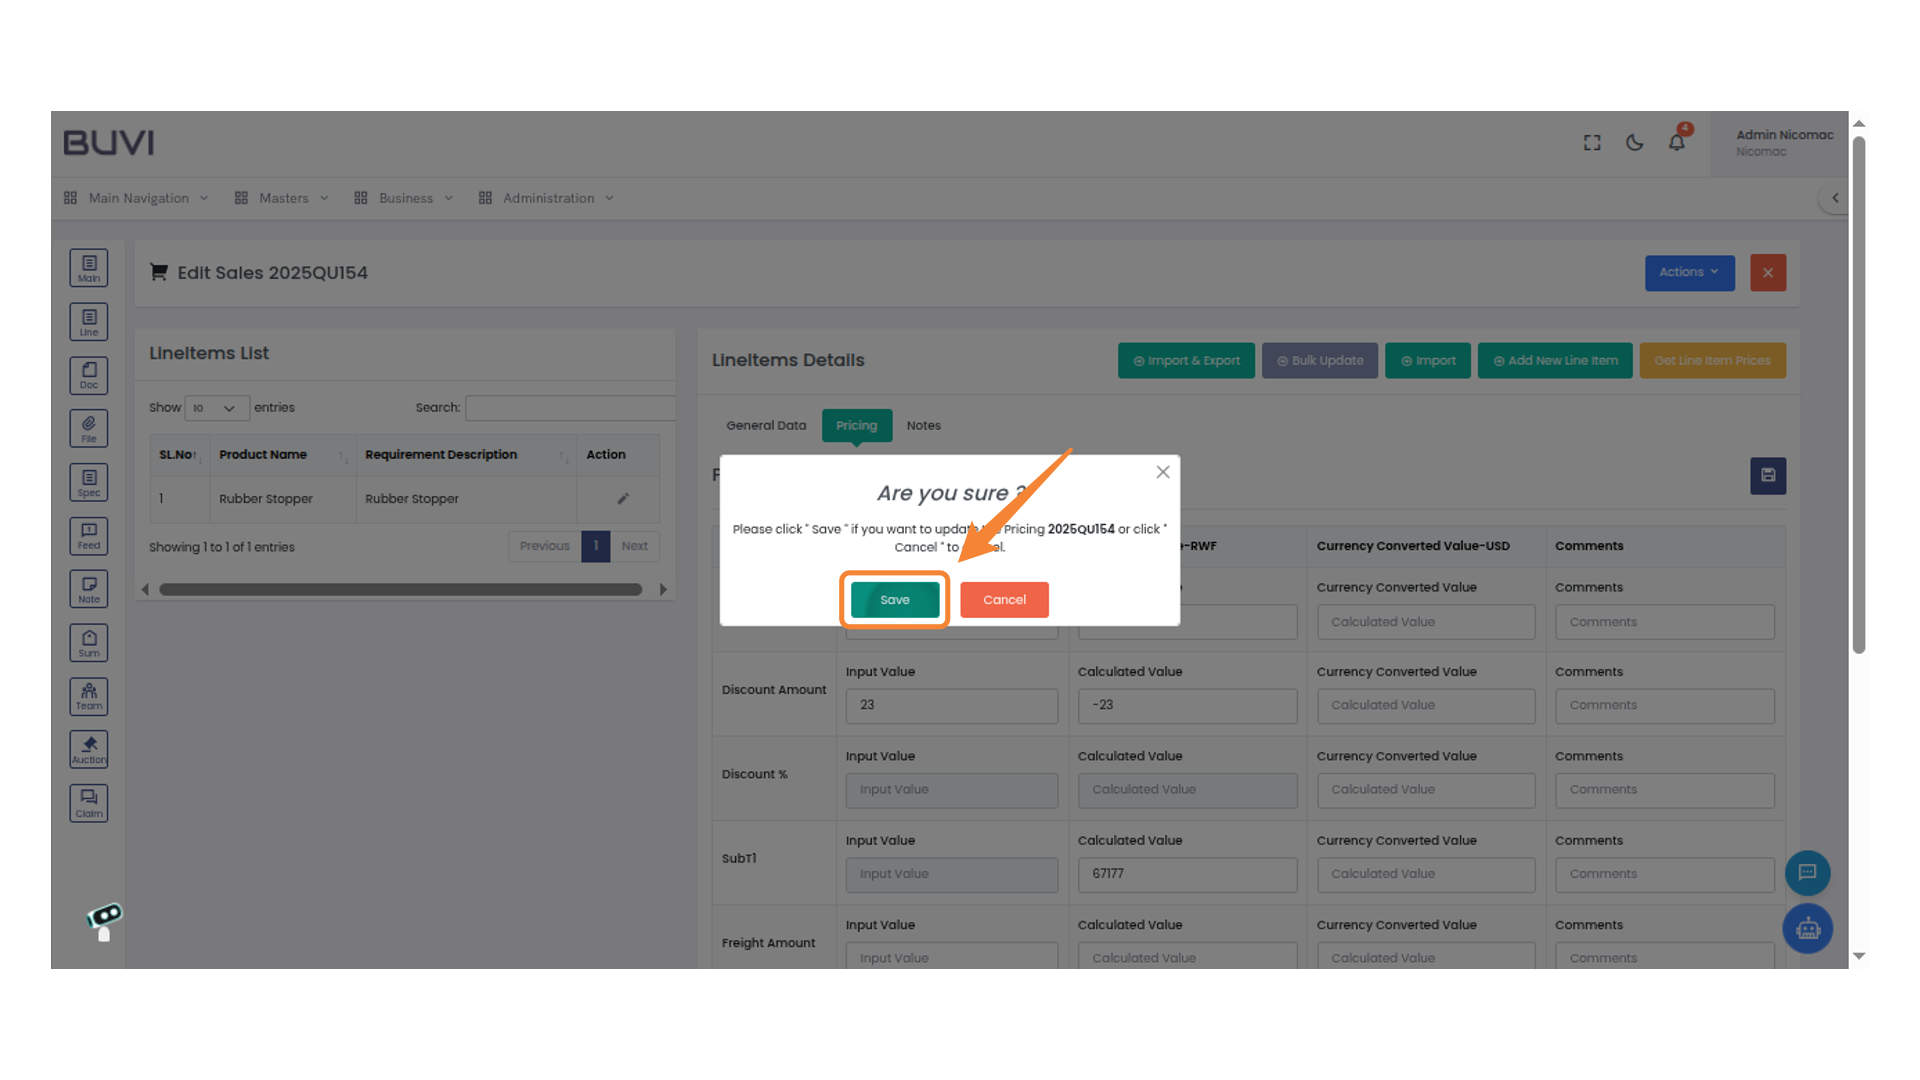
54. Confirm Pricing Update
Click 'Save' to confirm the pricing update for document 2025QUI154 or choose 'Cancel' to terminate the action.
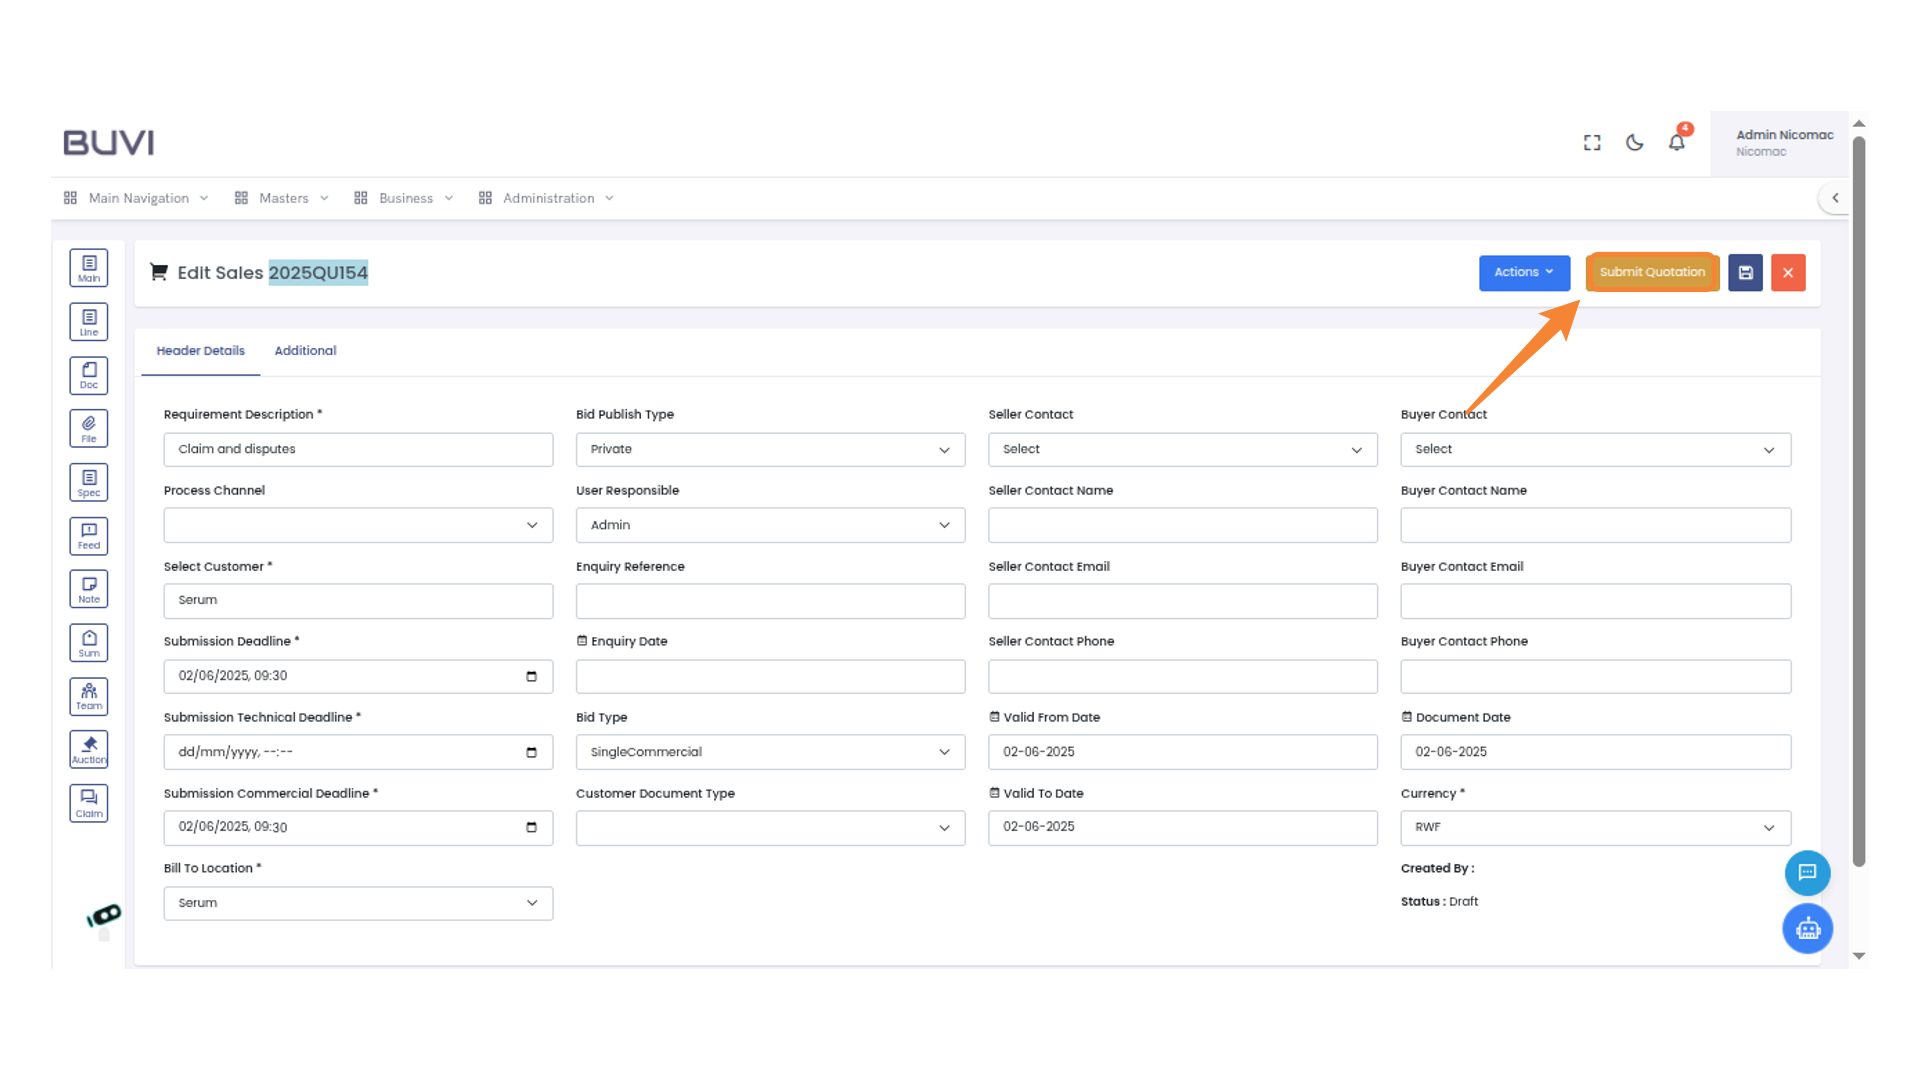
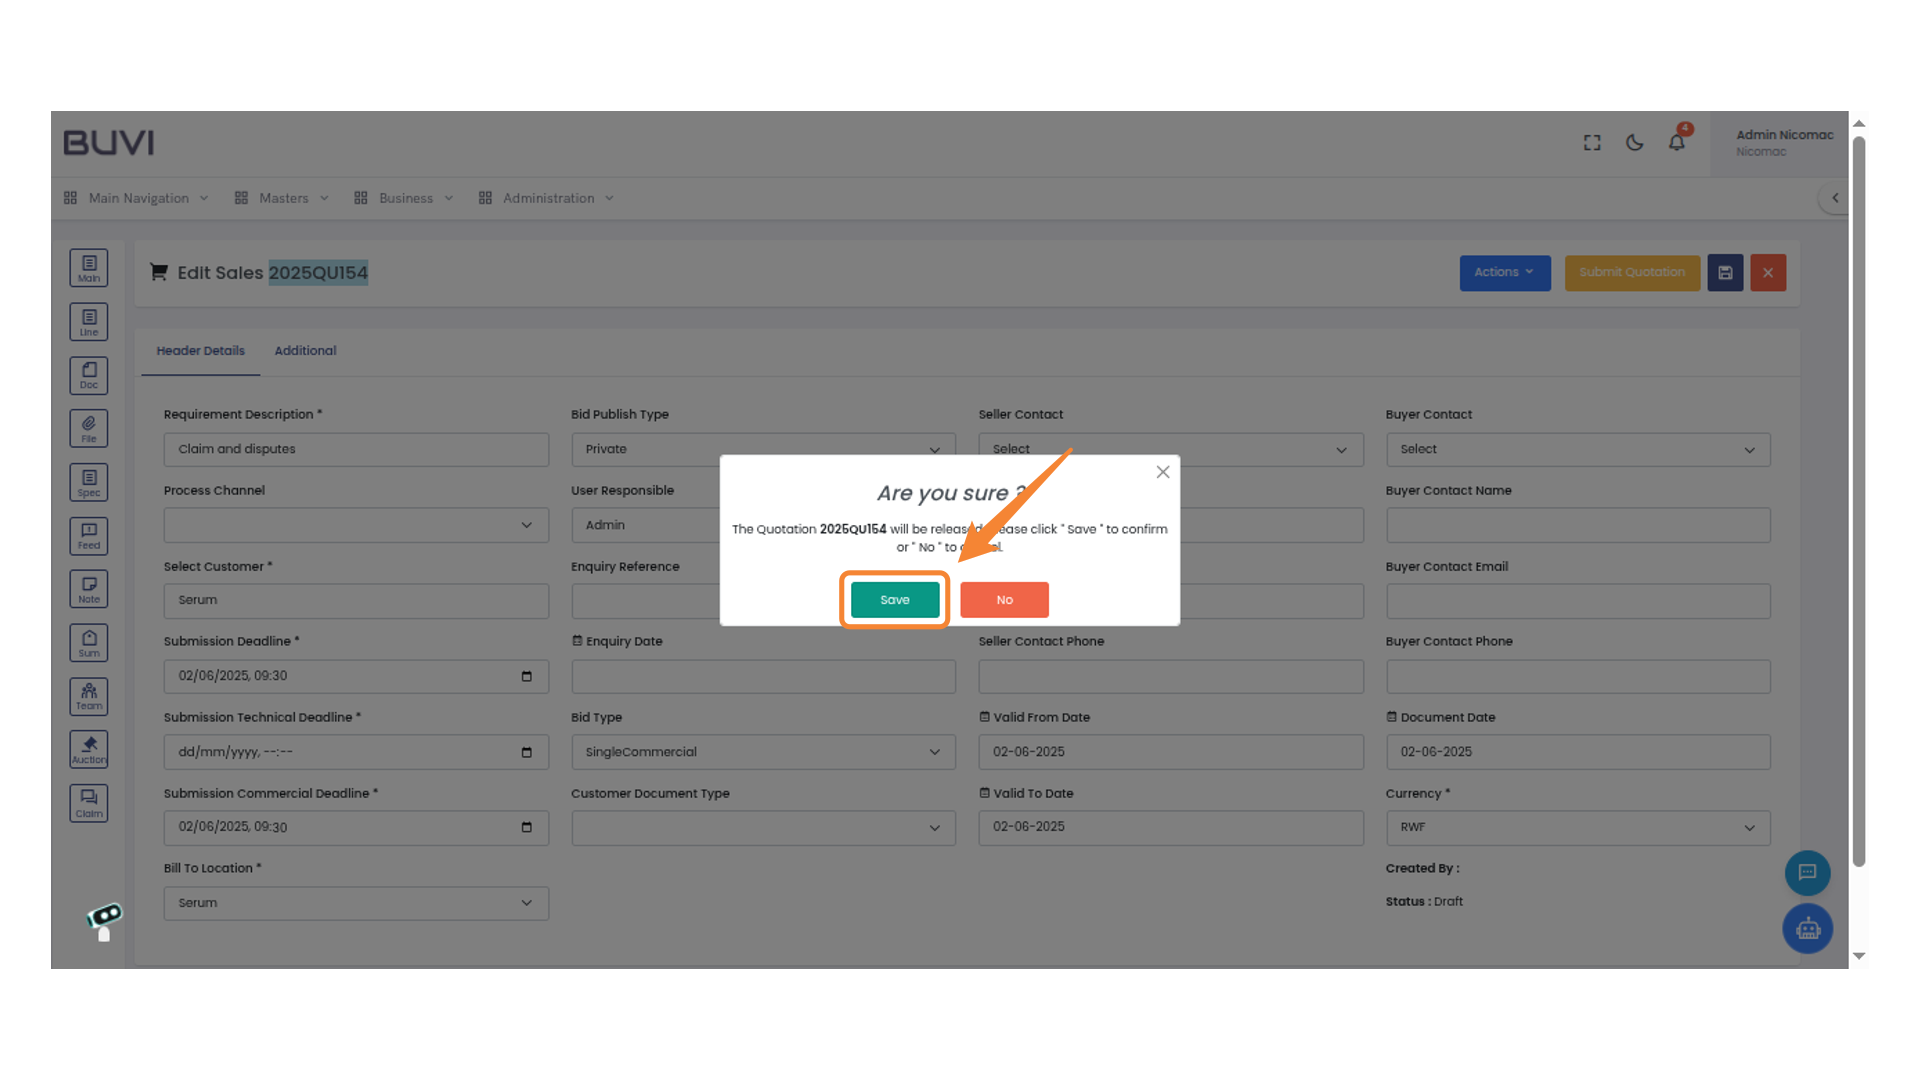
55. Submit Quotation
Click "Submit Quotation" to proceed with the sales submission process.
56. Confirm Action
Click 'Save' to confirm the release of Quotation or 'No' to cancel.
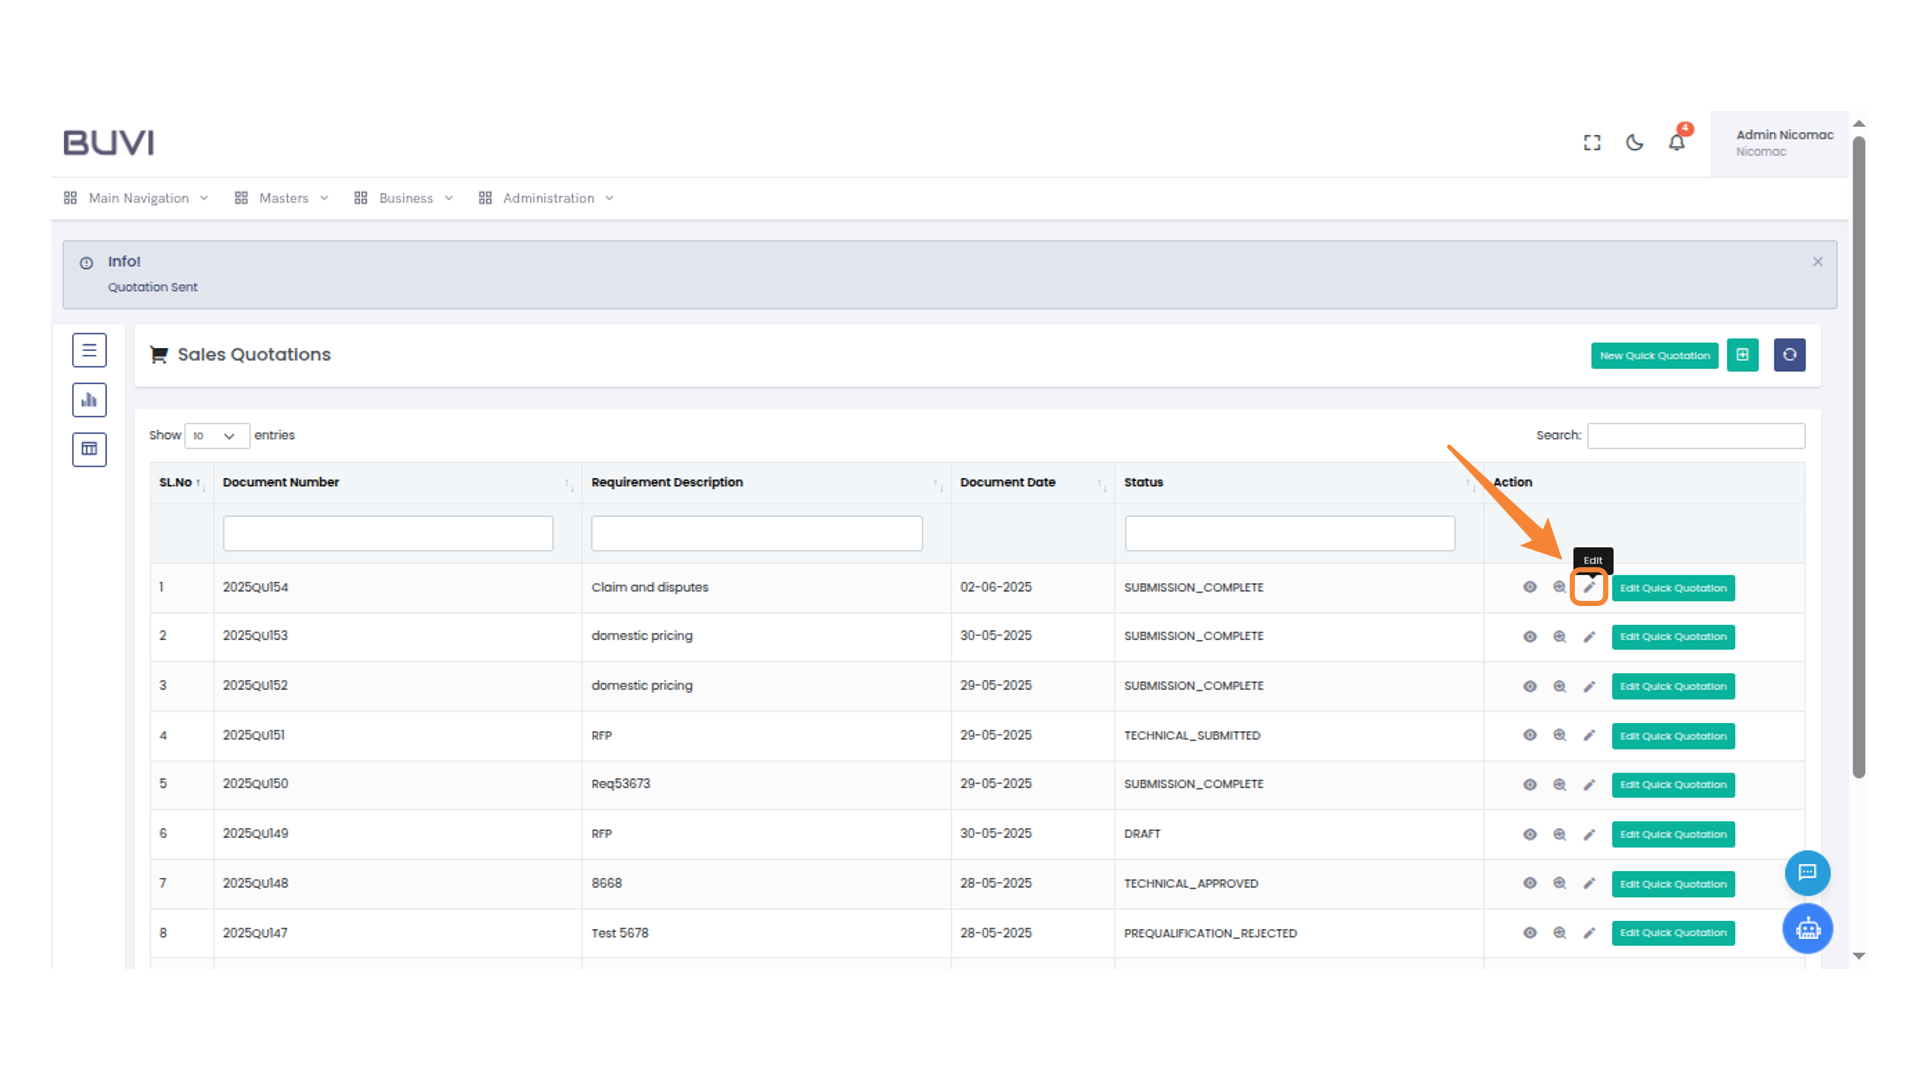
57. Edit Sales Quotation
Click the pencil icon to edit the sales quotation.
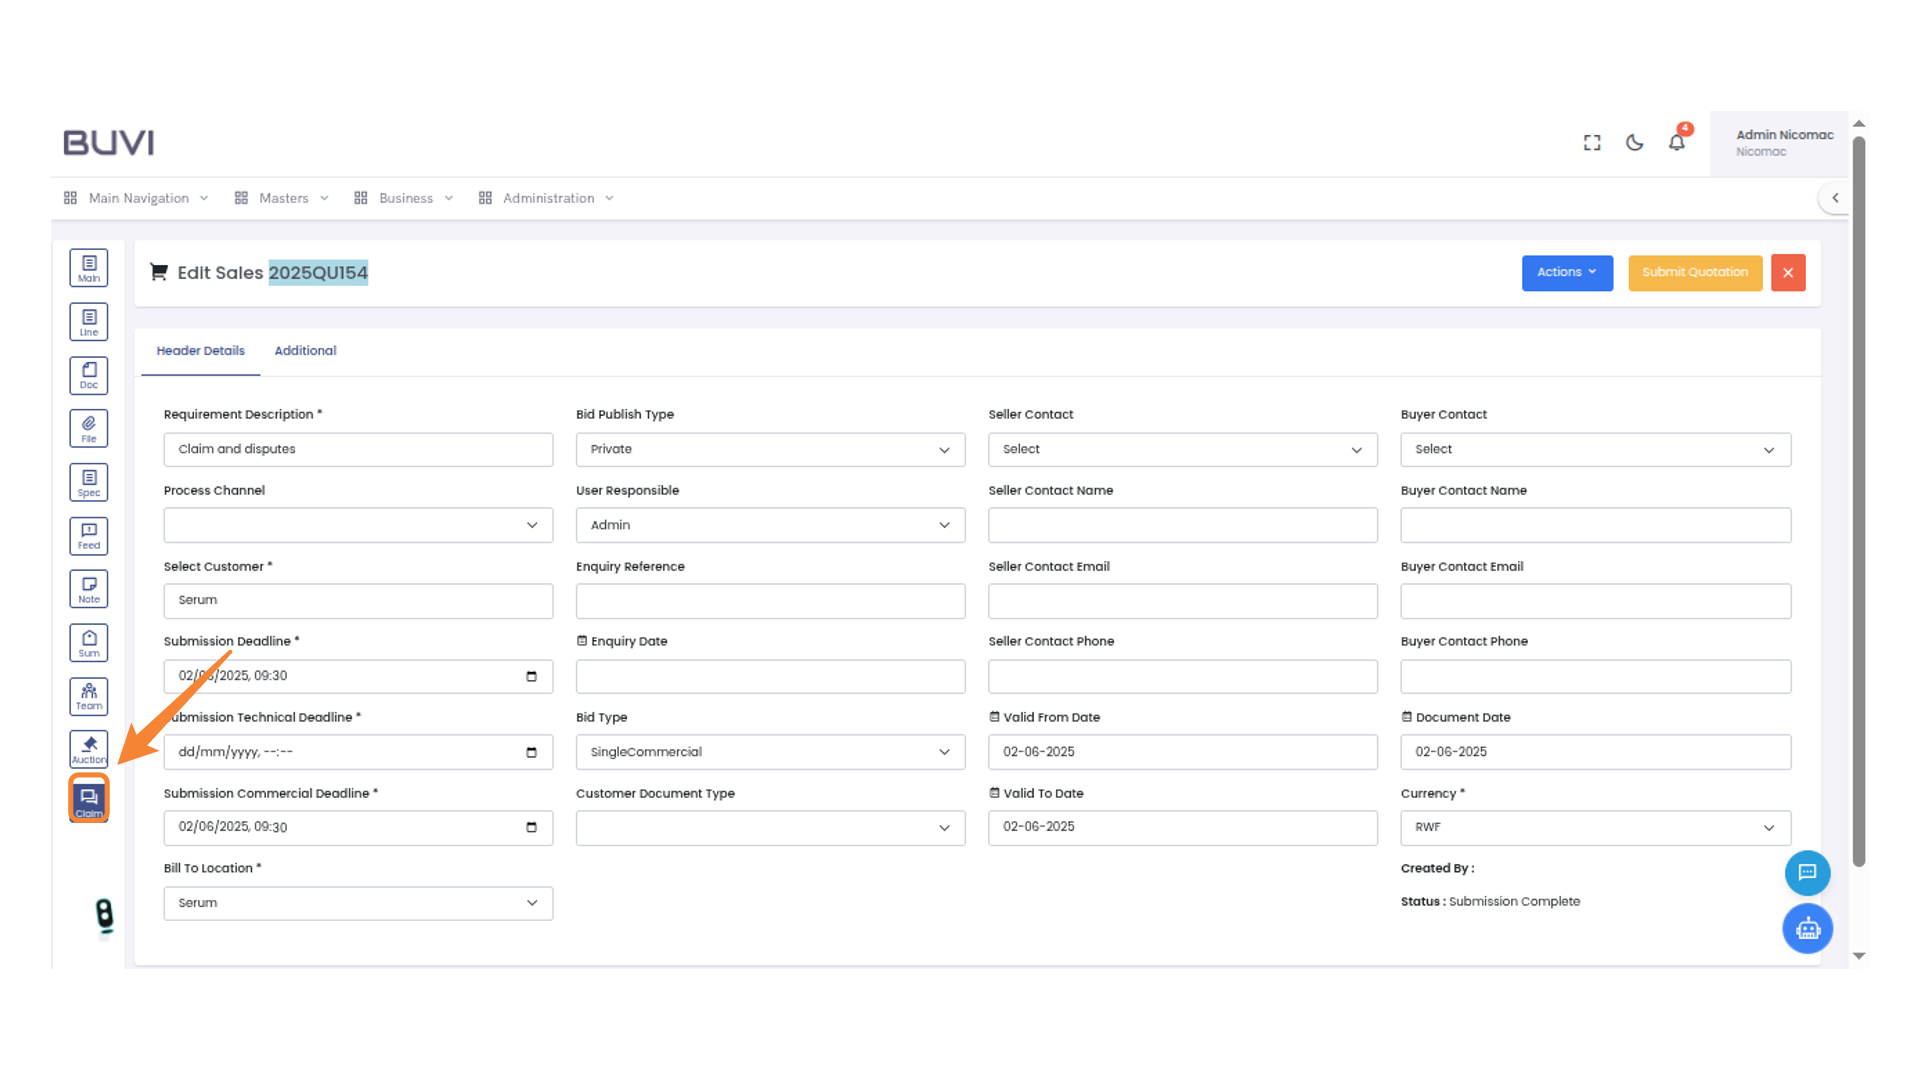
58. Navigate to Claims Section
Select the 'Claim' option from the main menu to manage claims and disputes effectively.
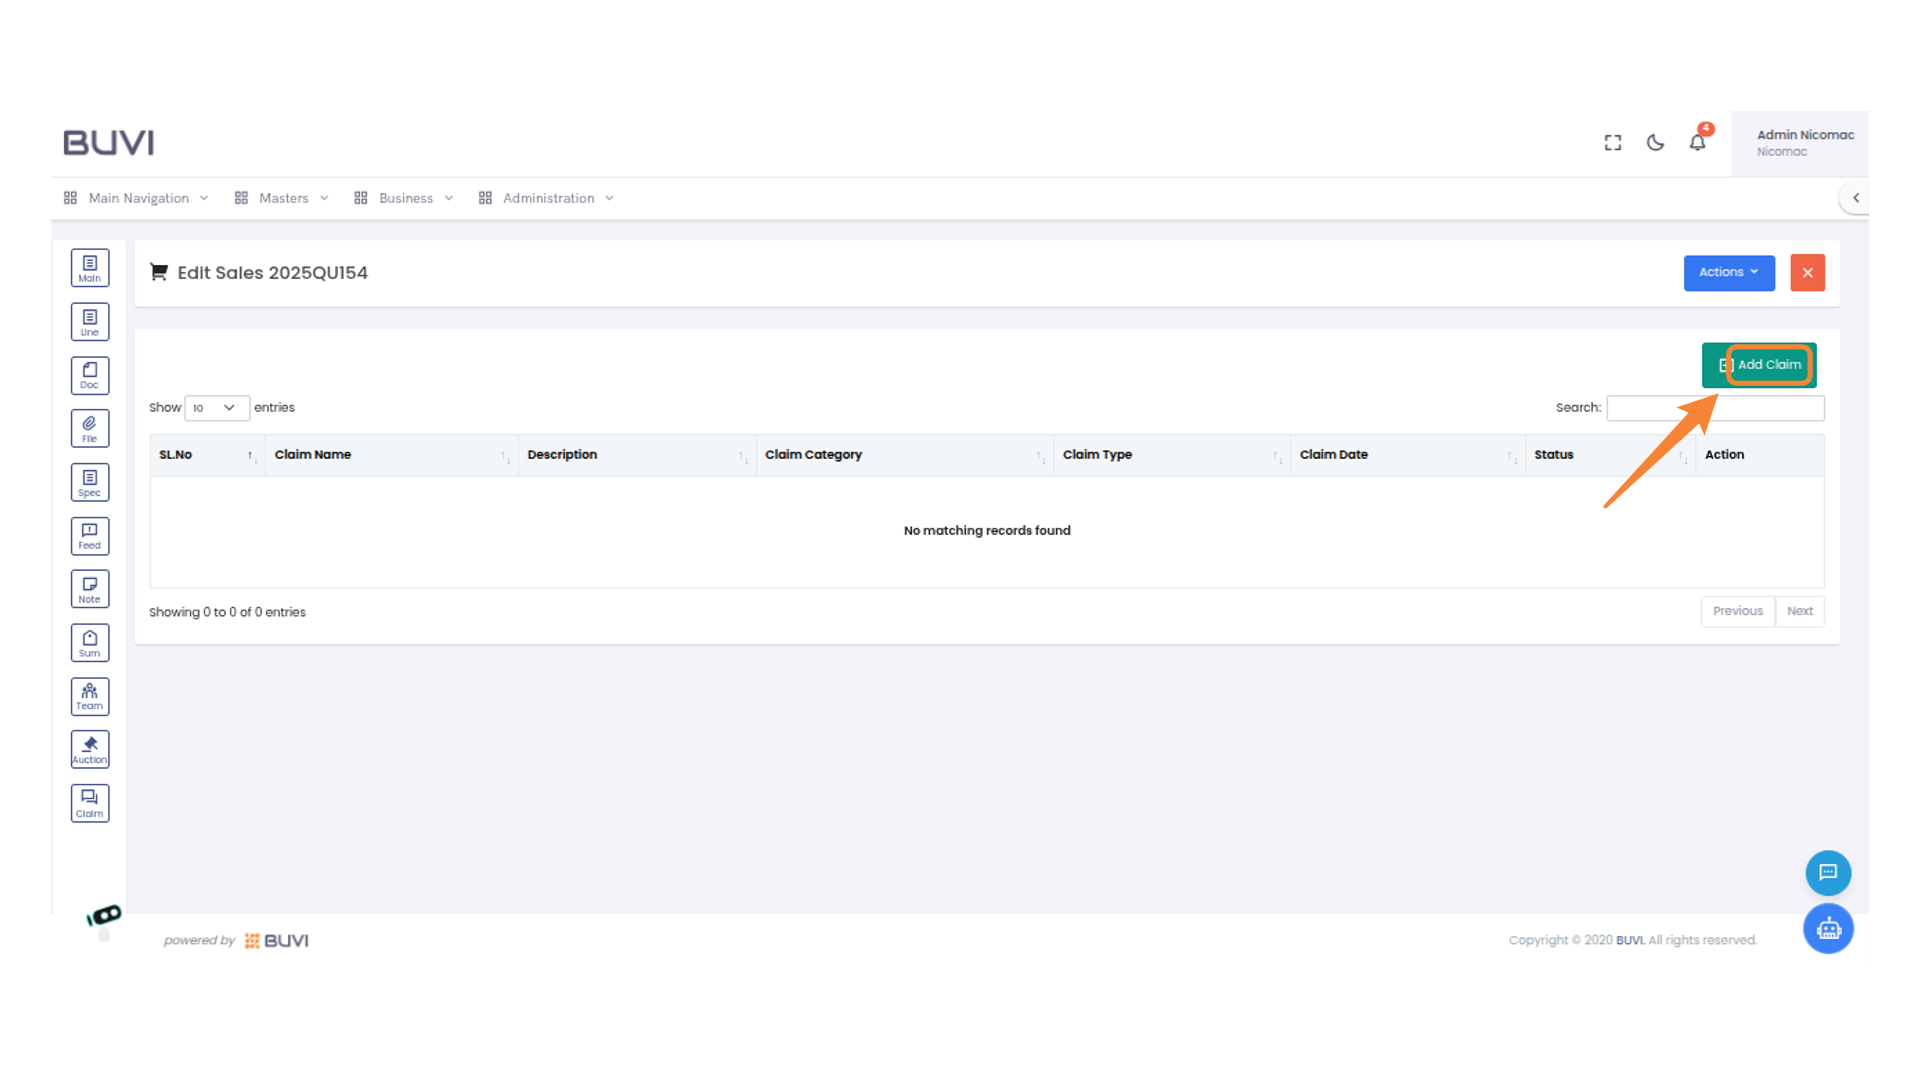
59. Access Claim Addition
Select 'Add Claim' to input a new claim entry.
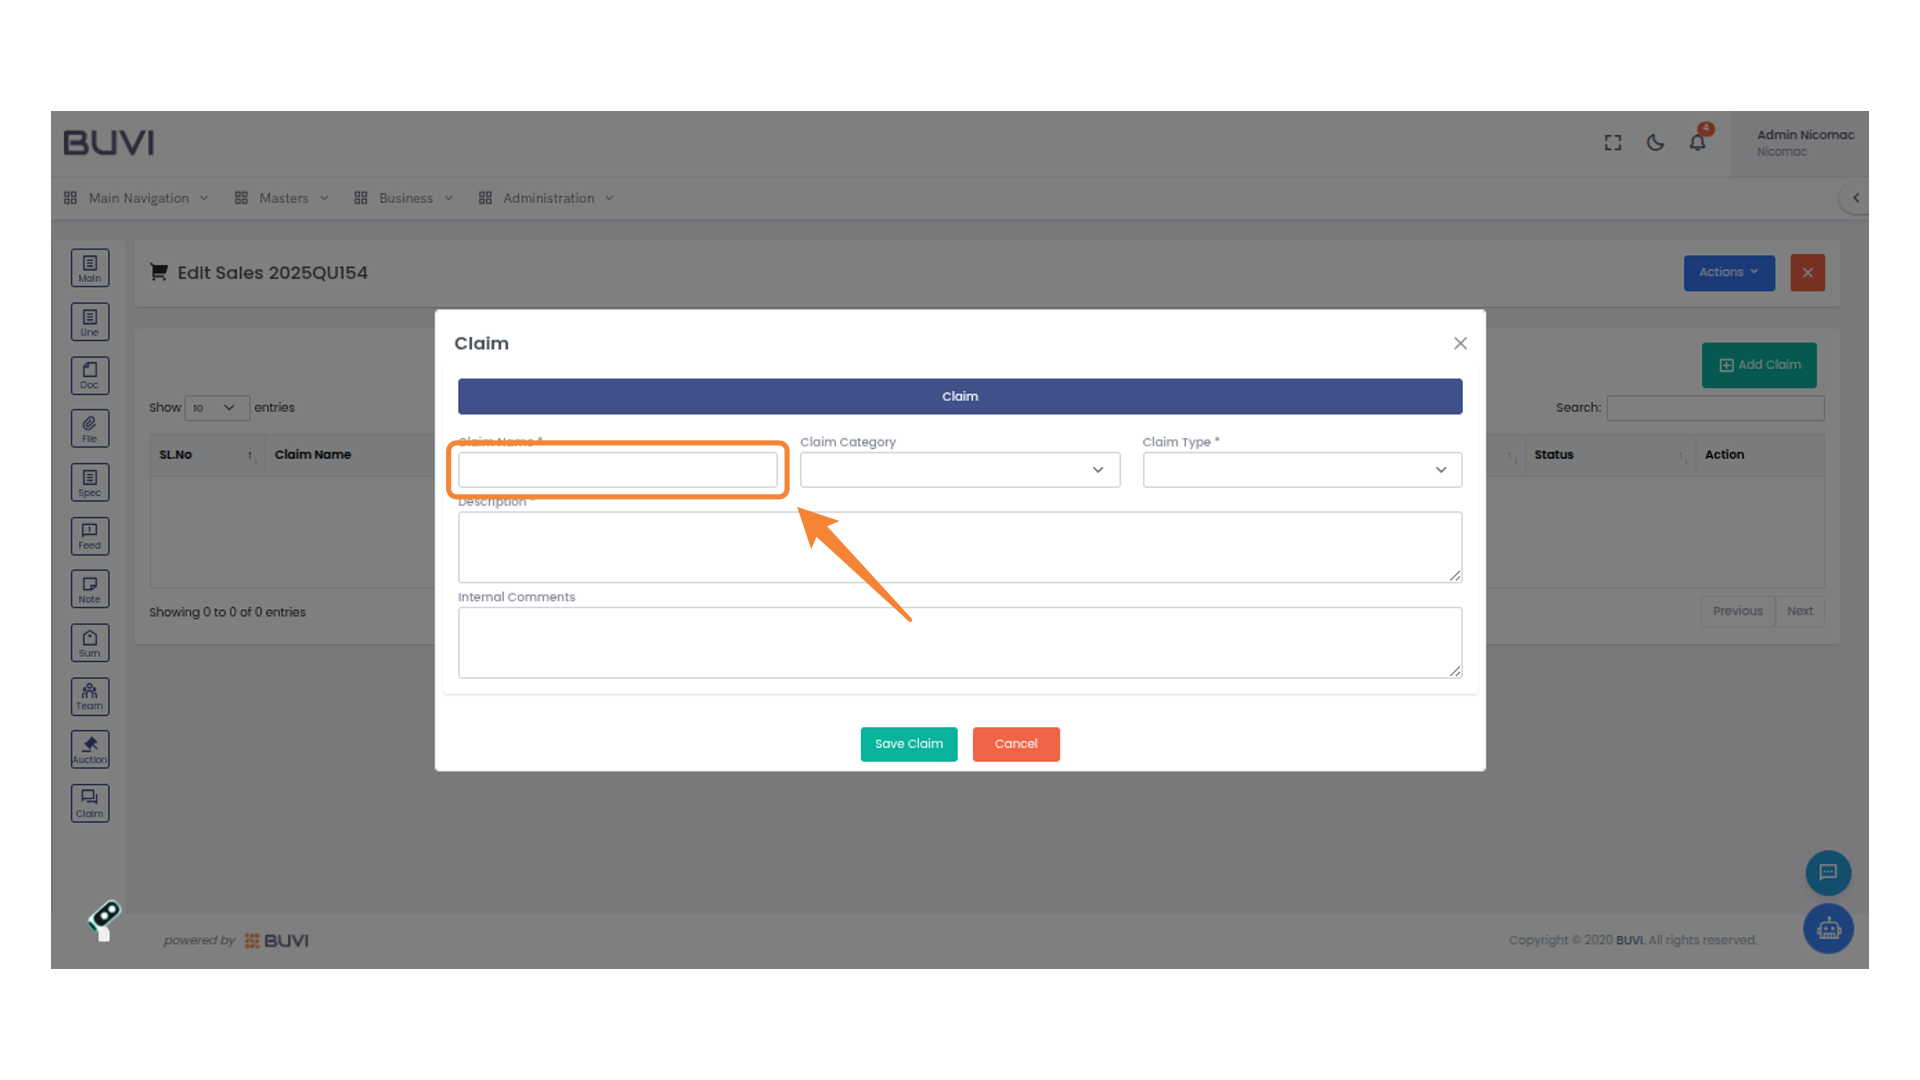
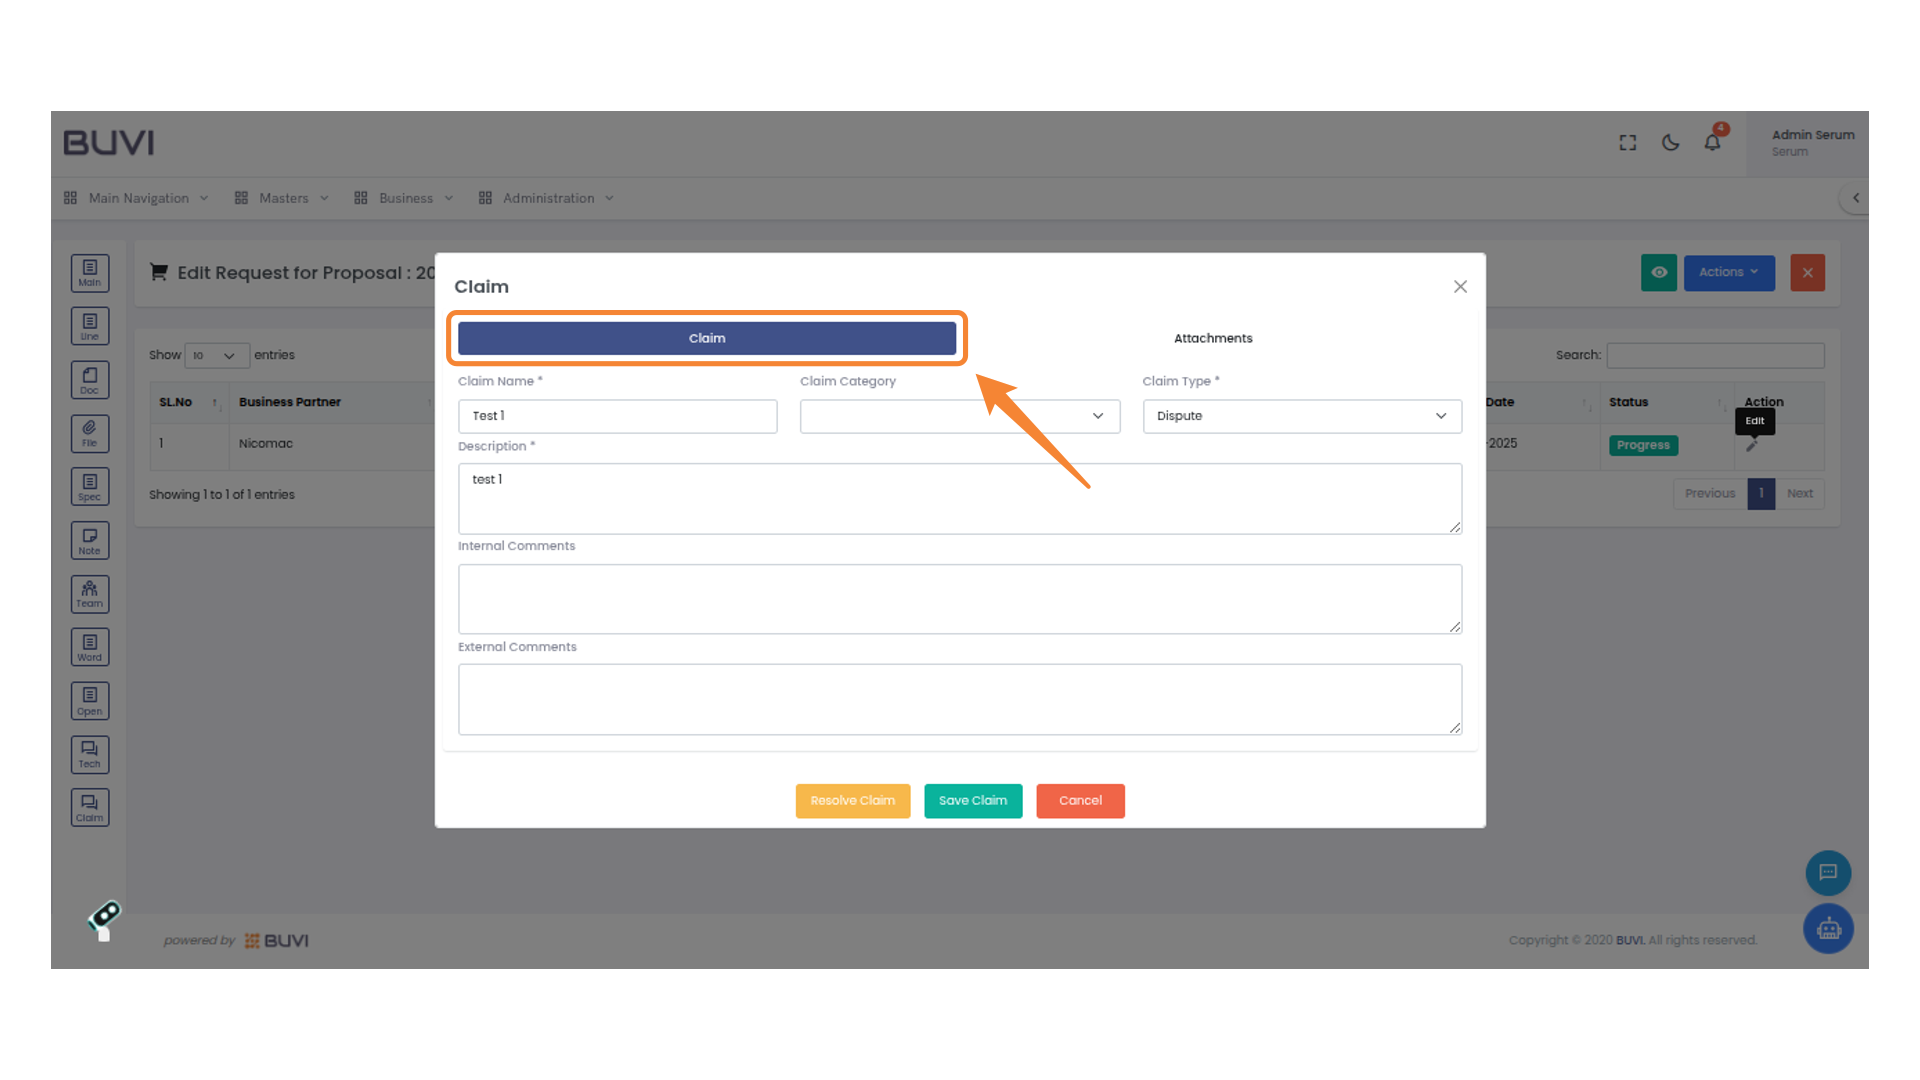
60. Enter Claim Name
Input the required claim name in the designated field.
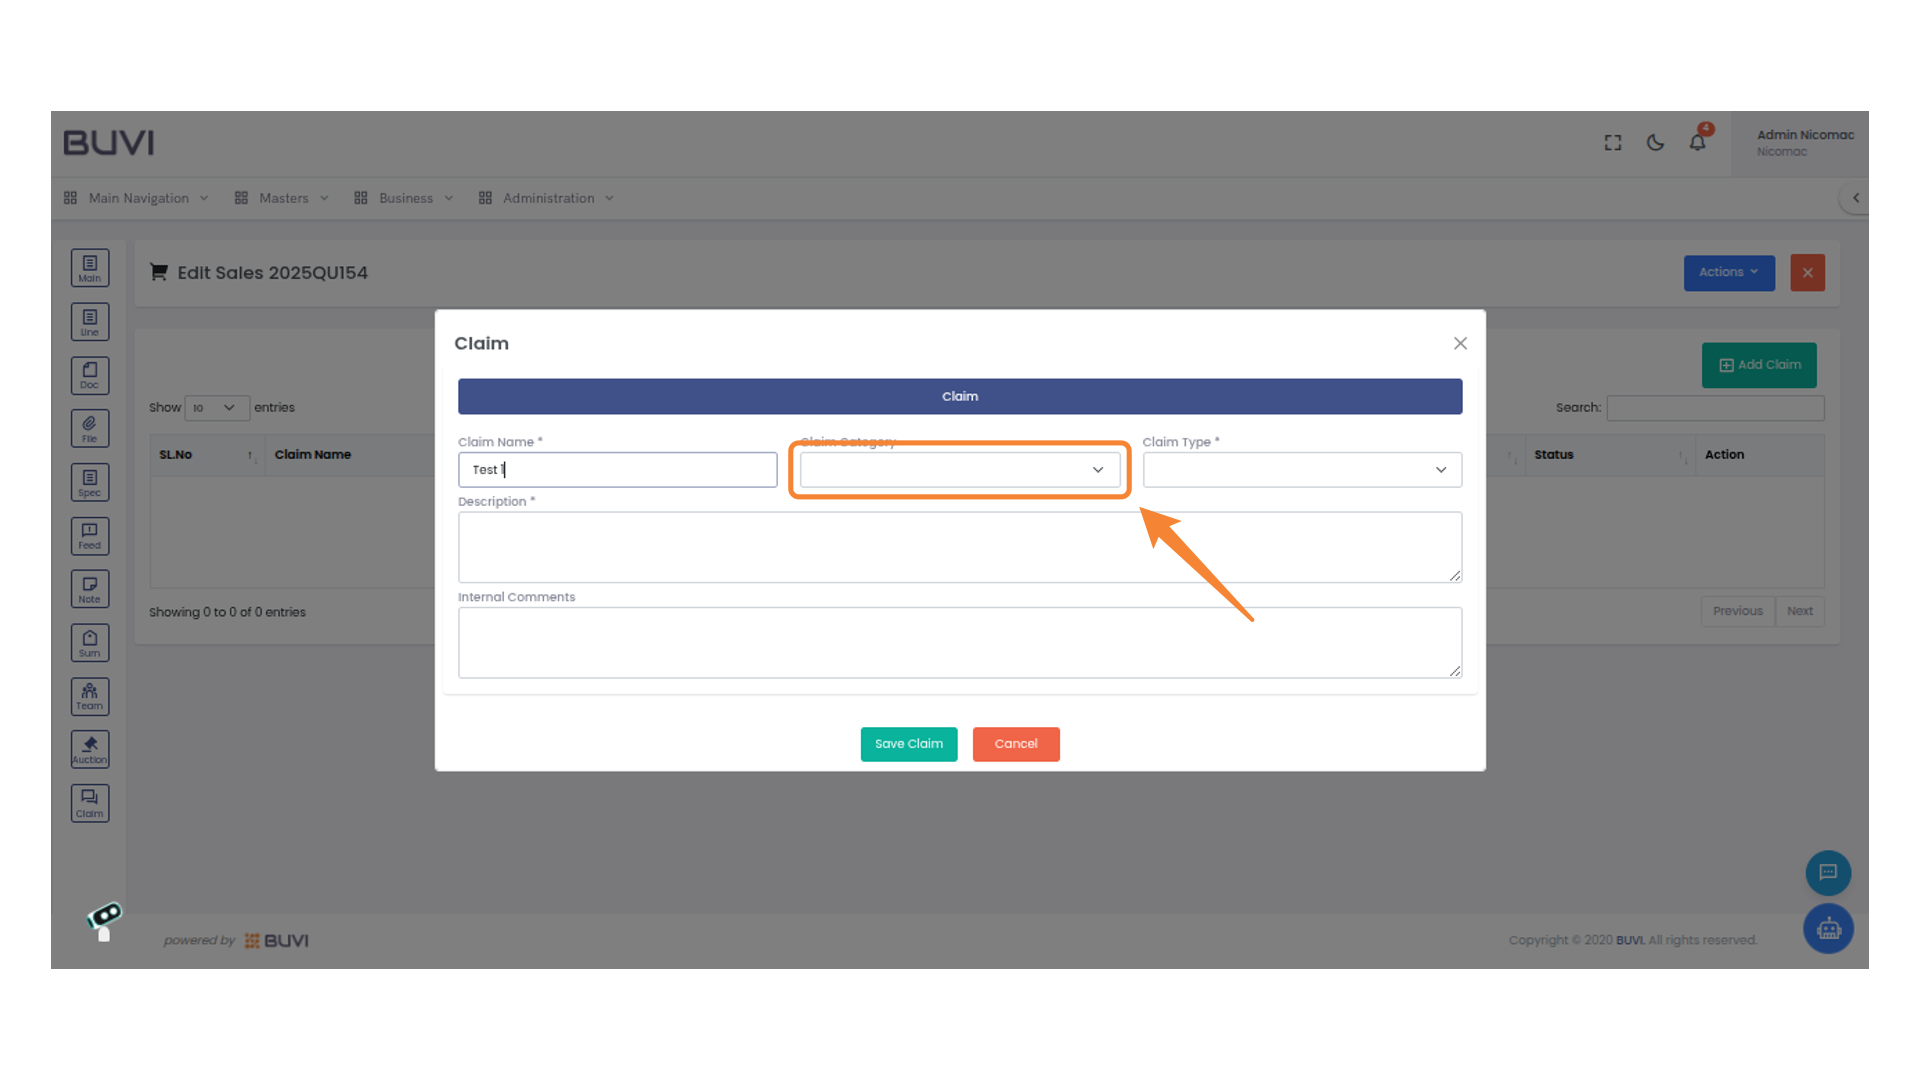
61. Select Claim Category
Choose a claim category from the dropdown menu to proceed.
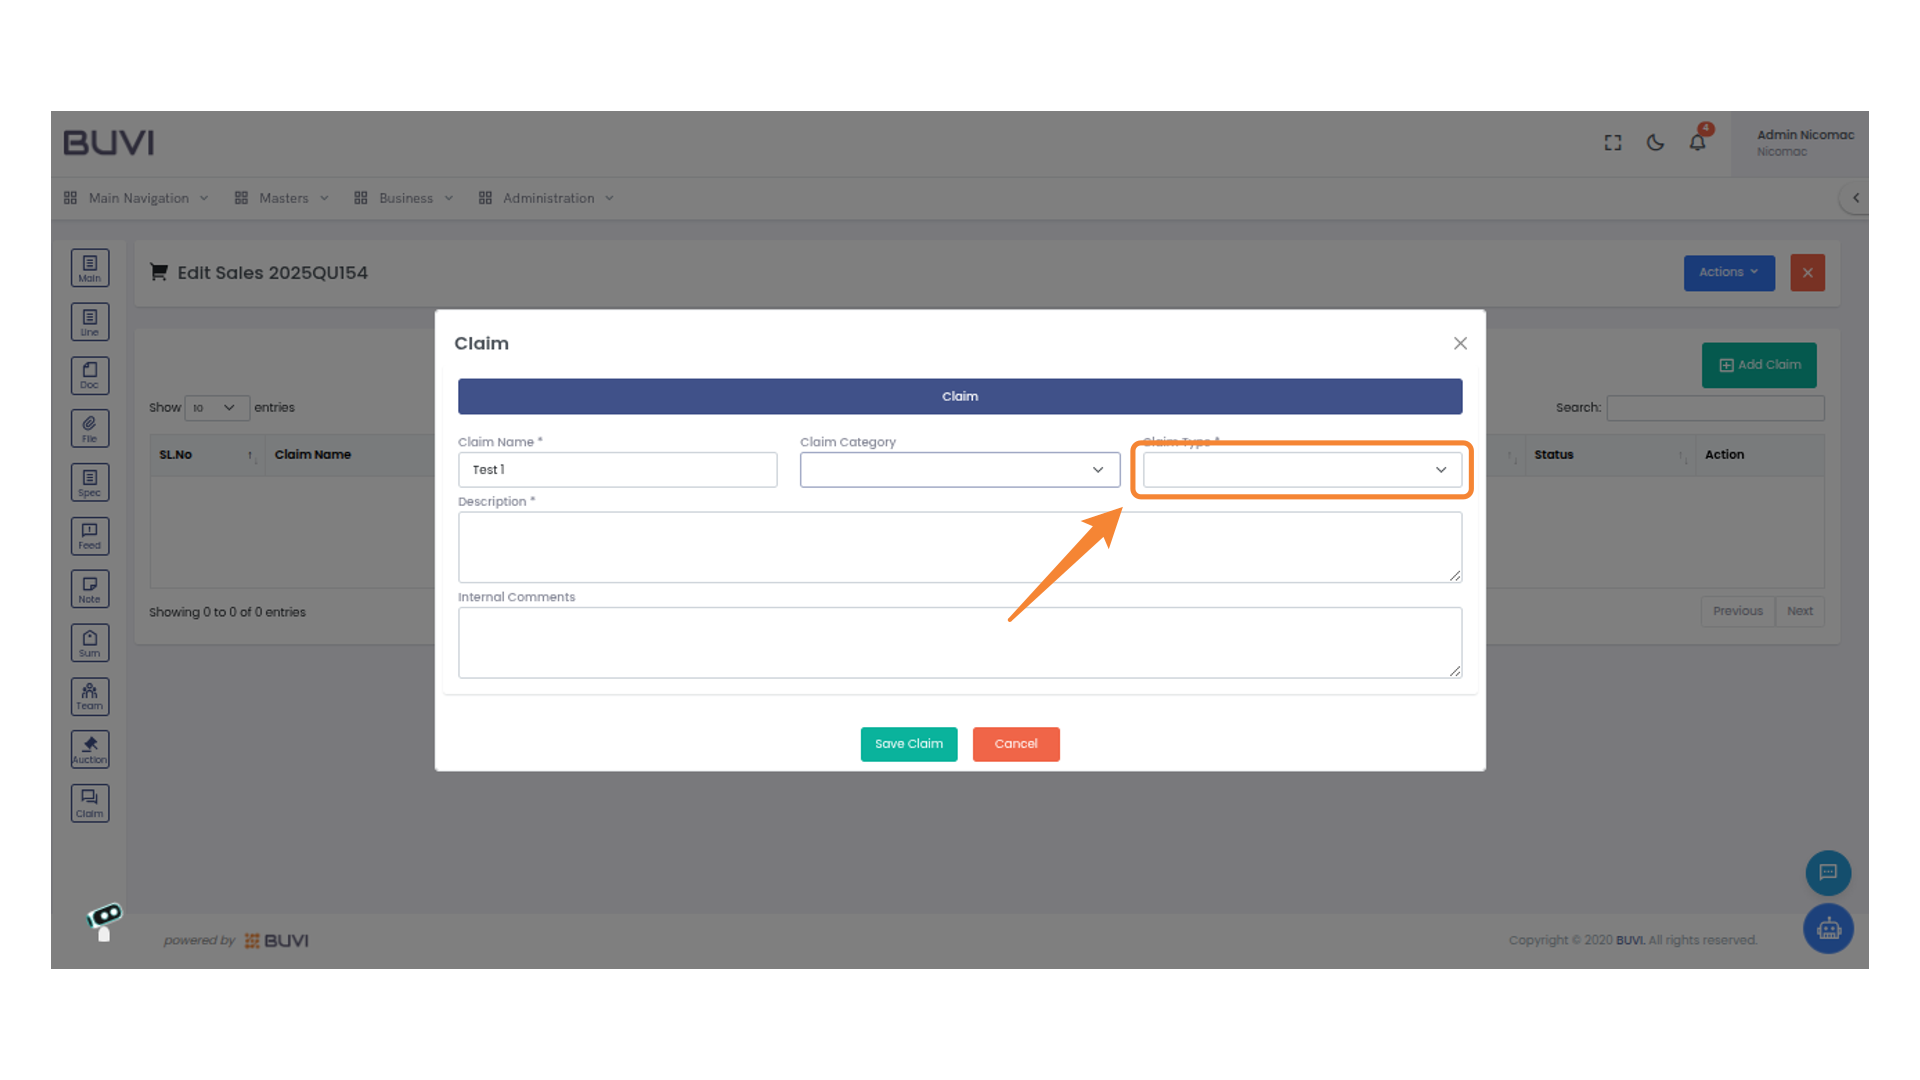
62. Select Claim Type
Select the appropriate claim type from the provided dropdown menu.
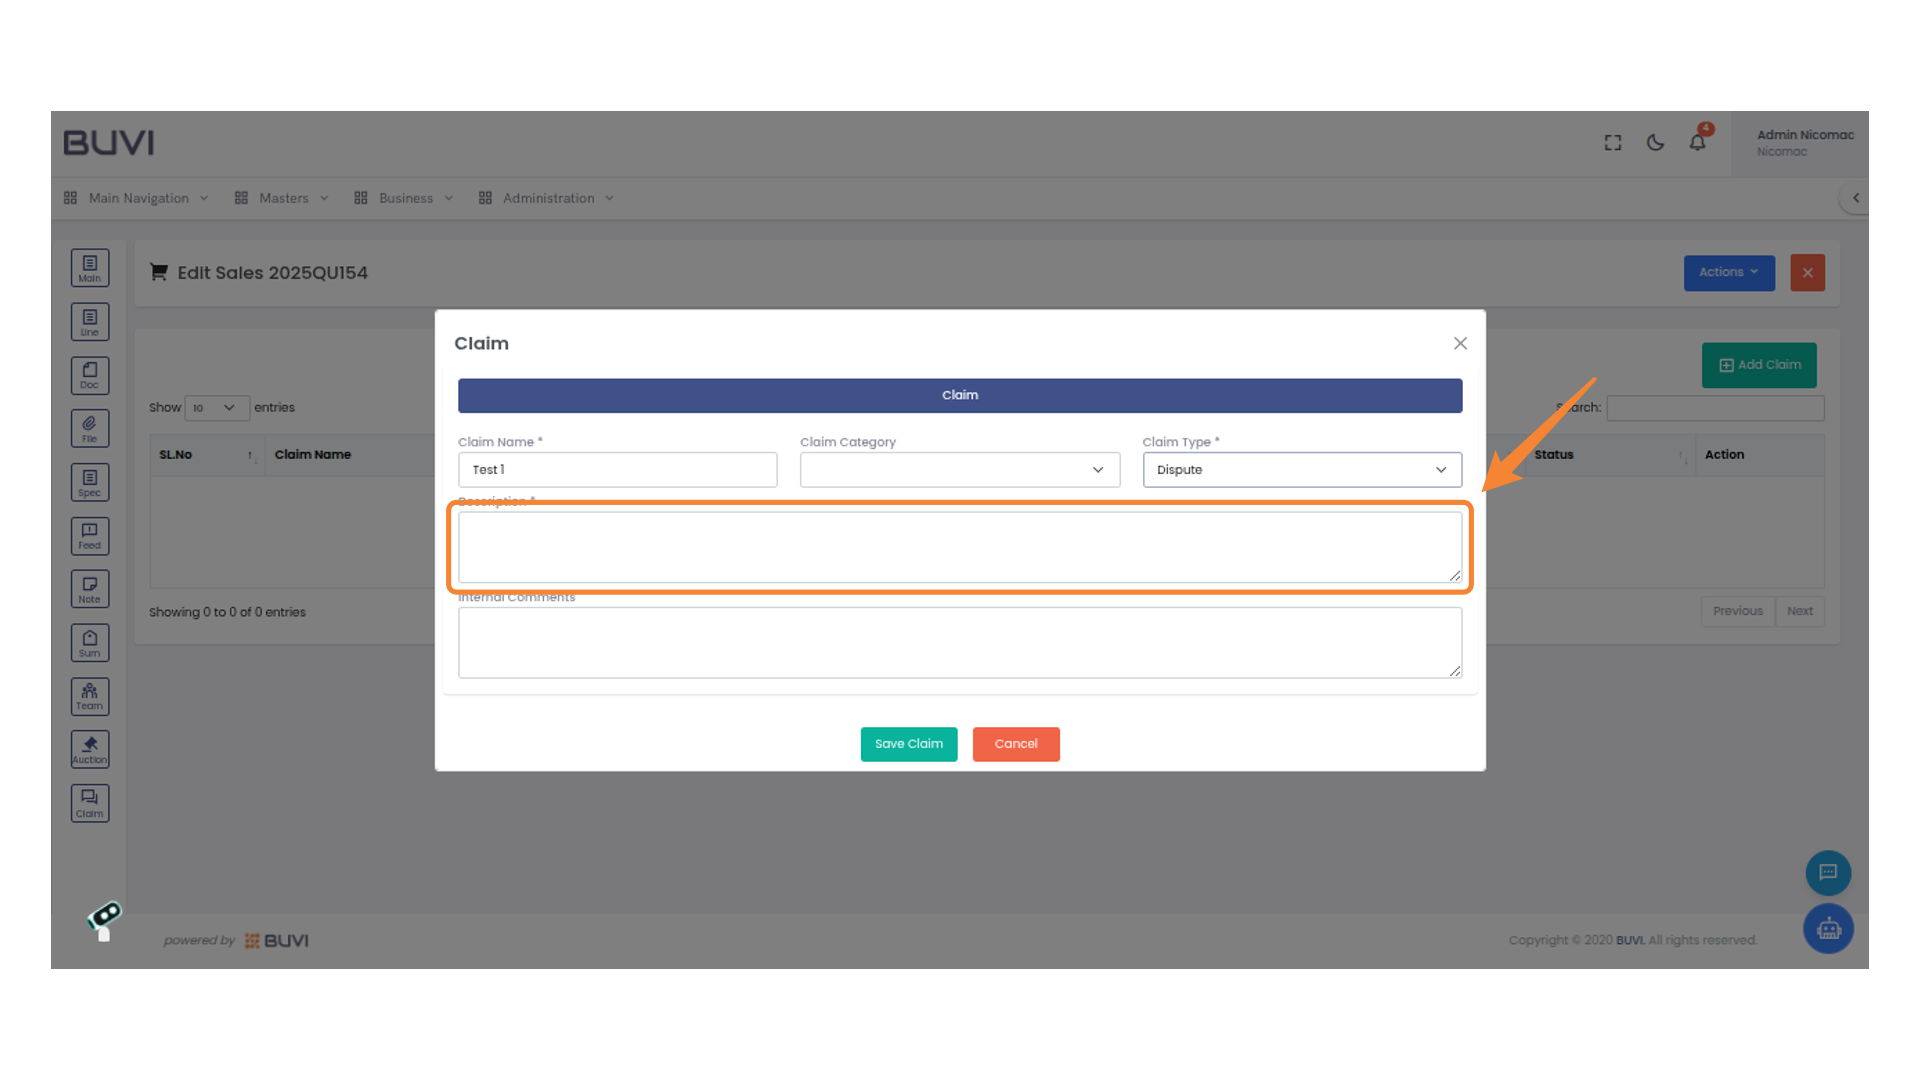
63. Enter Claim Description
Input the required text into the Description field to detail the claim.
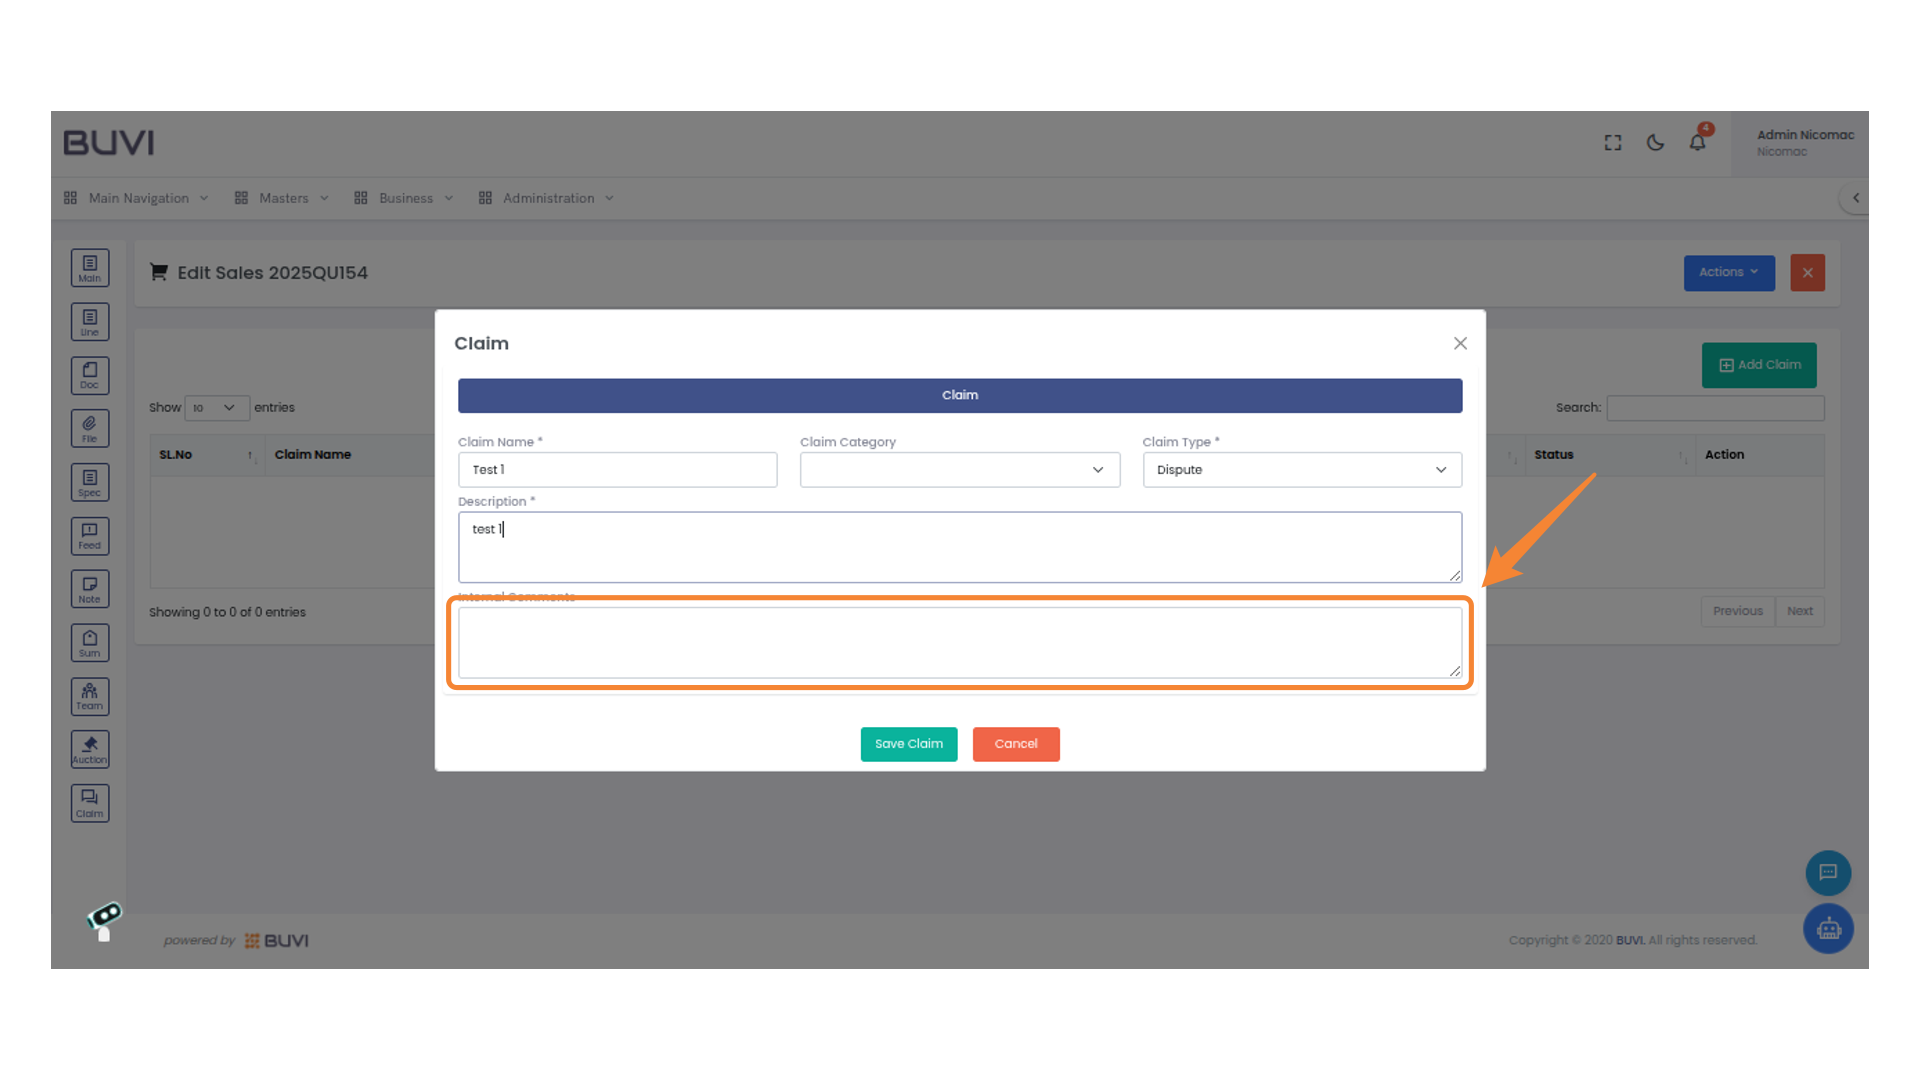
64. Enter Internal Comments
Type necessary notes or remarks for internal use into the field provided.
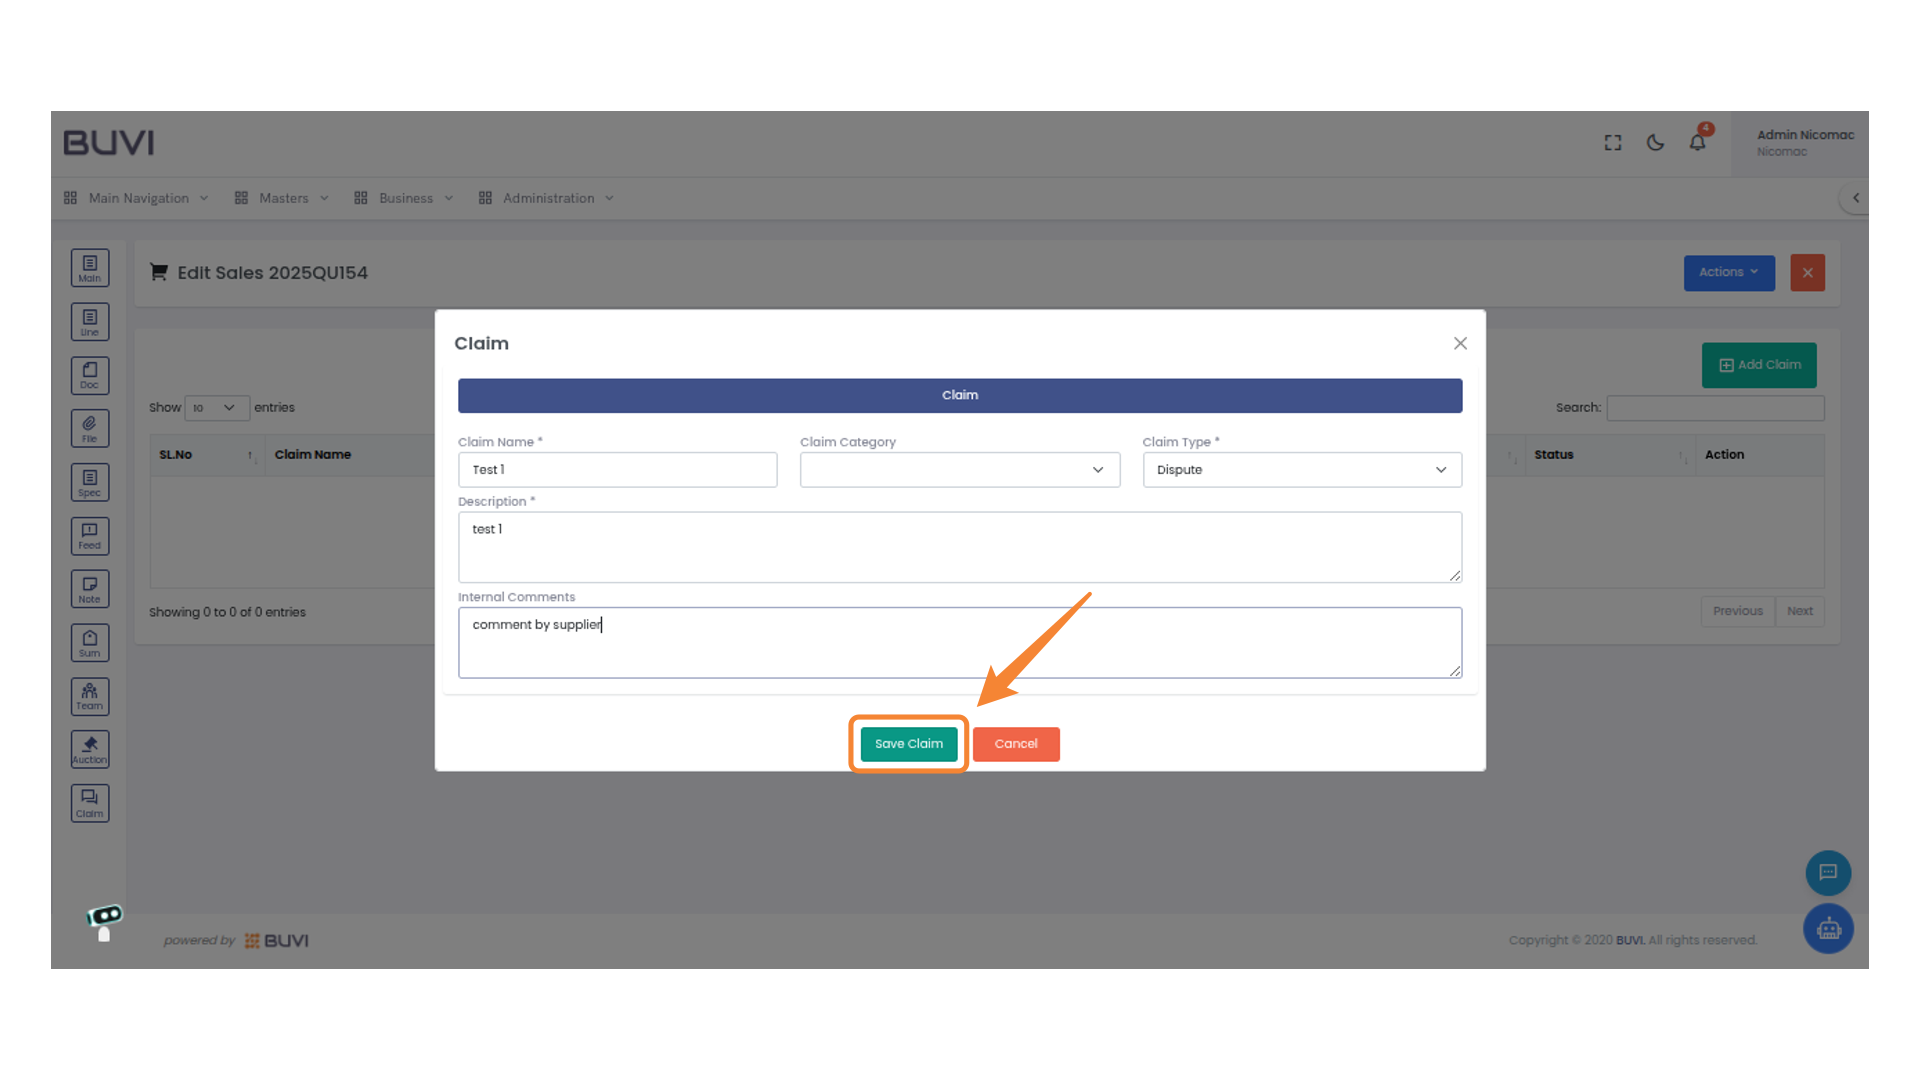
65. Save a Claim
Click 'Save Claim' to submit the current claim details.
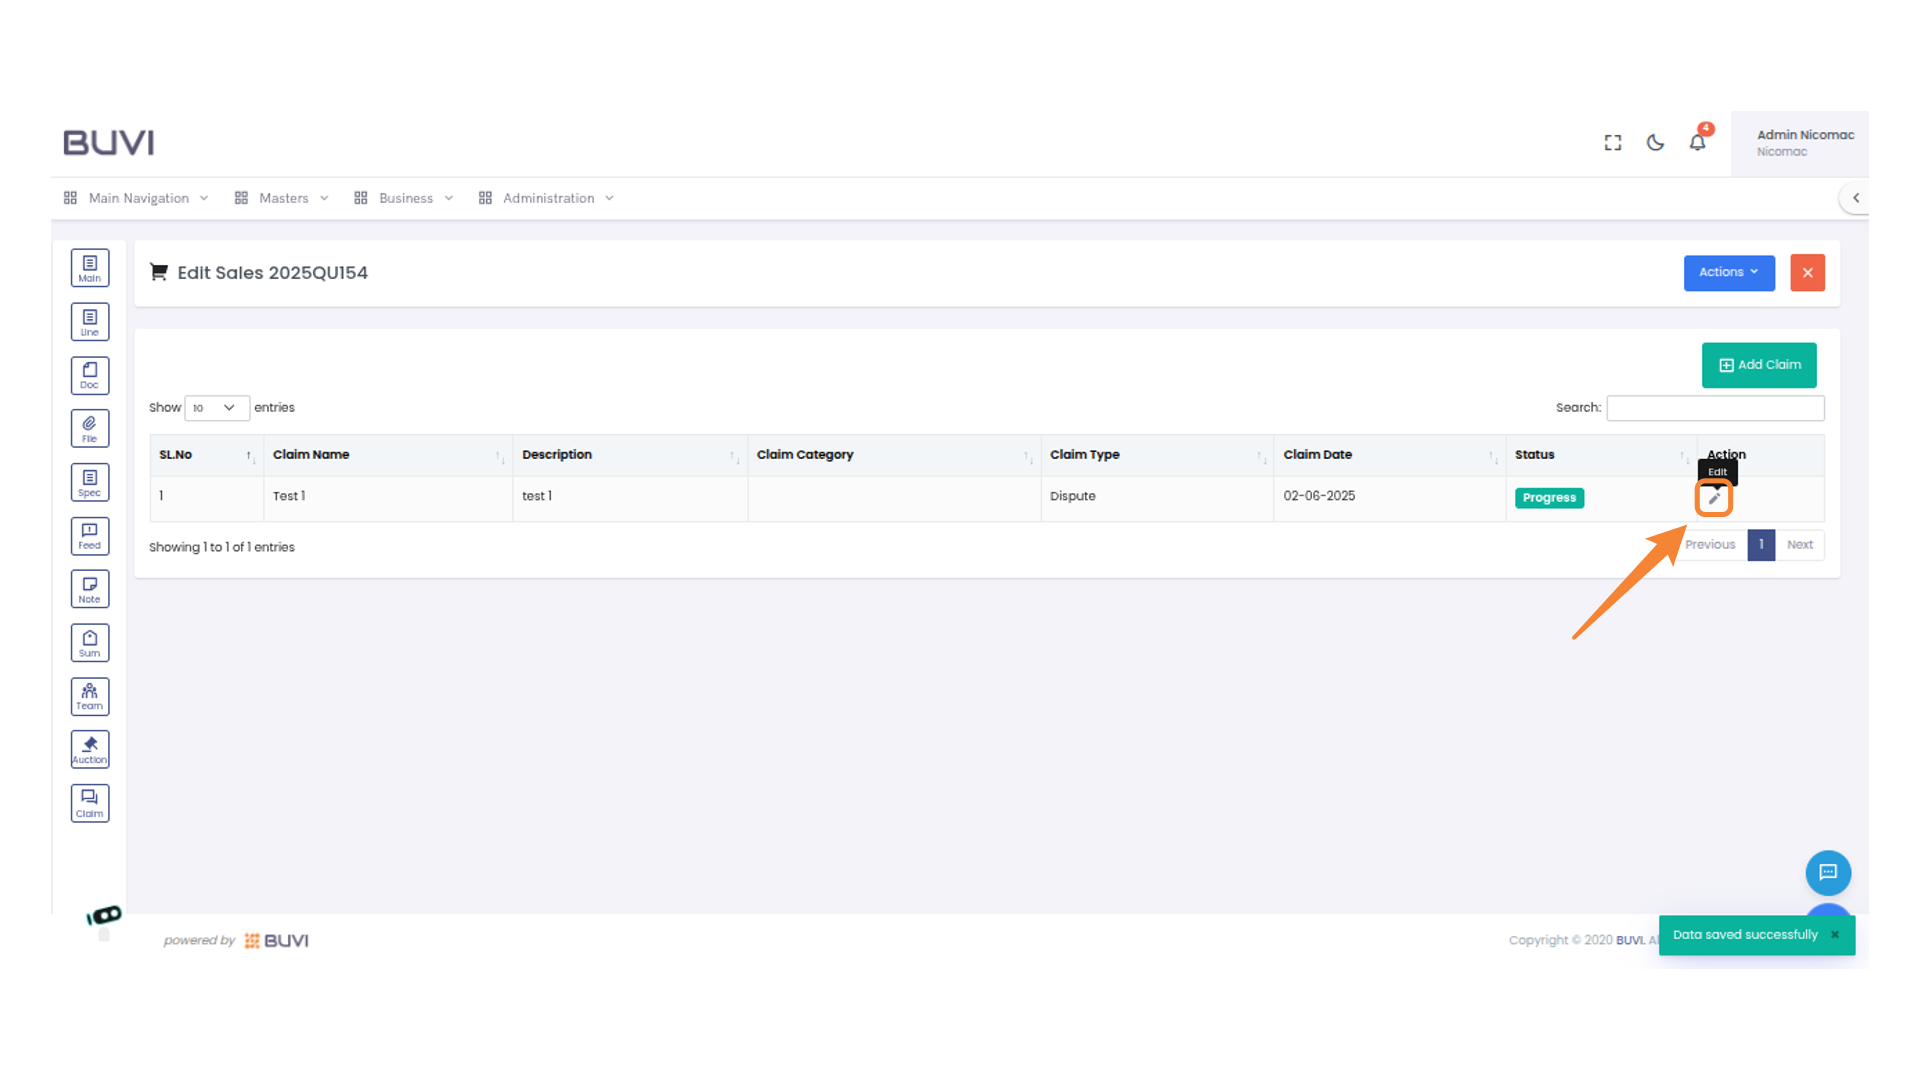
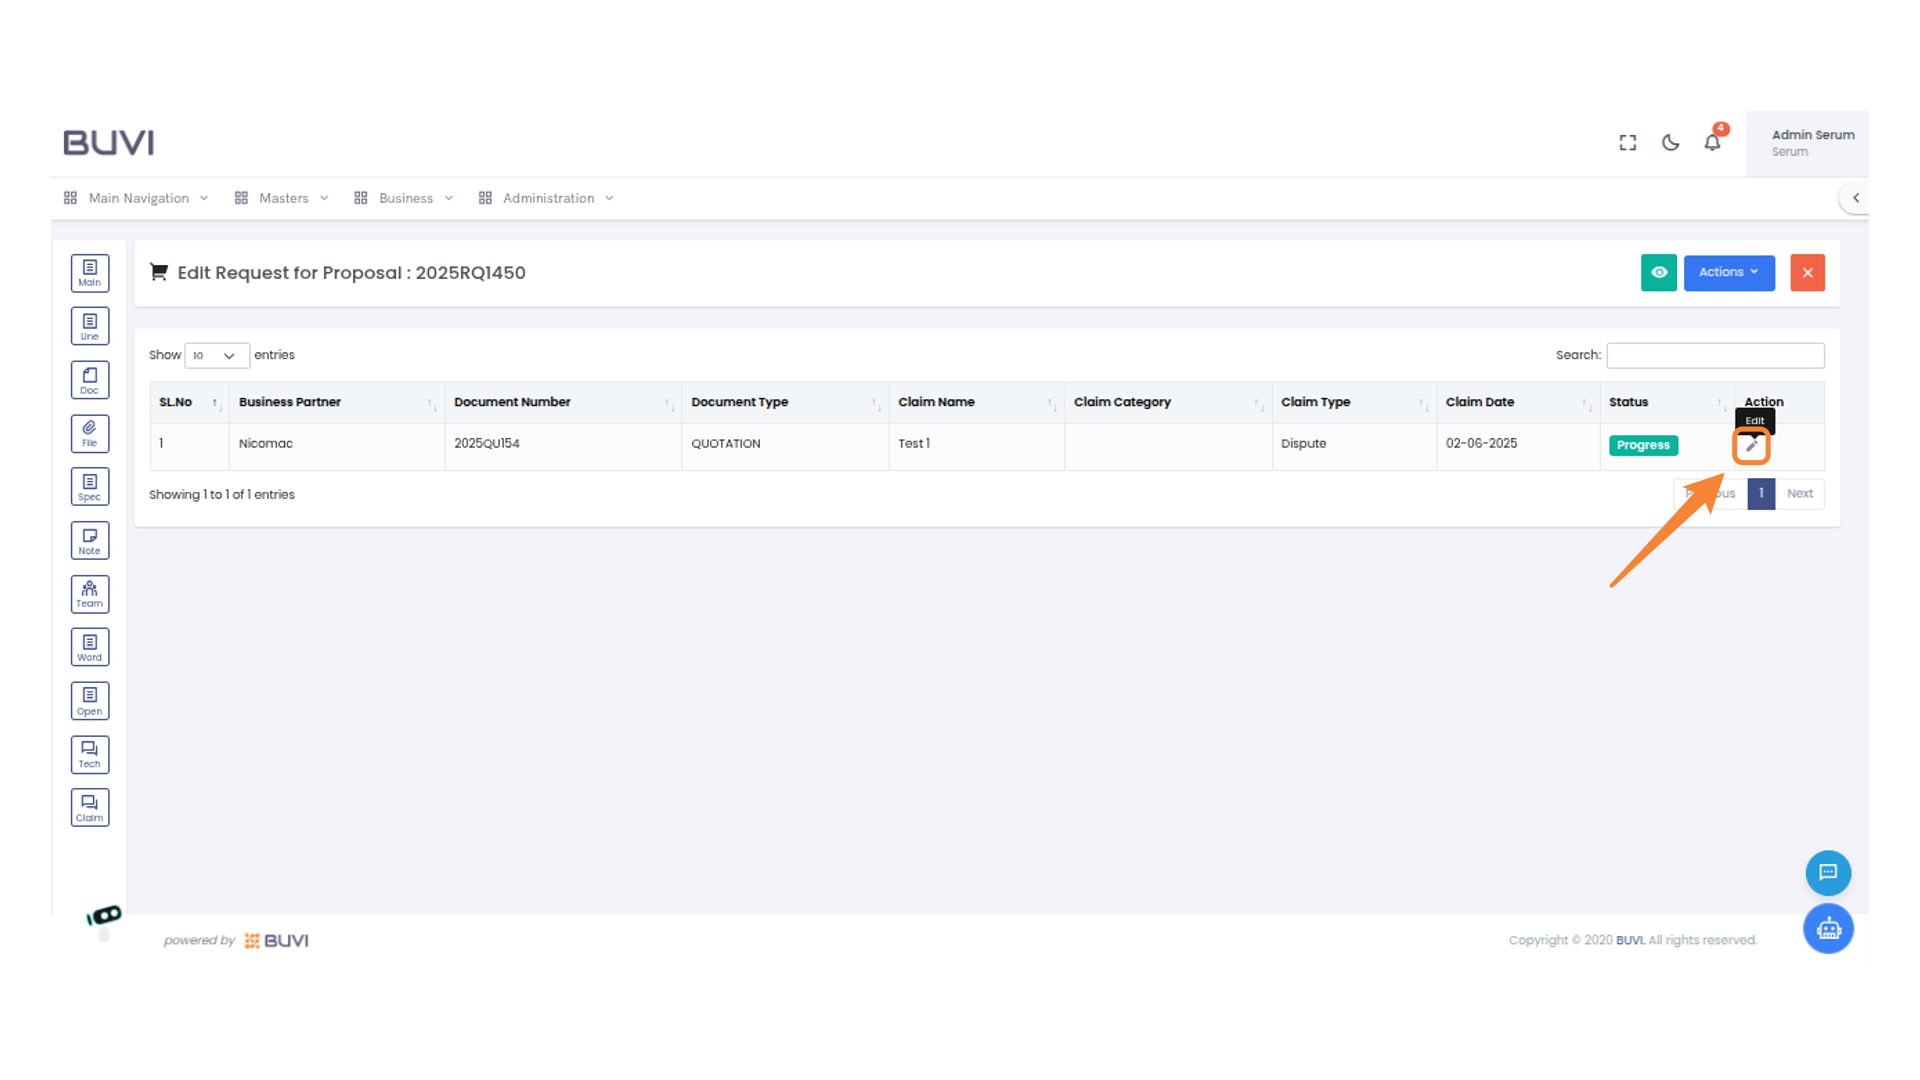
66. Edit Claim Entry
Click the pencil icon to edit the claim entry.
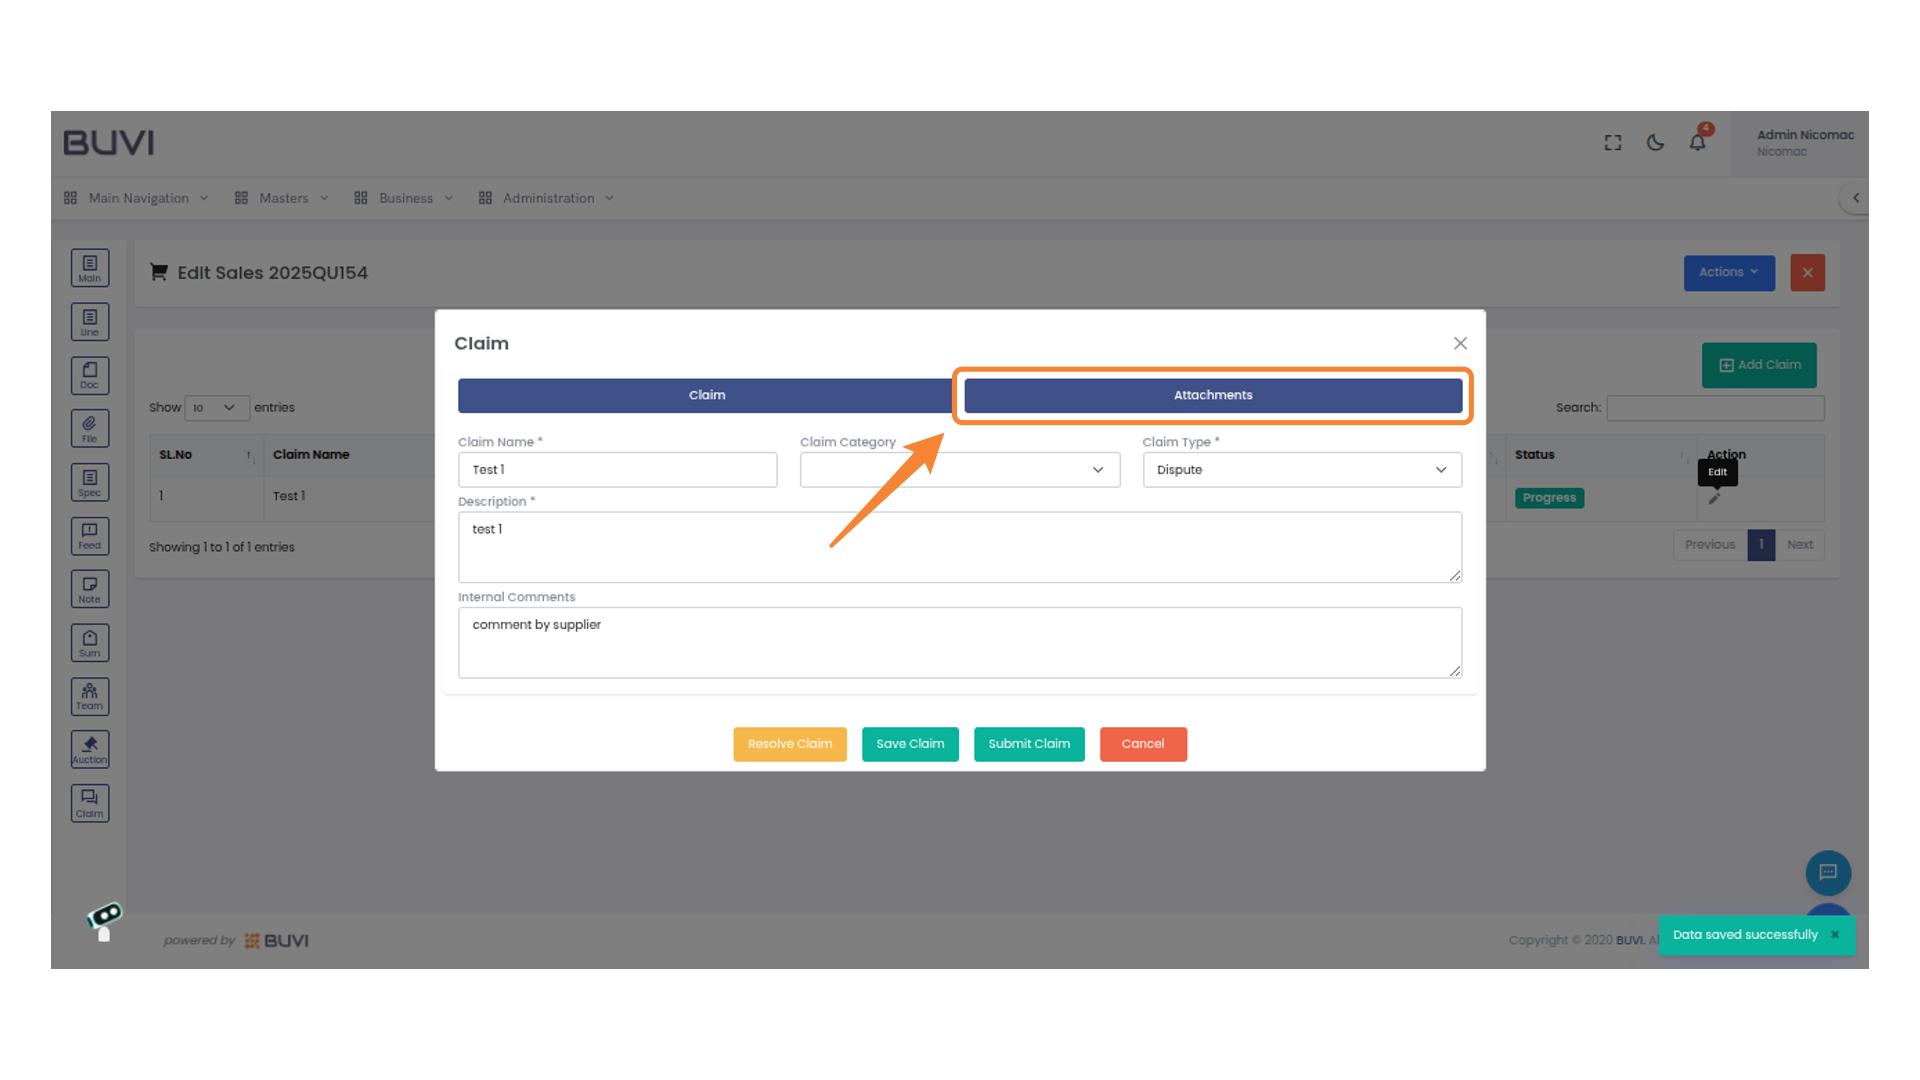
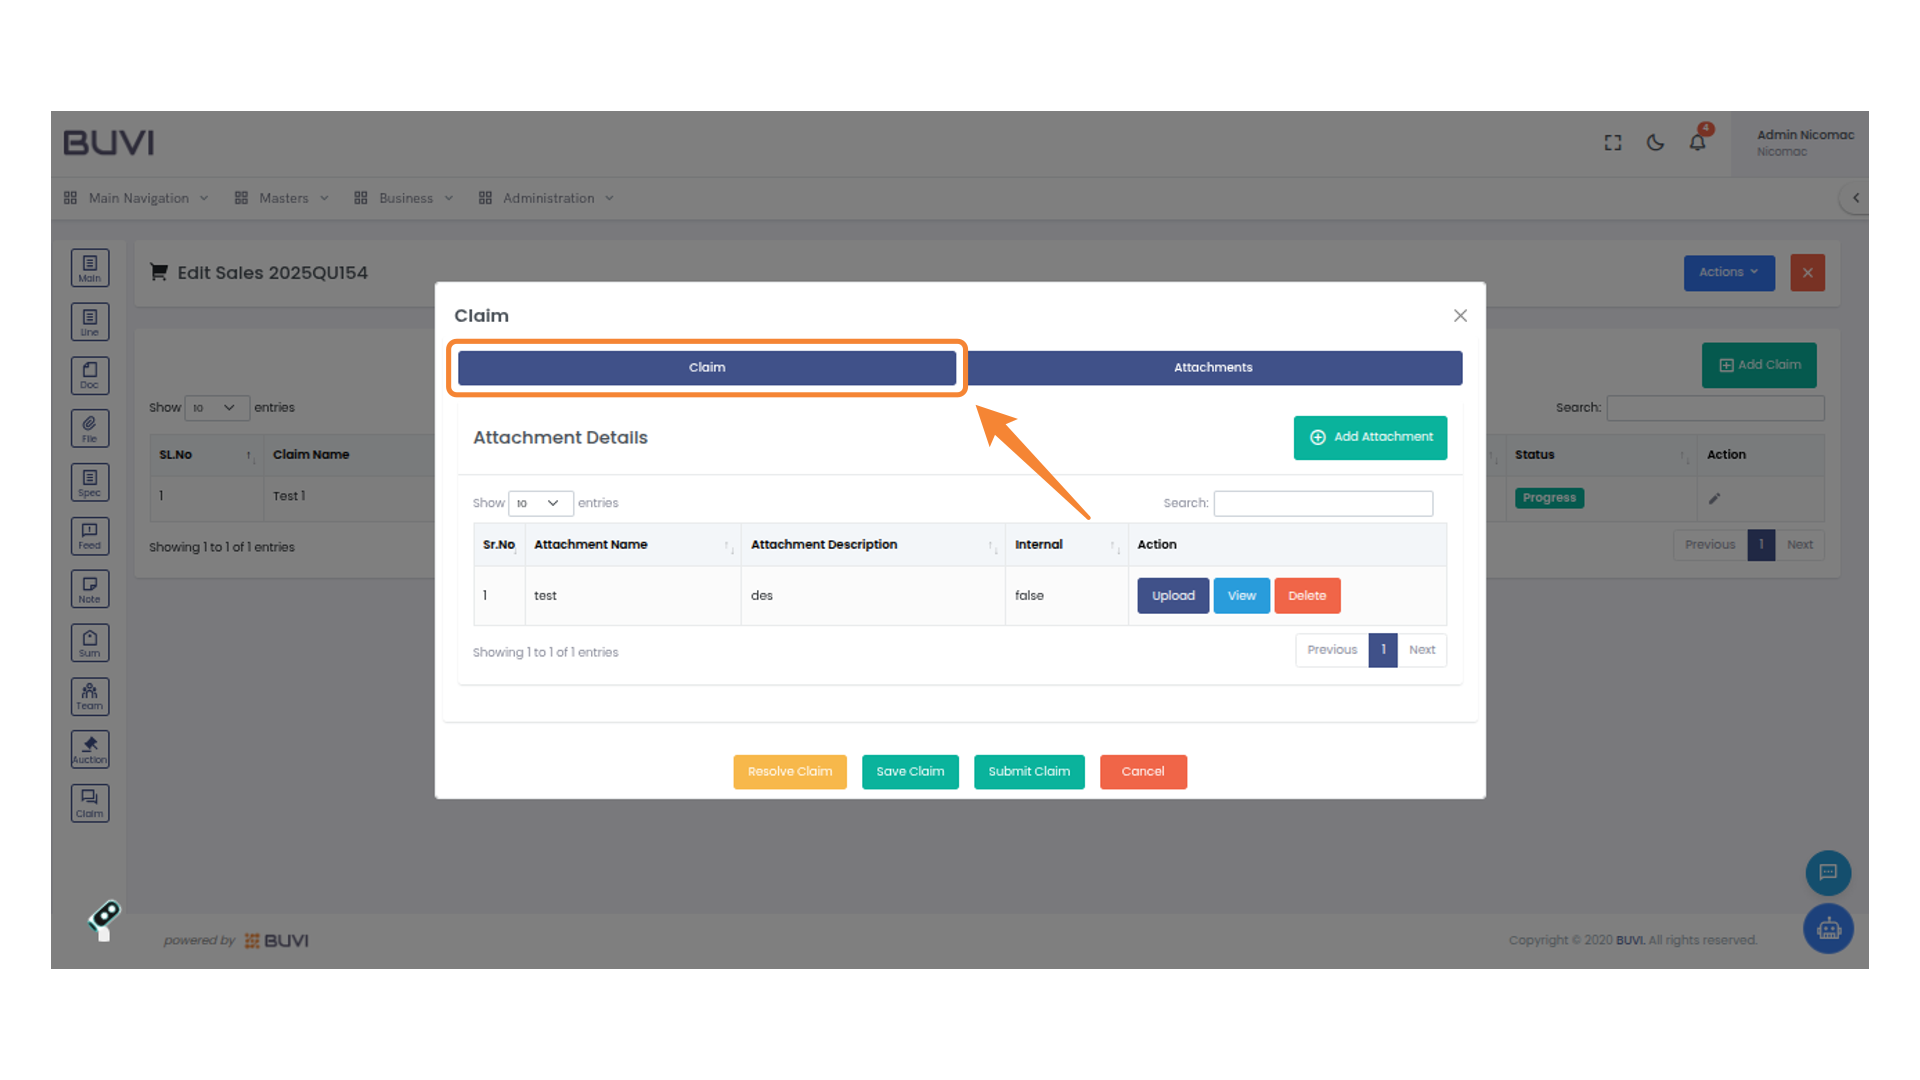
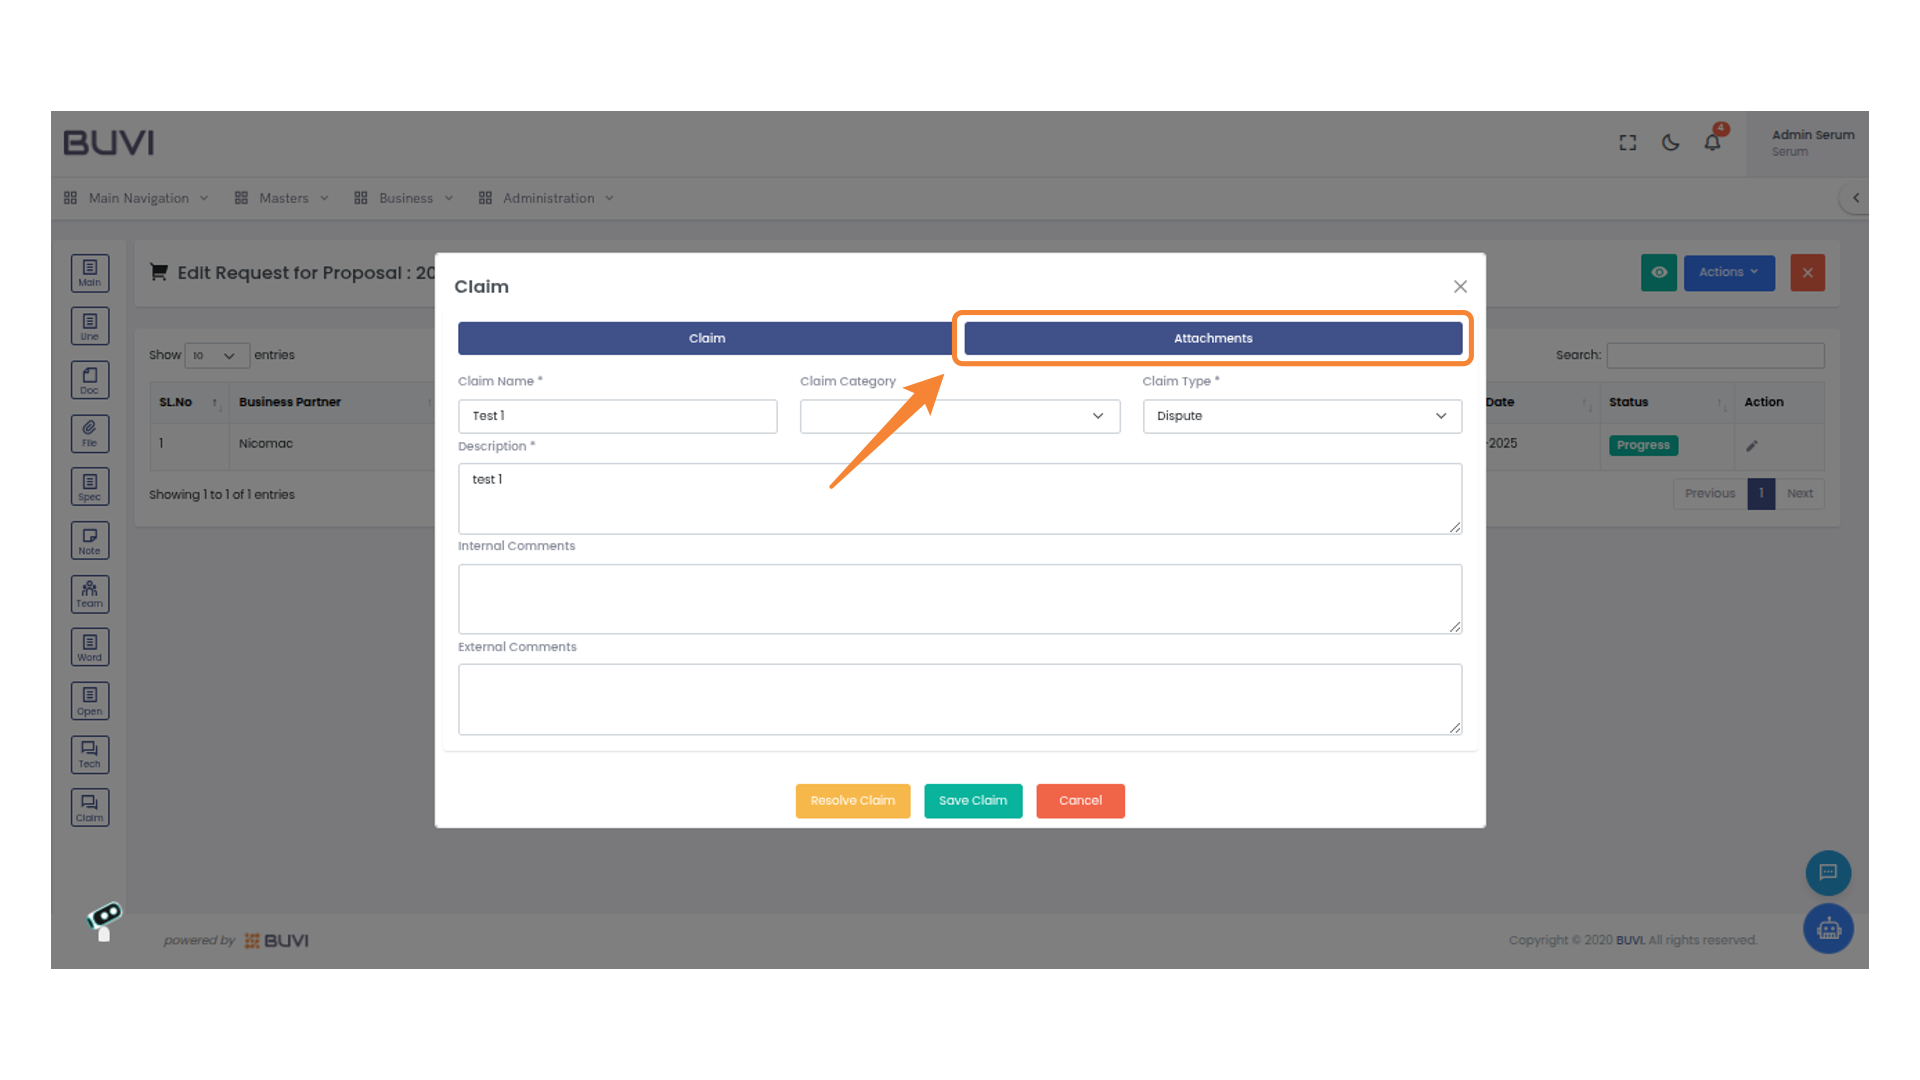
67. Access Attachments
Click the 'Attachments' tab to view or add related documents to the claim.
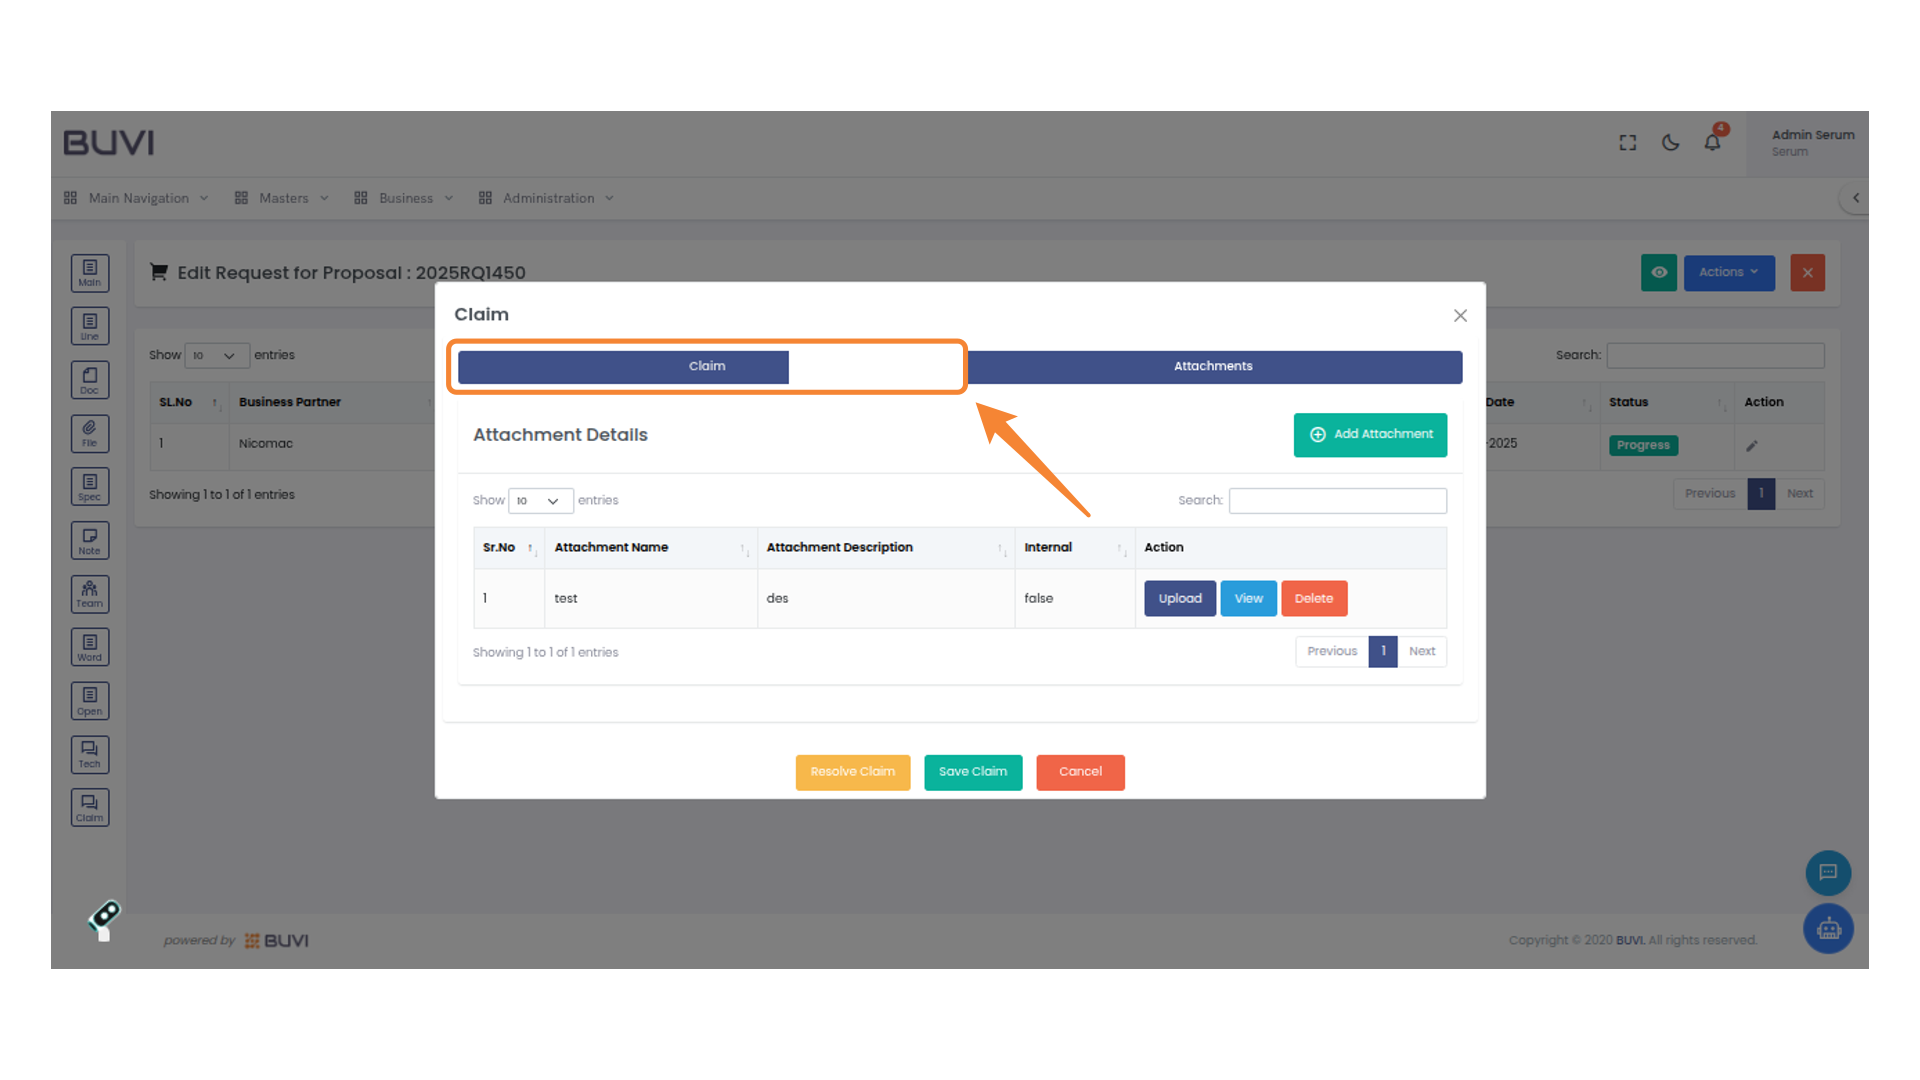
68. Add New Attachment
Click on 'Add Attachment' to upload a new file to the claim.

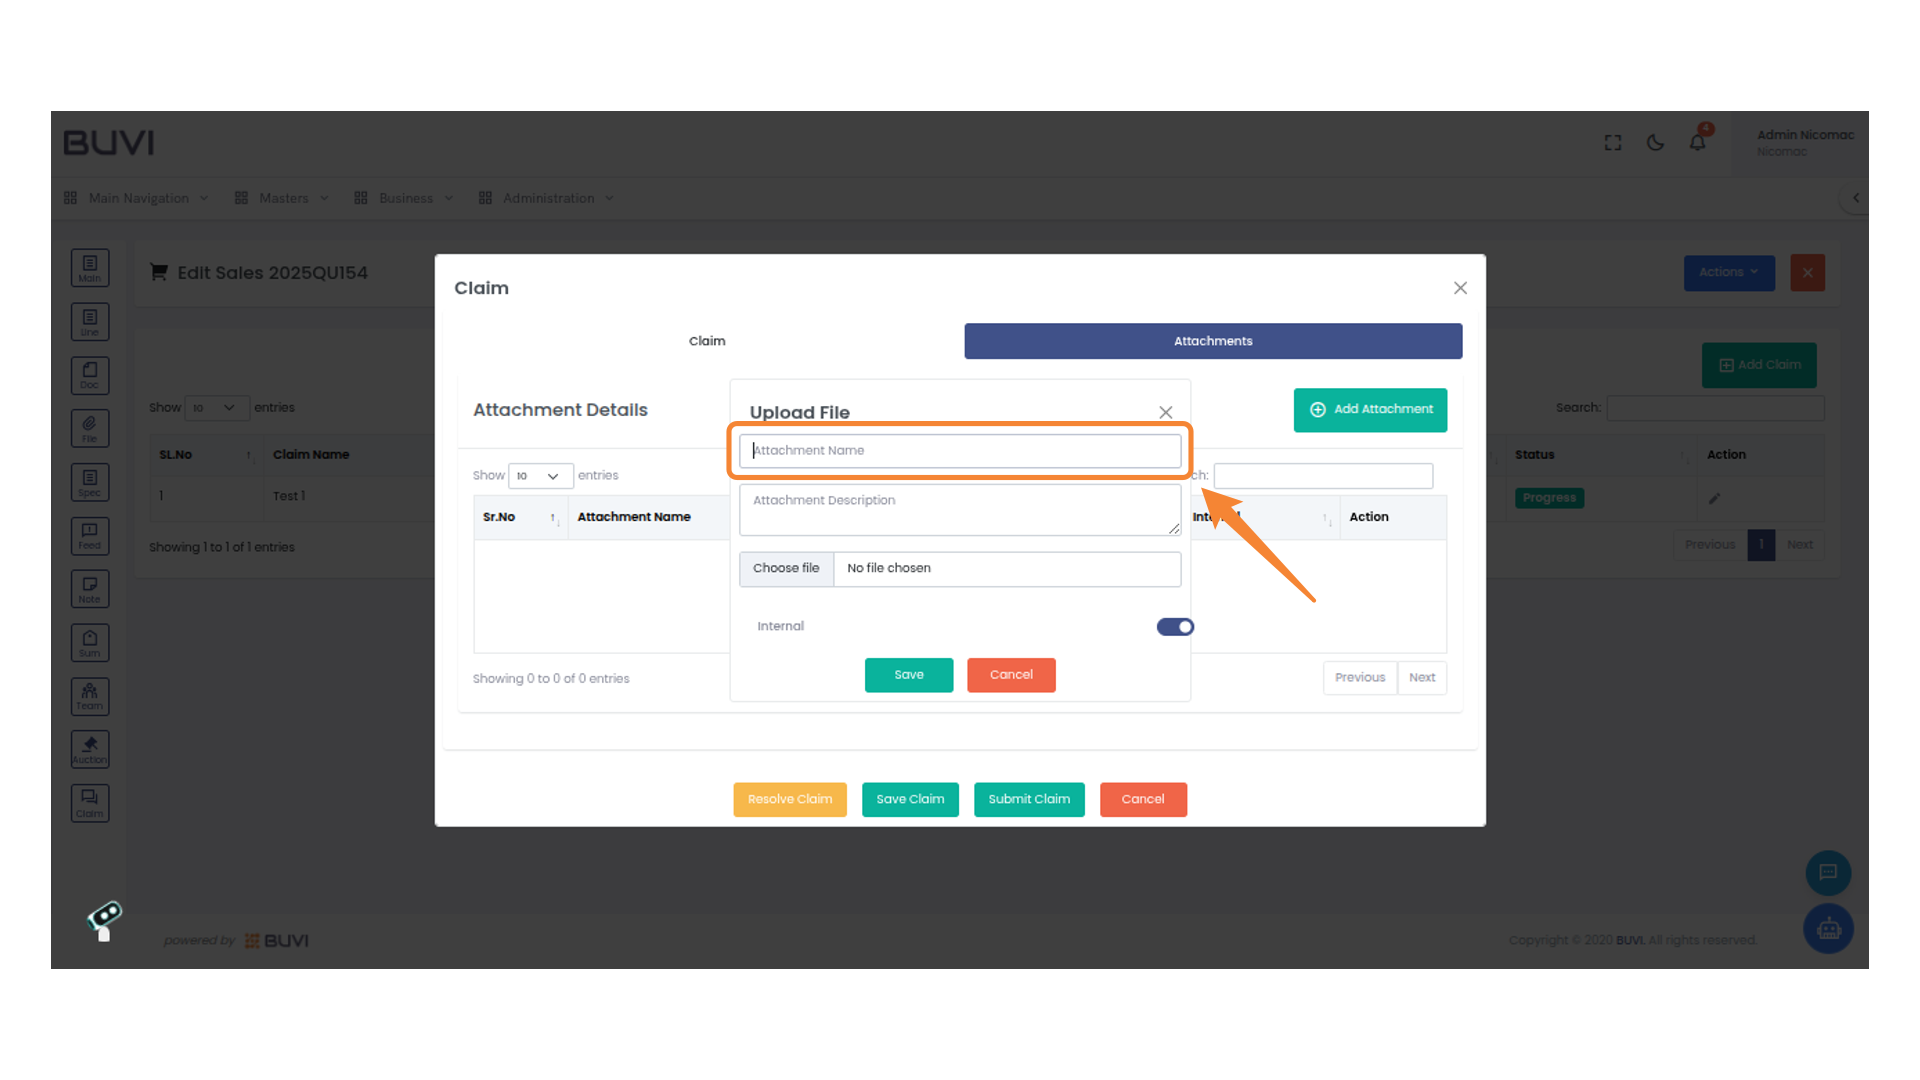
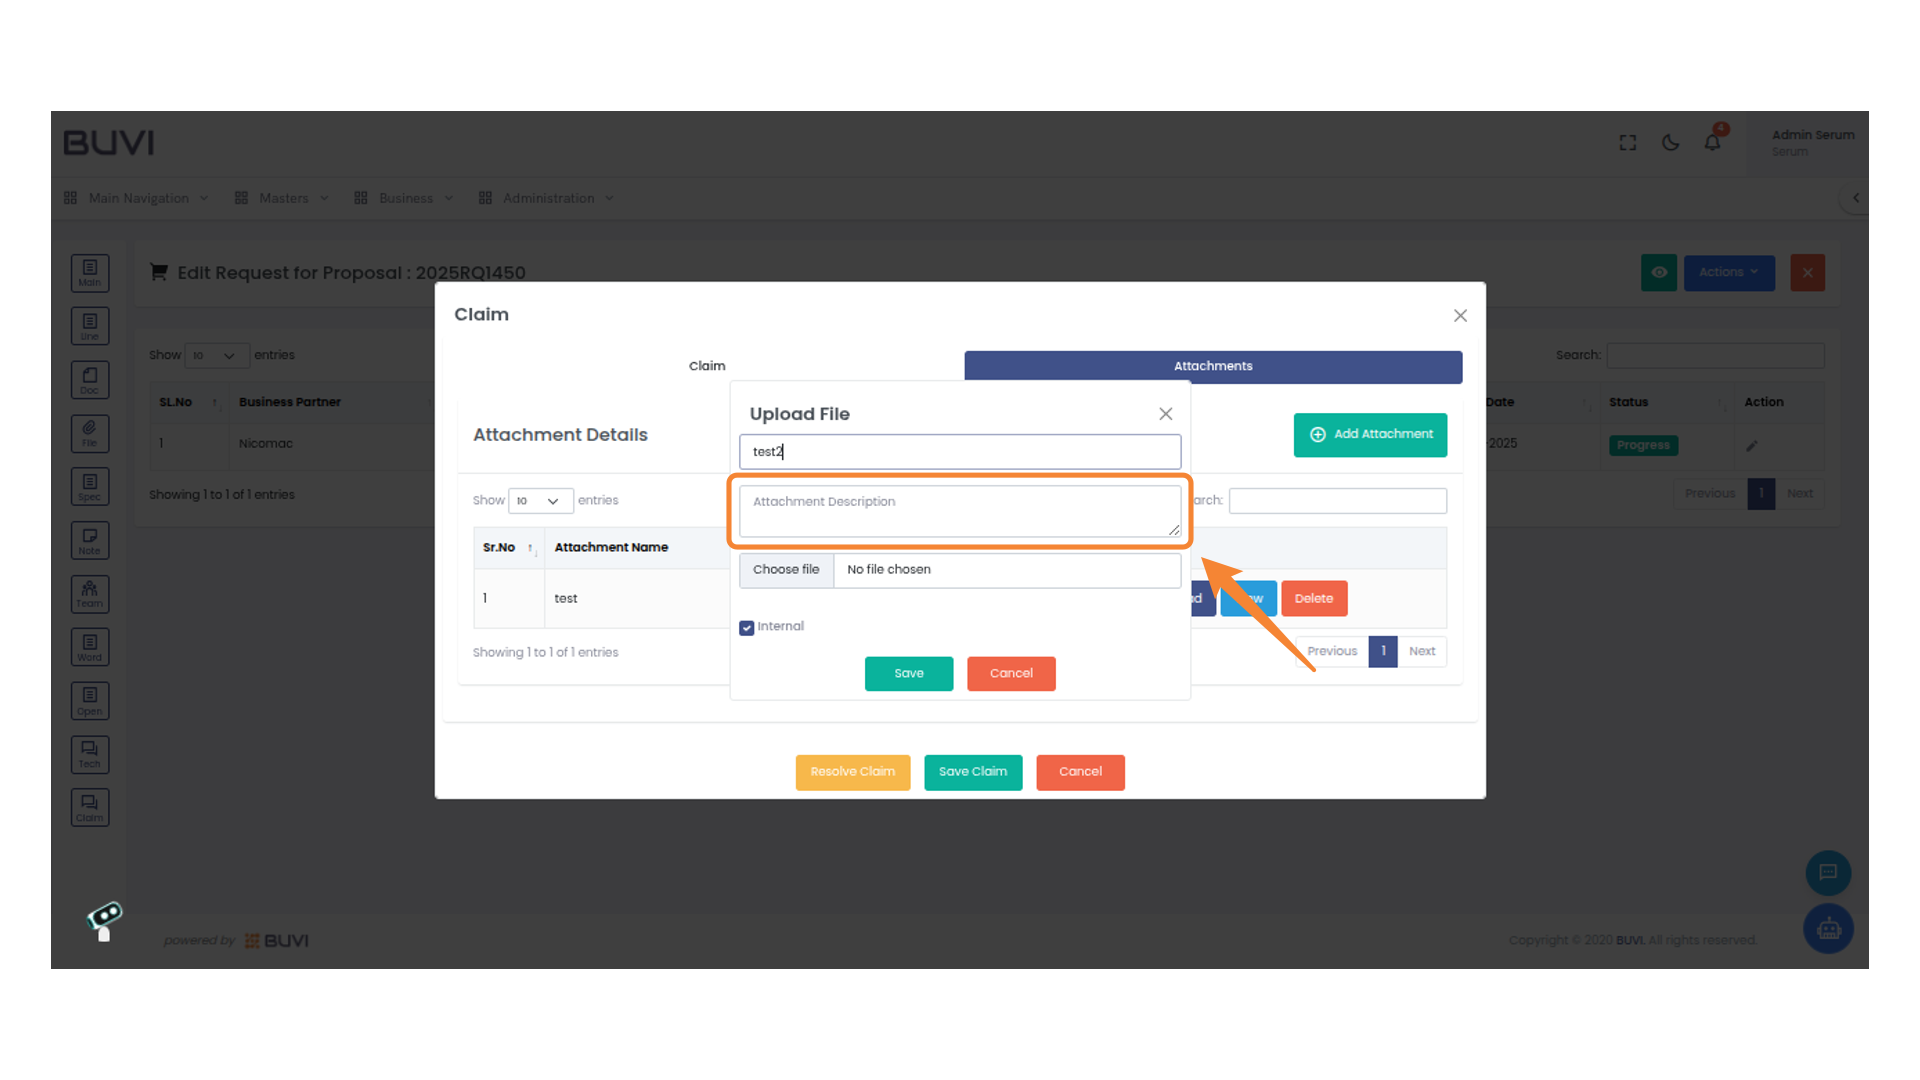
69. Enter Attachment Name
Input the name of the attachment in the provided text field.
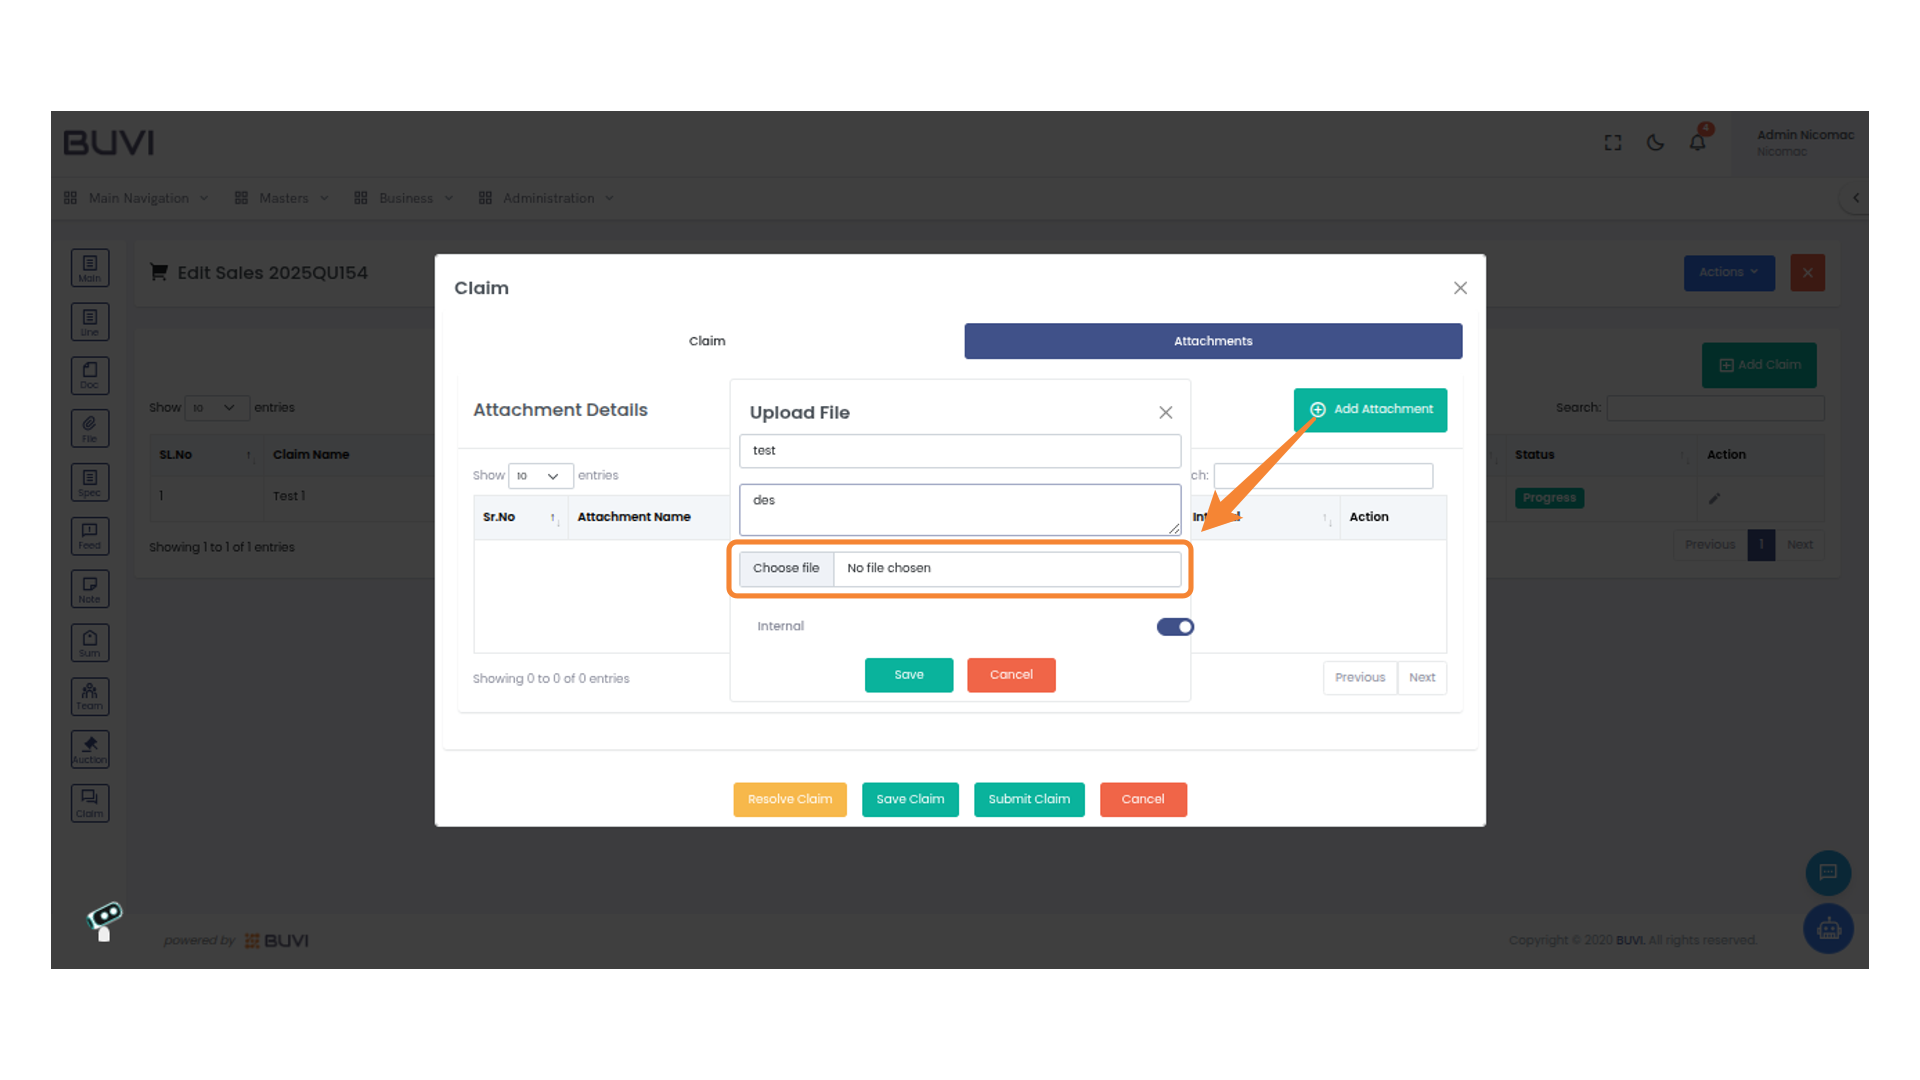
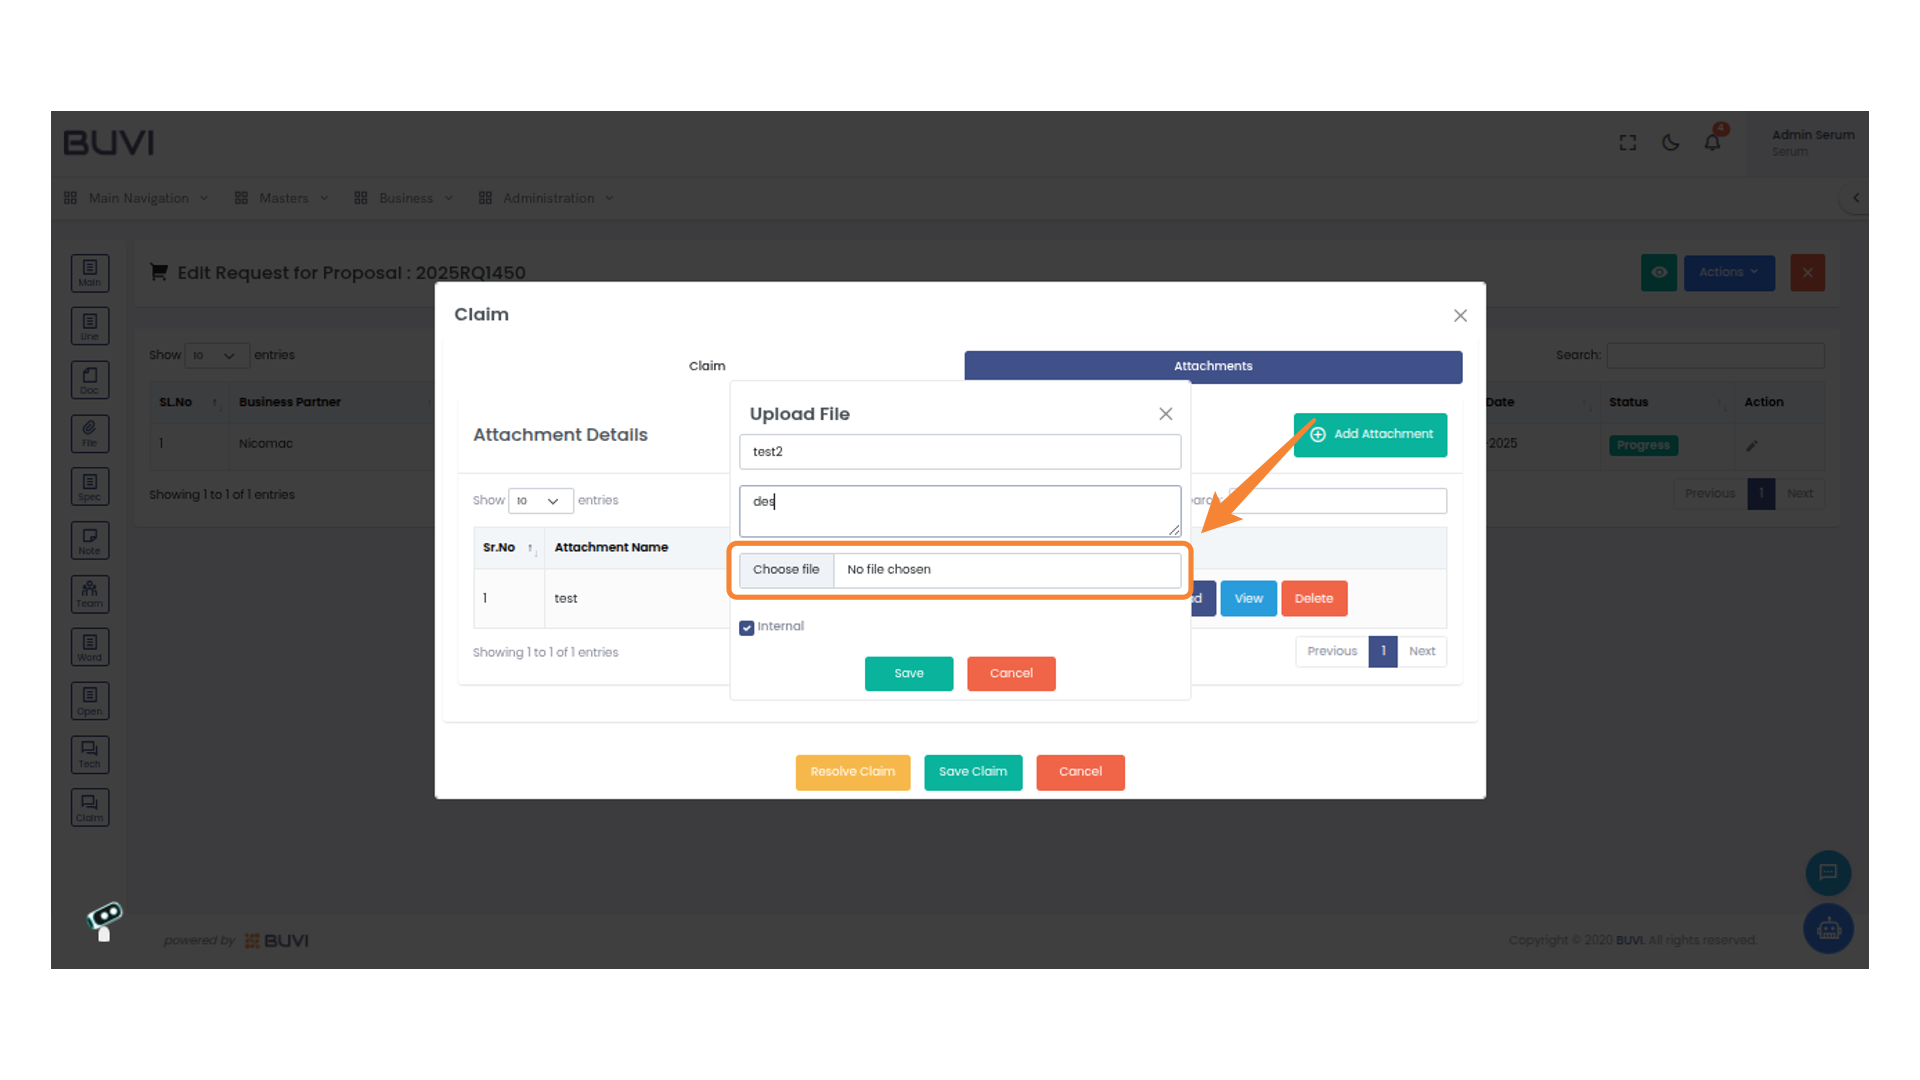
70. Select a File
Click 'Choose file' to upload a document.
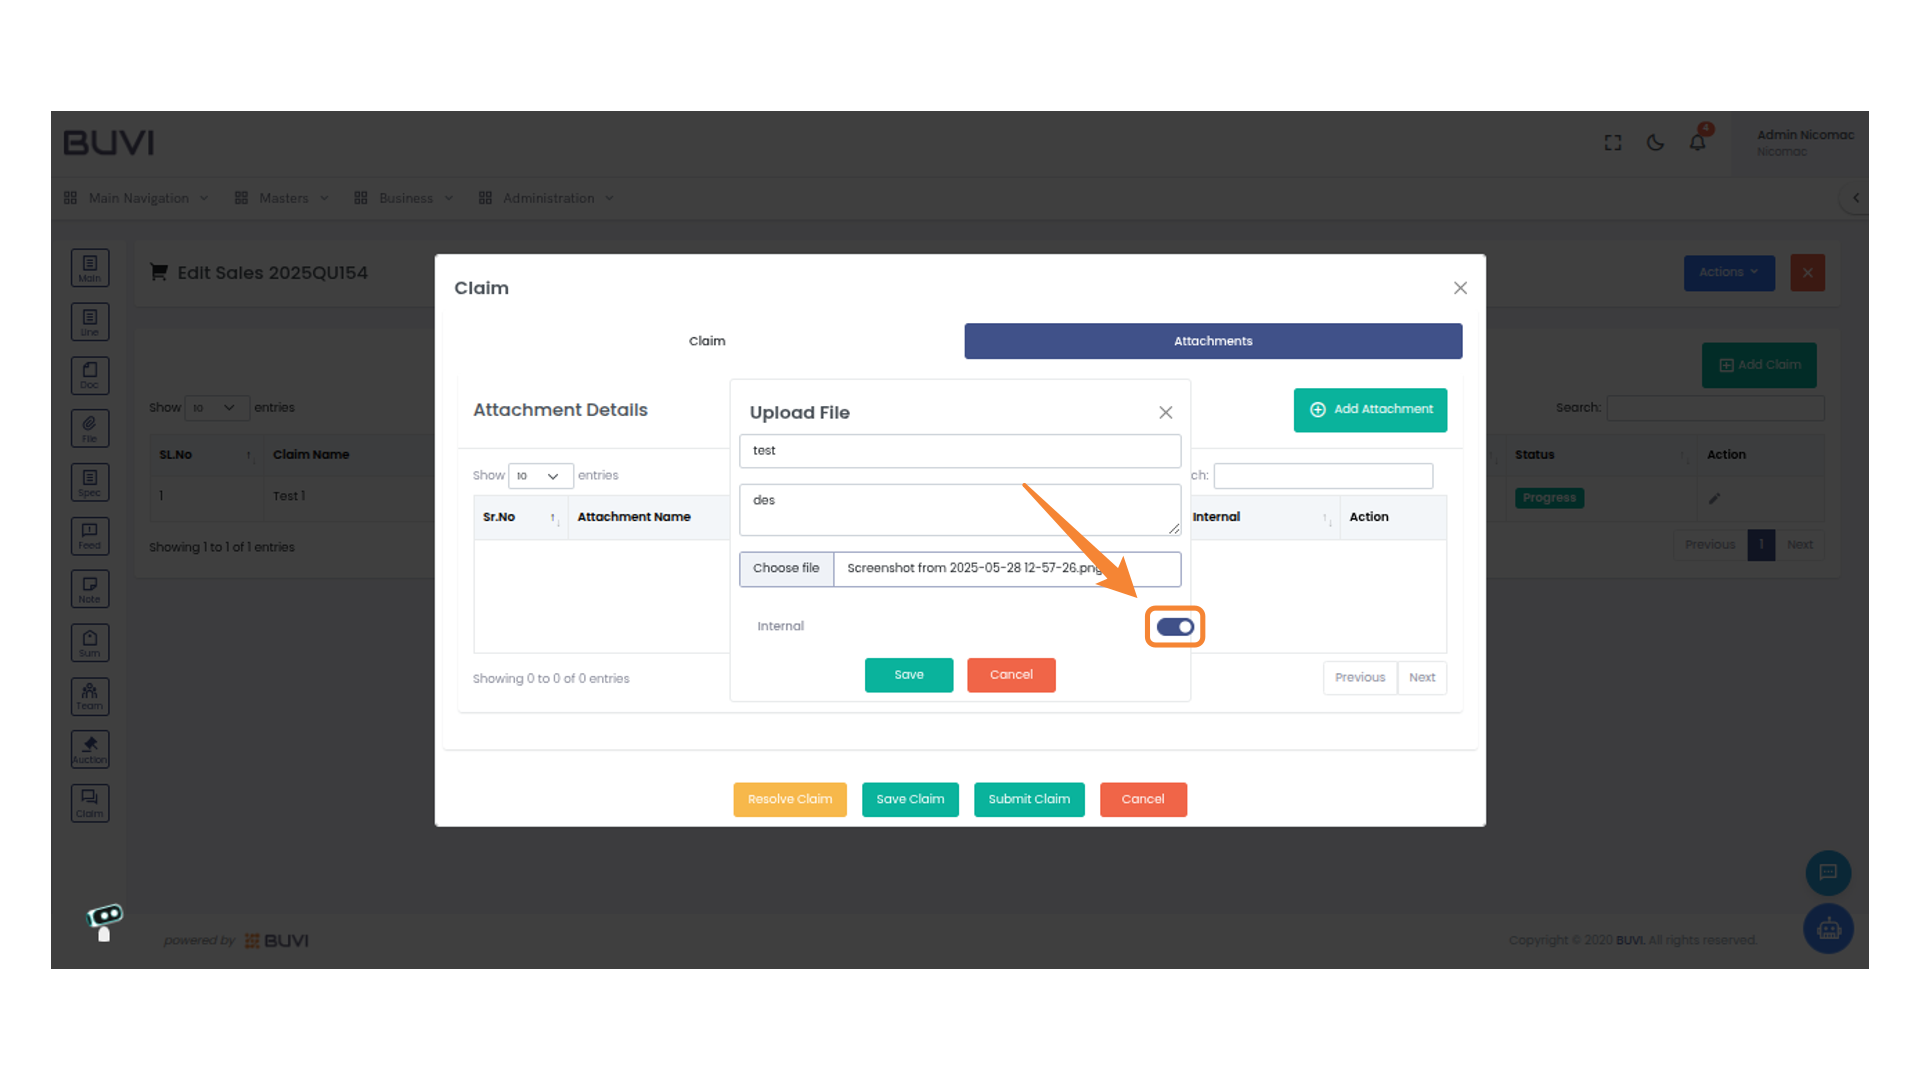
71. Toggle Internal Option
Enable or disable the internal option using the toggle switch.
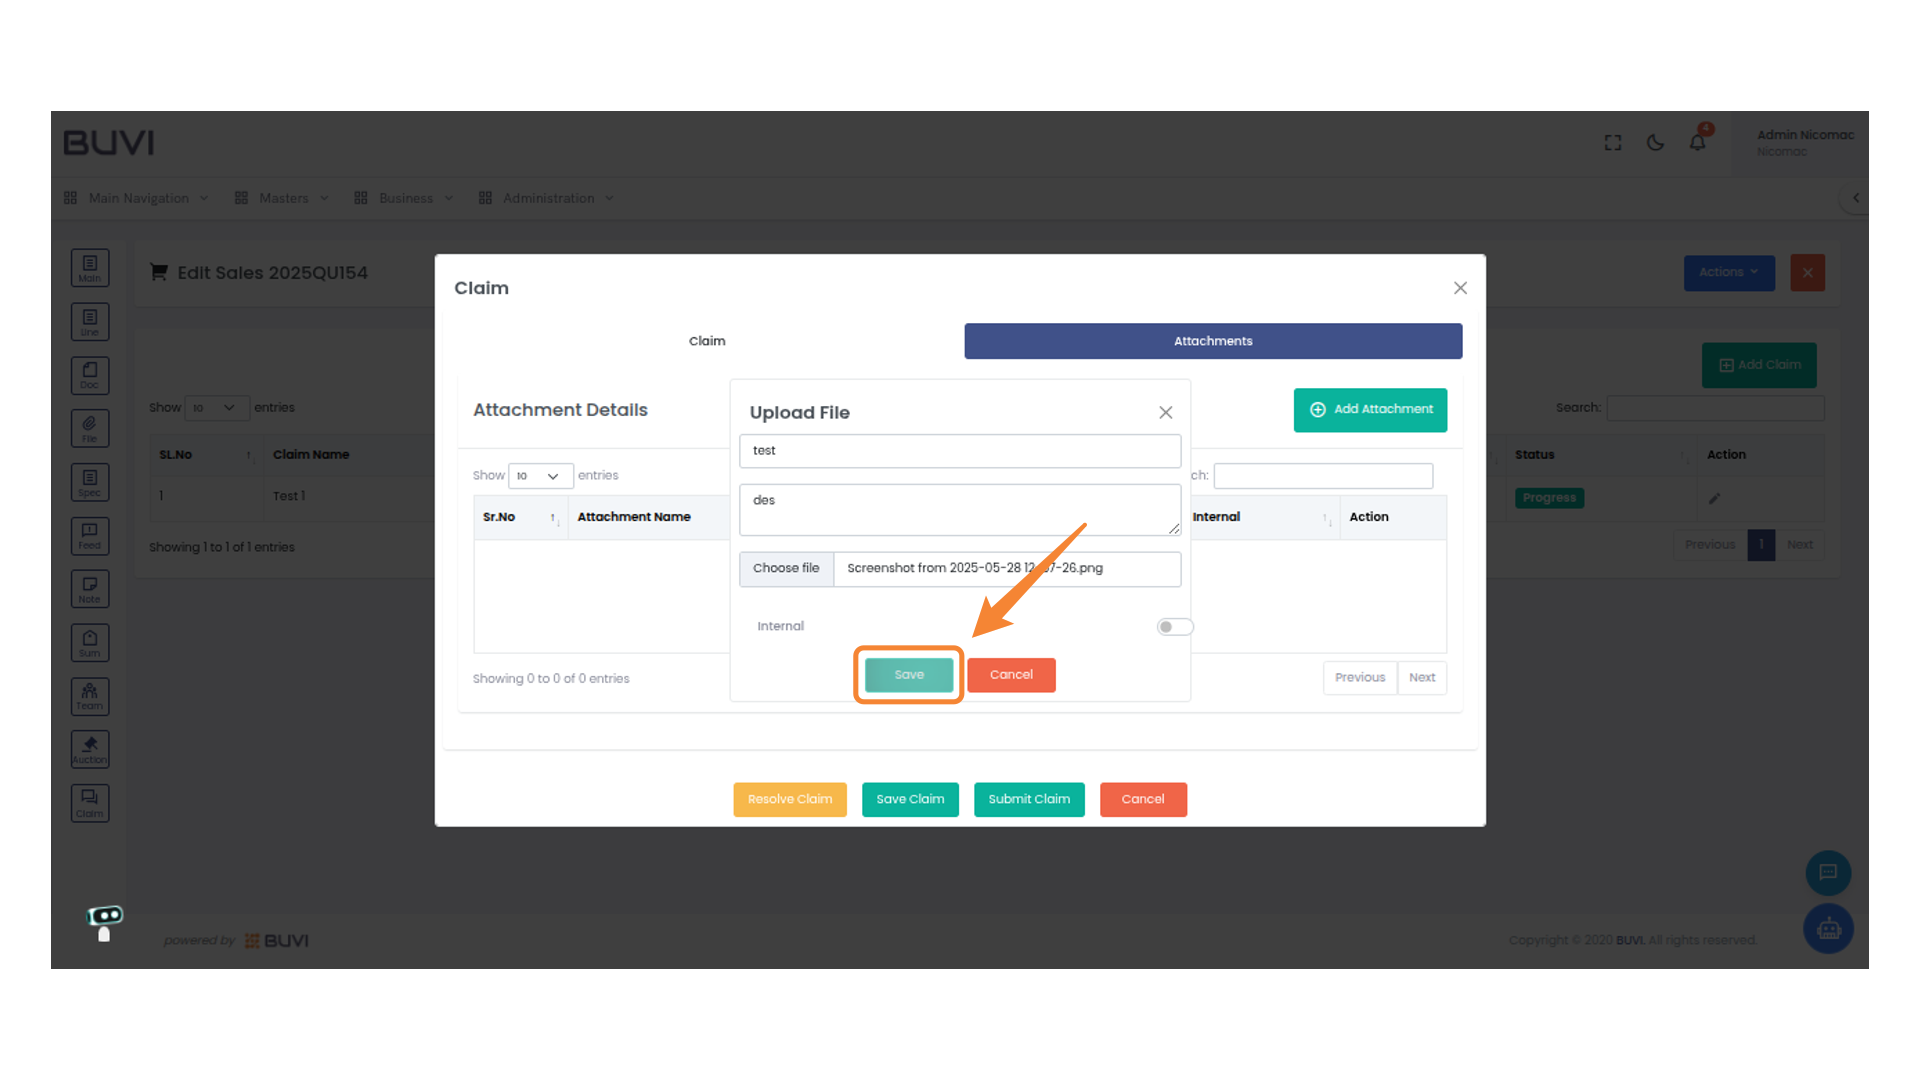
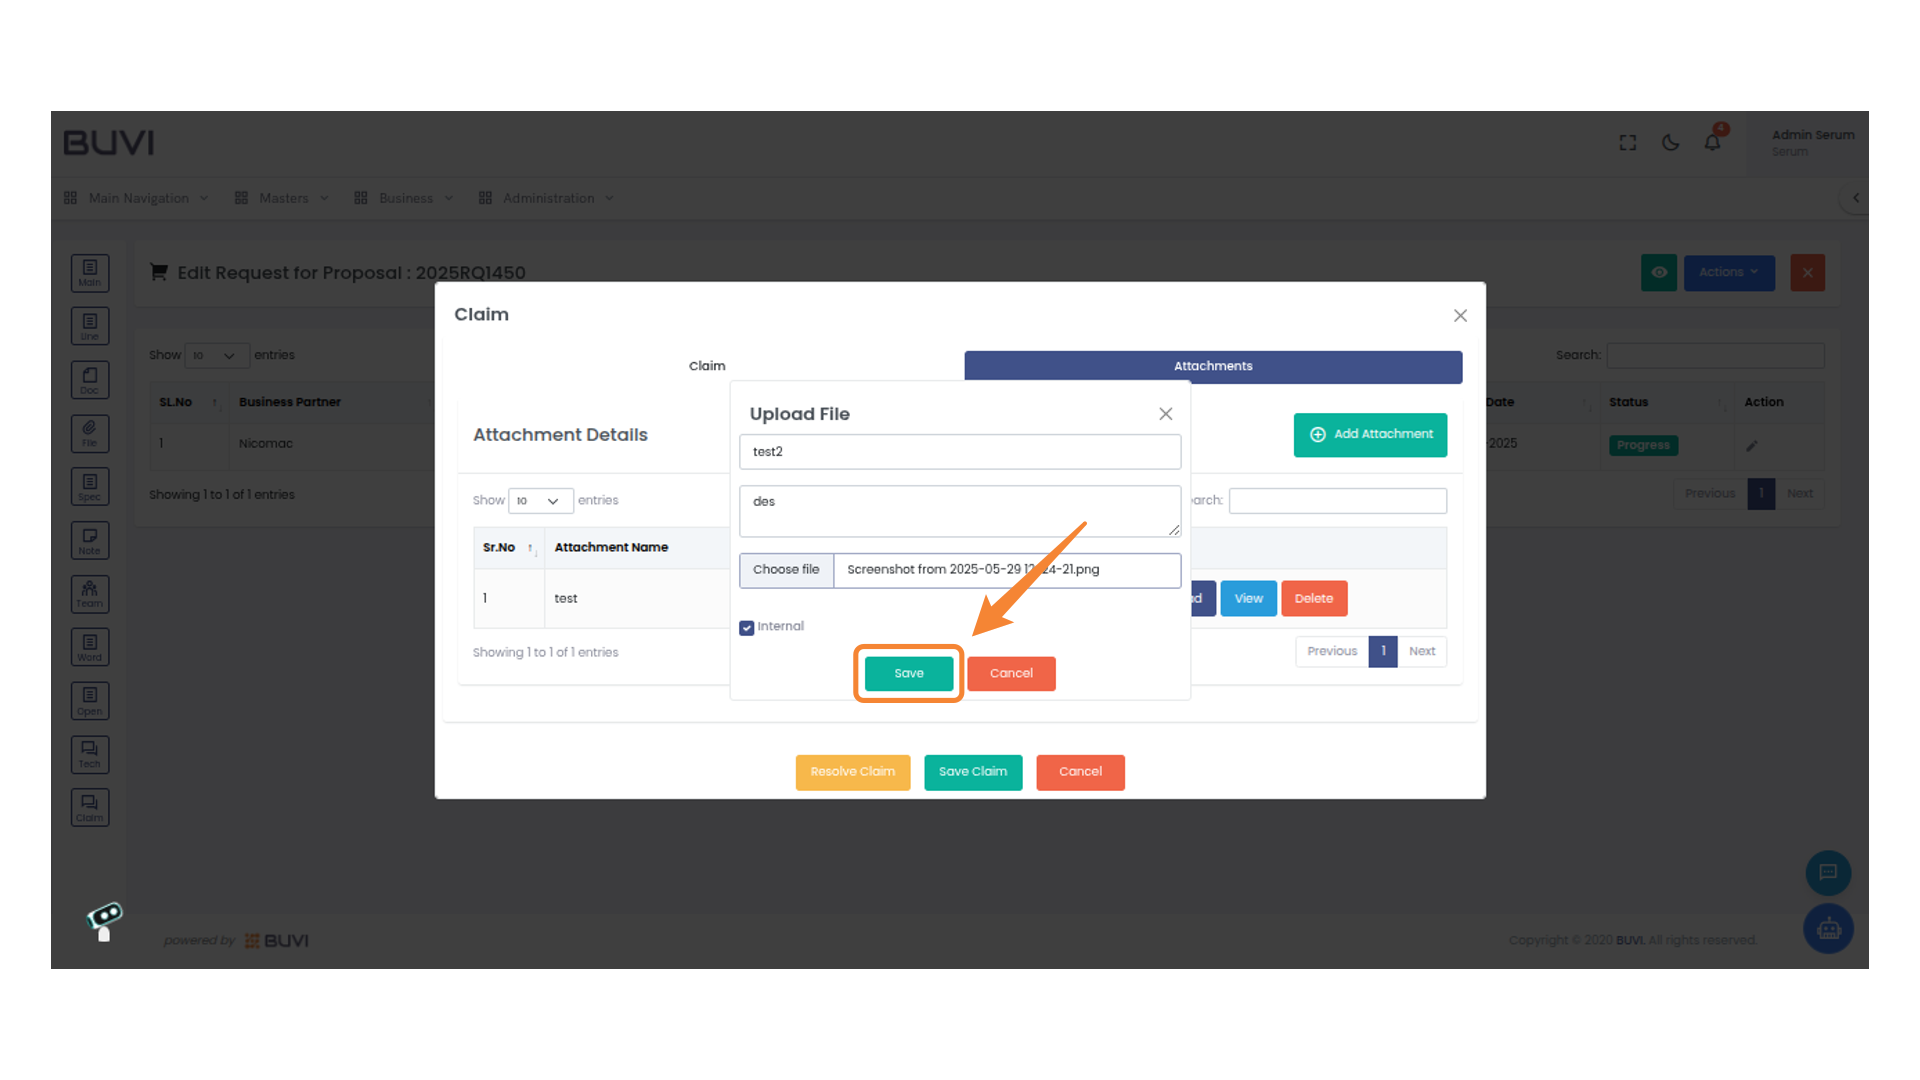
72. Save the File
Click 'Save' to upload the selected file.
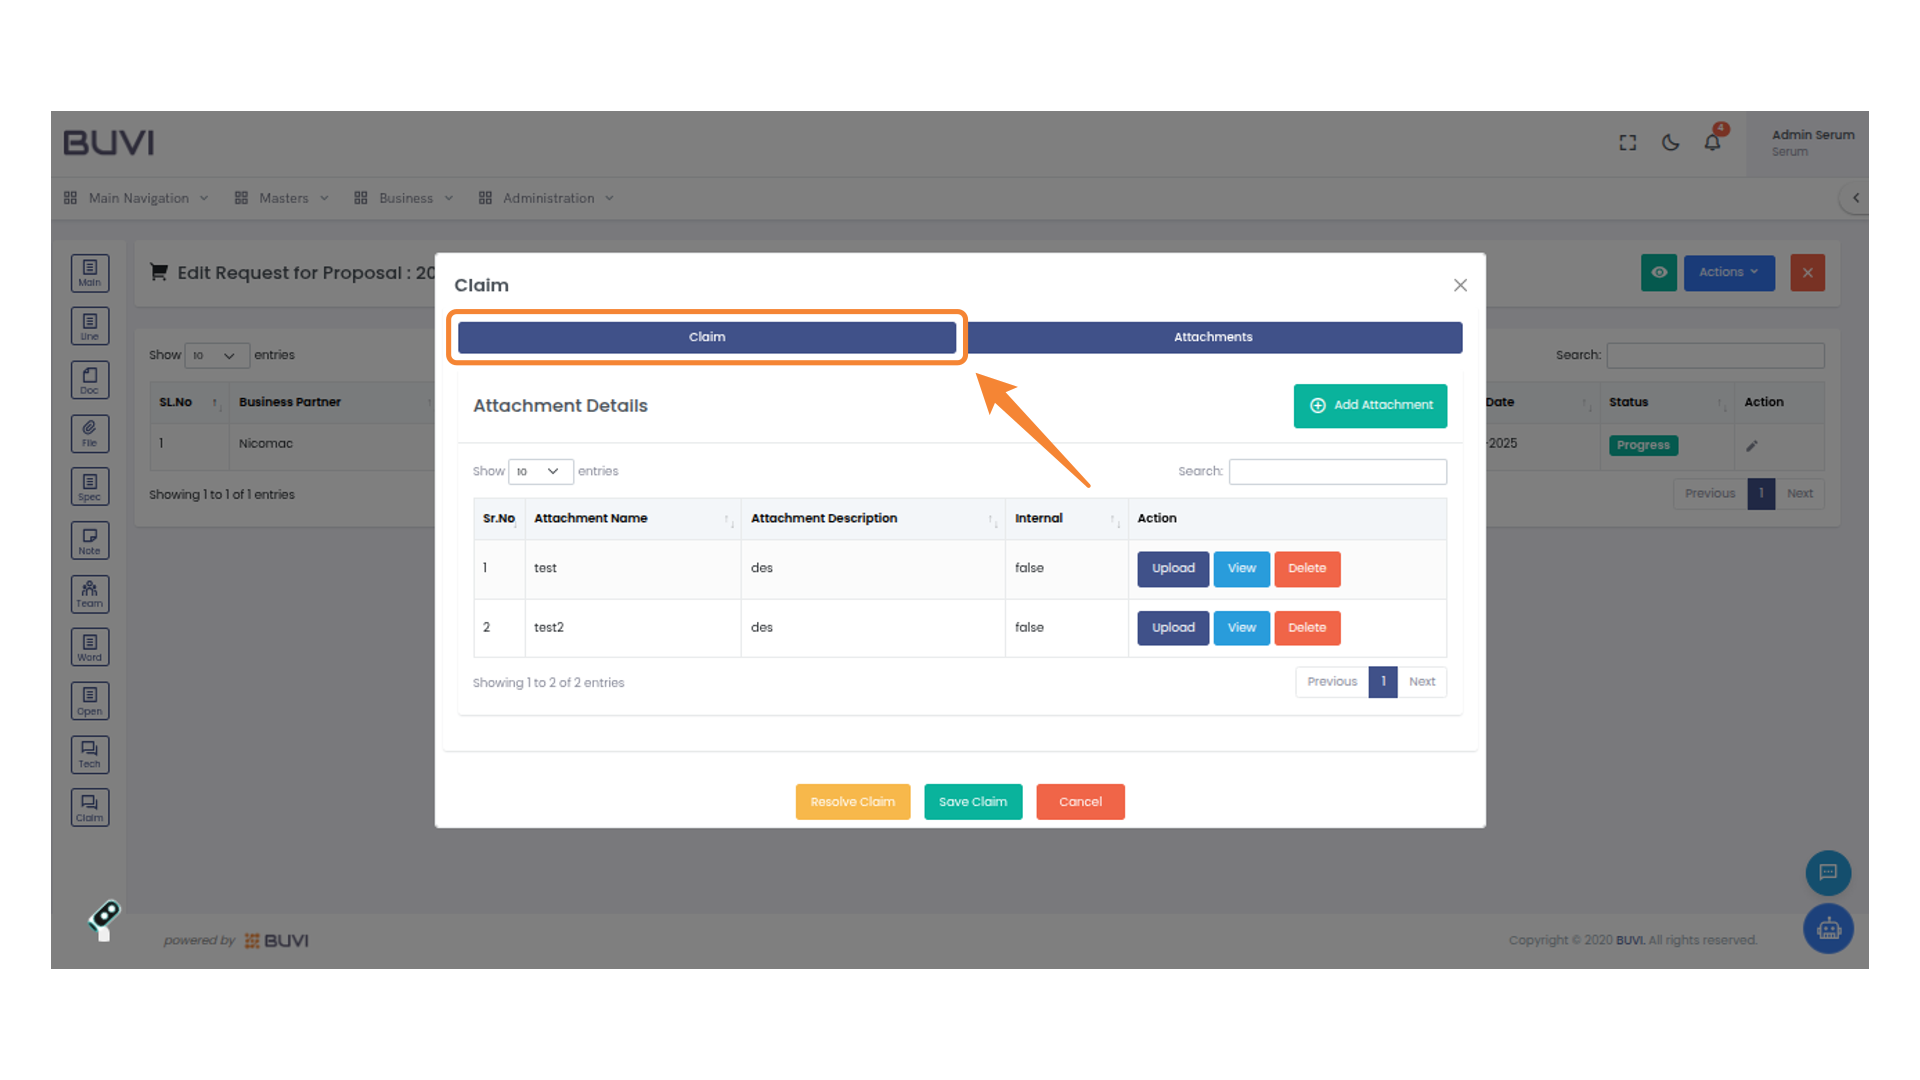
73. Select the Claim Tab
Select the Claim tab to view or manage attachments related to your claim.
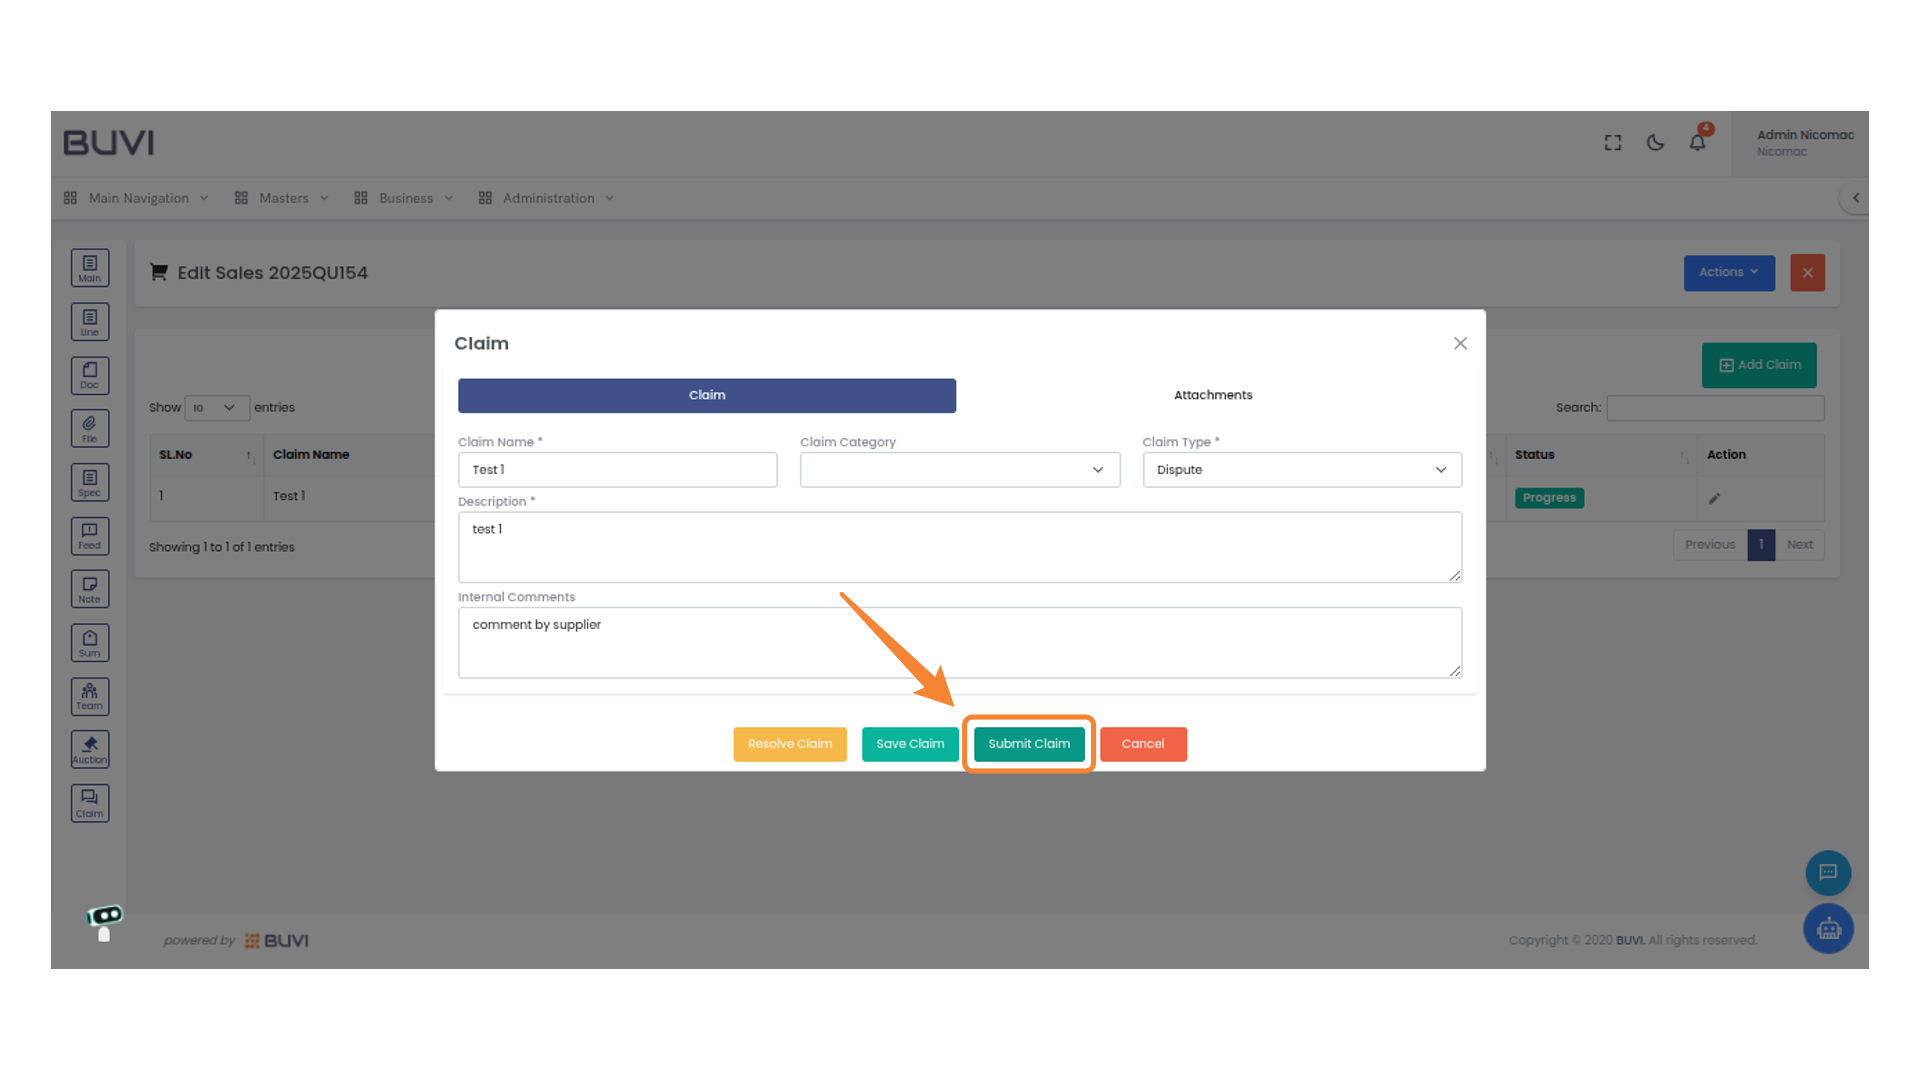
74. Submit the Claim
Click 'Submit Claim' to finalize the process and send the claim for review.
75. Check Claim Status
Verify that the claim status is marked as 'Submitted' to ensure it has been processed.

76. Login to the application as buyer
Login to the application as buyer

77. Access Purchase Menu
Click the 'Purchase' option under the 'Business' menu to view and manage purchase-related operations and configurations.

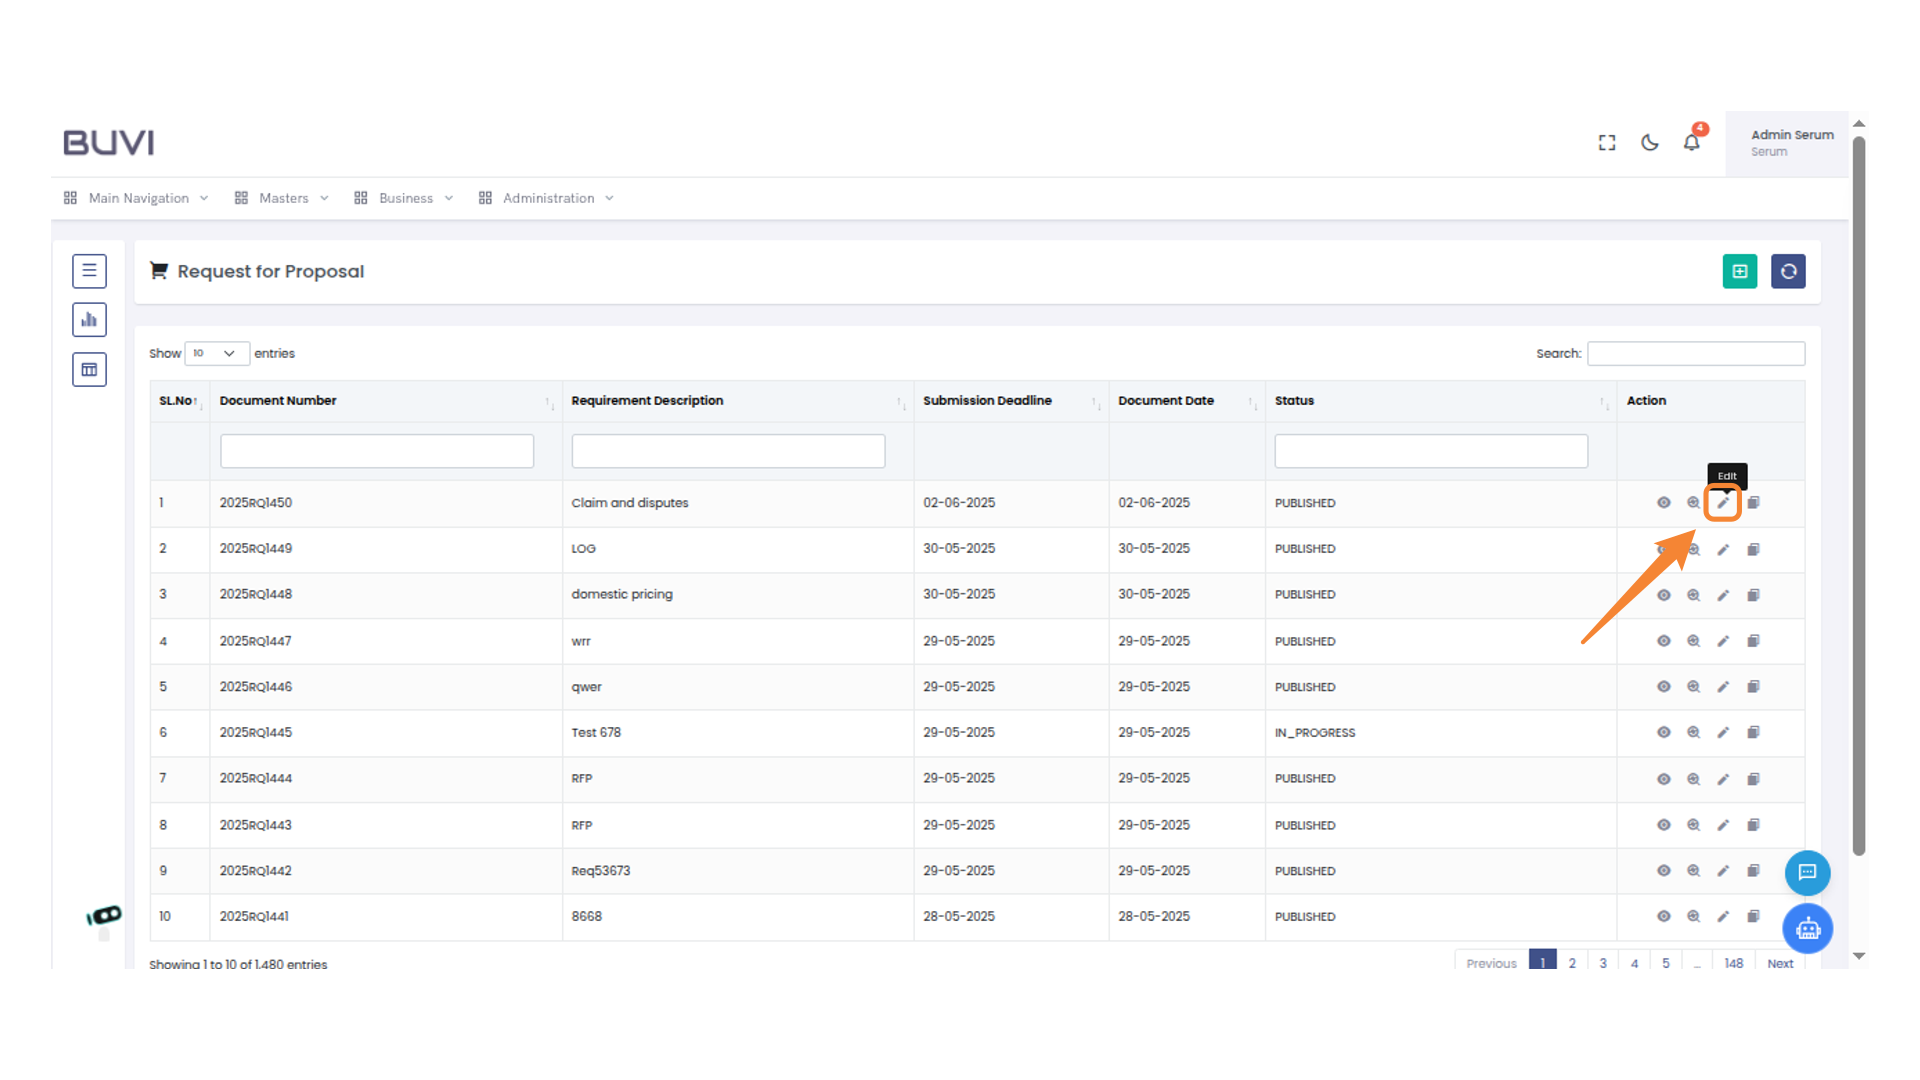
78. Edit Proposal
Click the pencil icon to edit the proposal details.
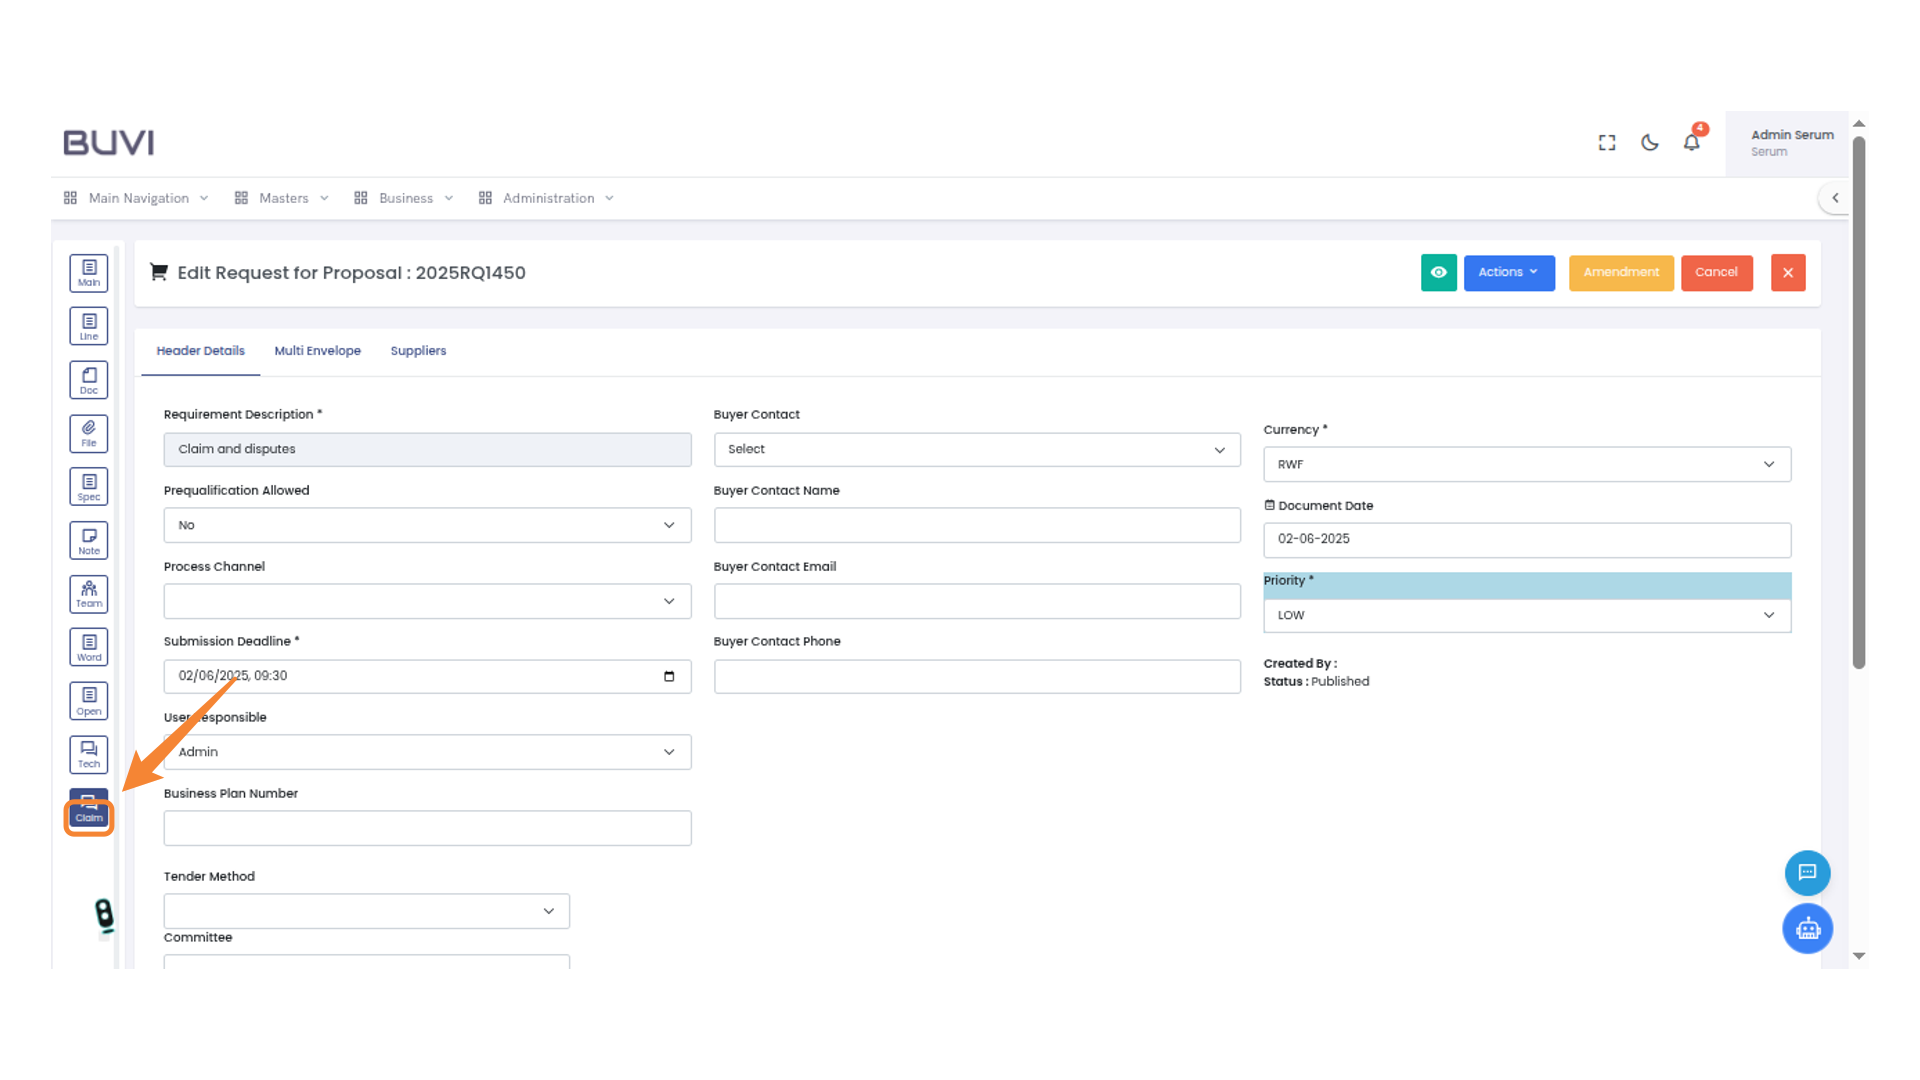
79. Select Claim Icon
Click the Claim icon to access or manage claim-related tasks and details.
80. Identify Document Type
verify the claim status

81. Perform Action
Click the pencil icon to edit the entry.
82. Verify claim details
Verify claim details
83. Select Attachments Tab
Click the 'Attachments' tab to view or add related files to the claim.
84. Select the Claim Tab
Select the 'Claim' tab to manage or view claim details.
85. Provide External Comments
Enter your comments or additional information in the external comments field to enhance the claim details.
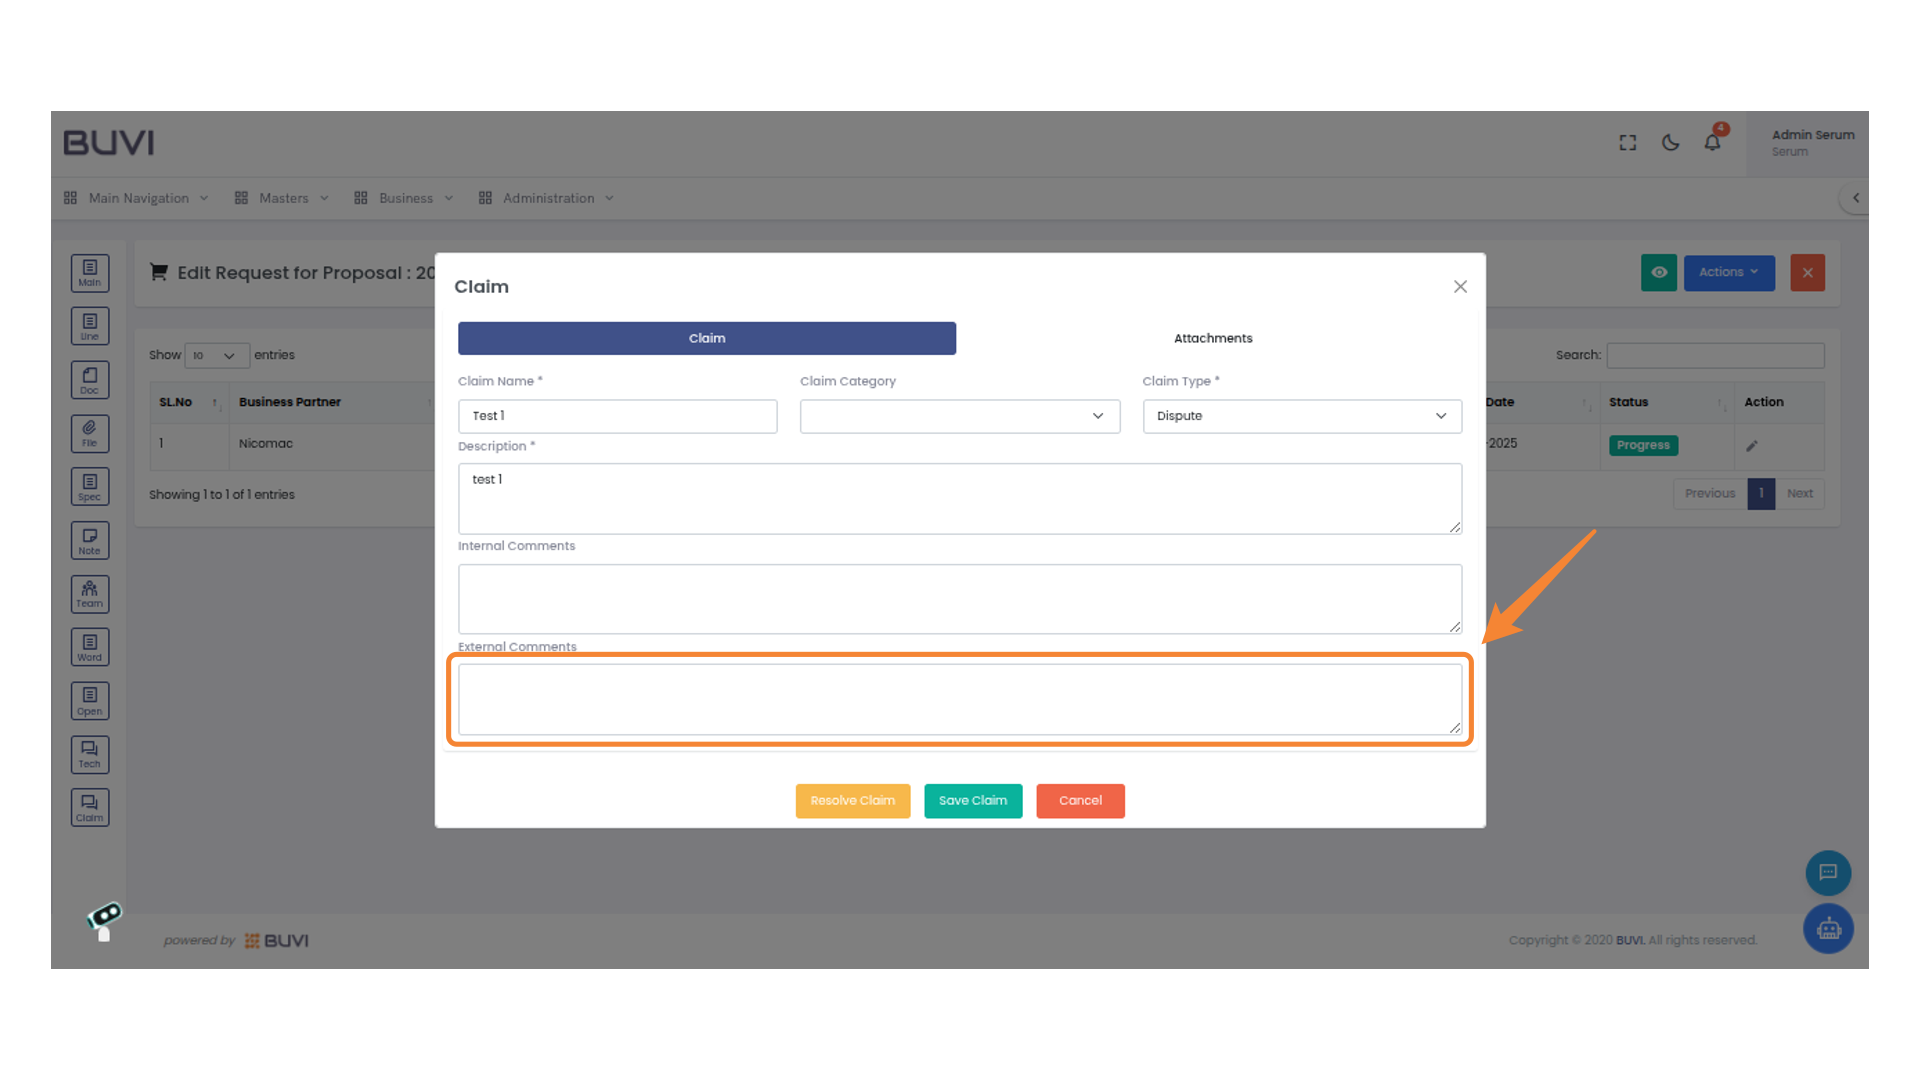
86. Save the Claim
Click 'Save Claim' to store the current claim information.

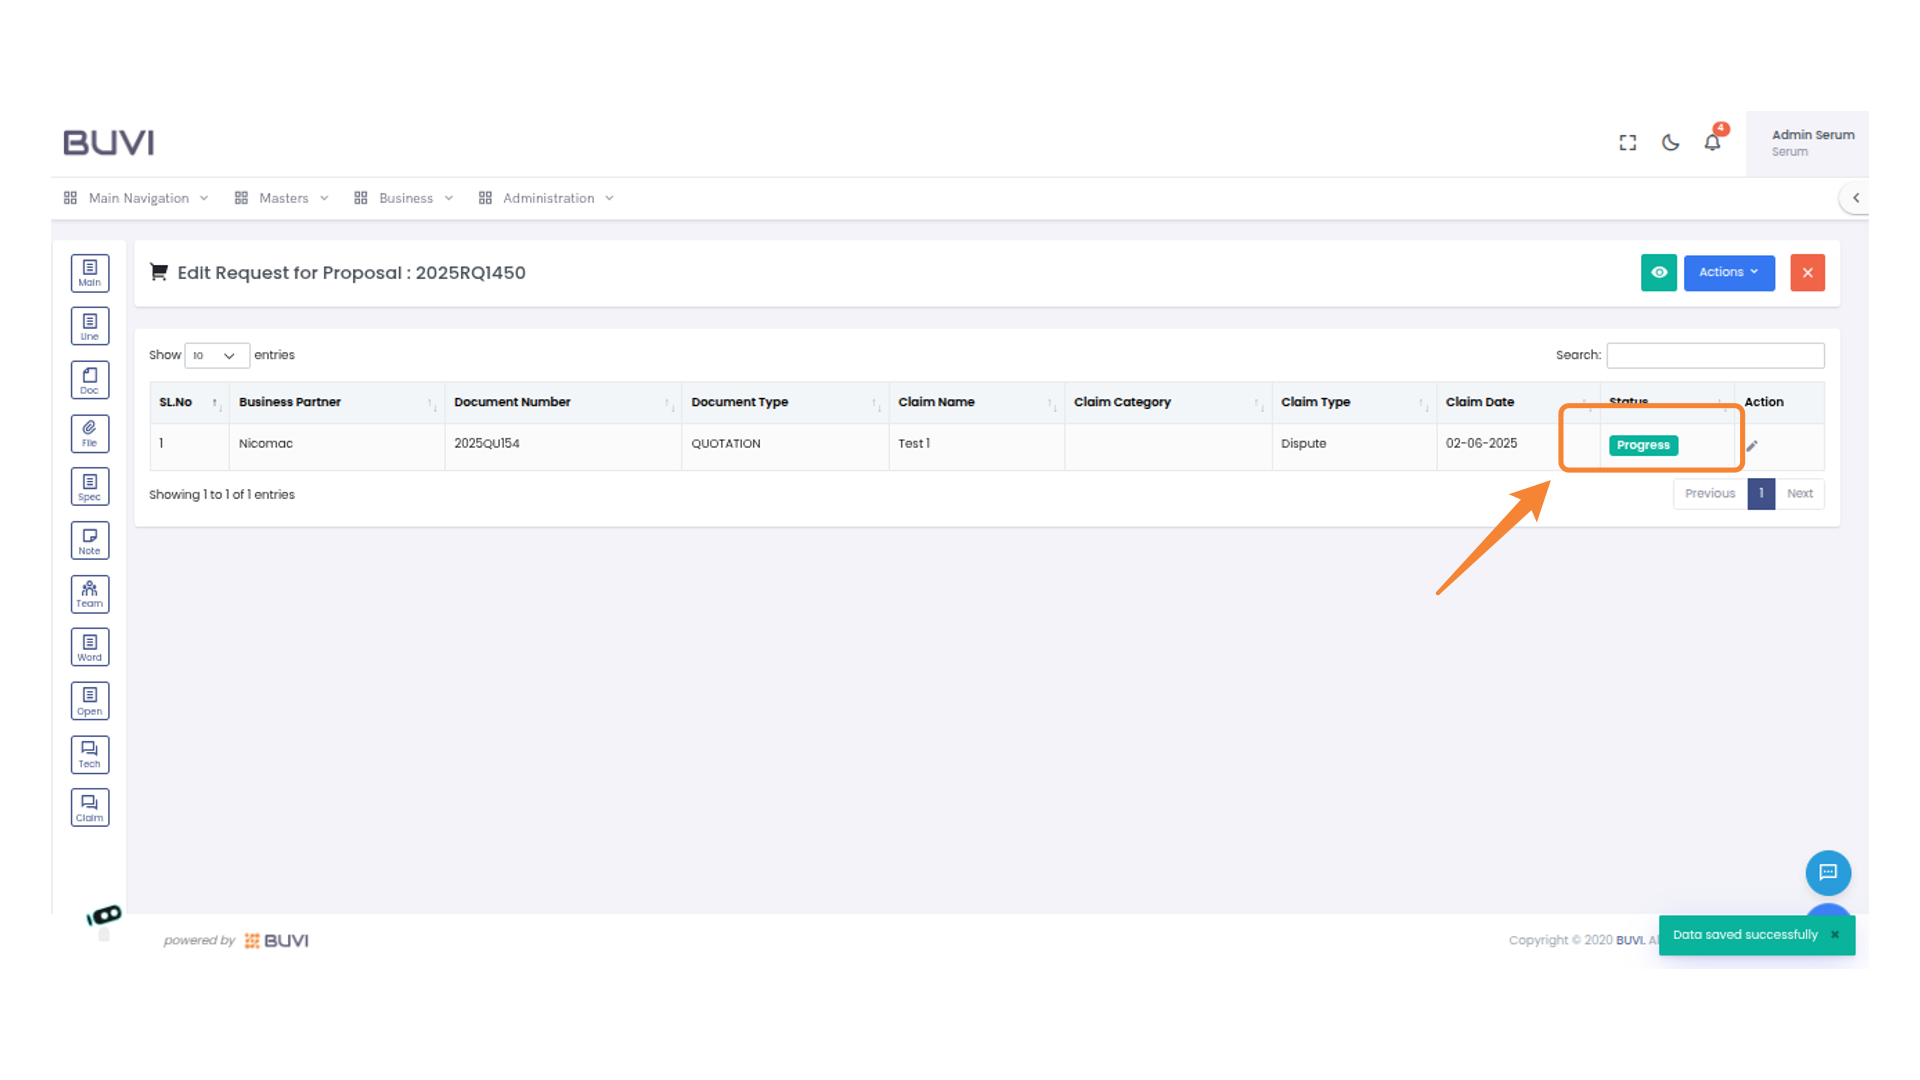
87. View Claim status
View Claim status
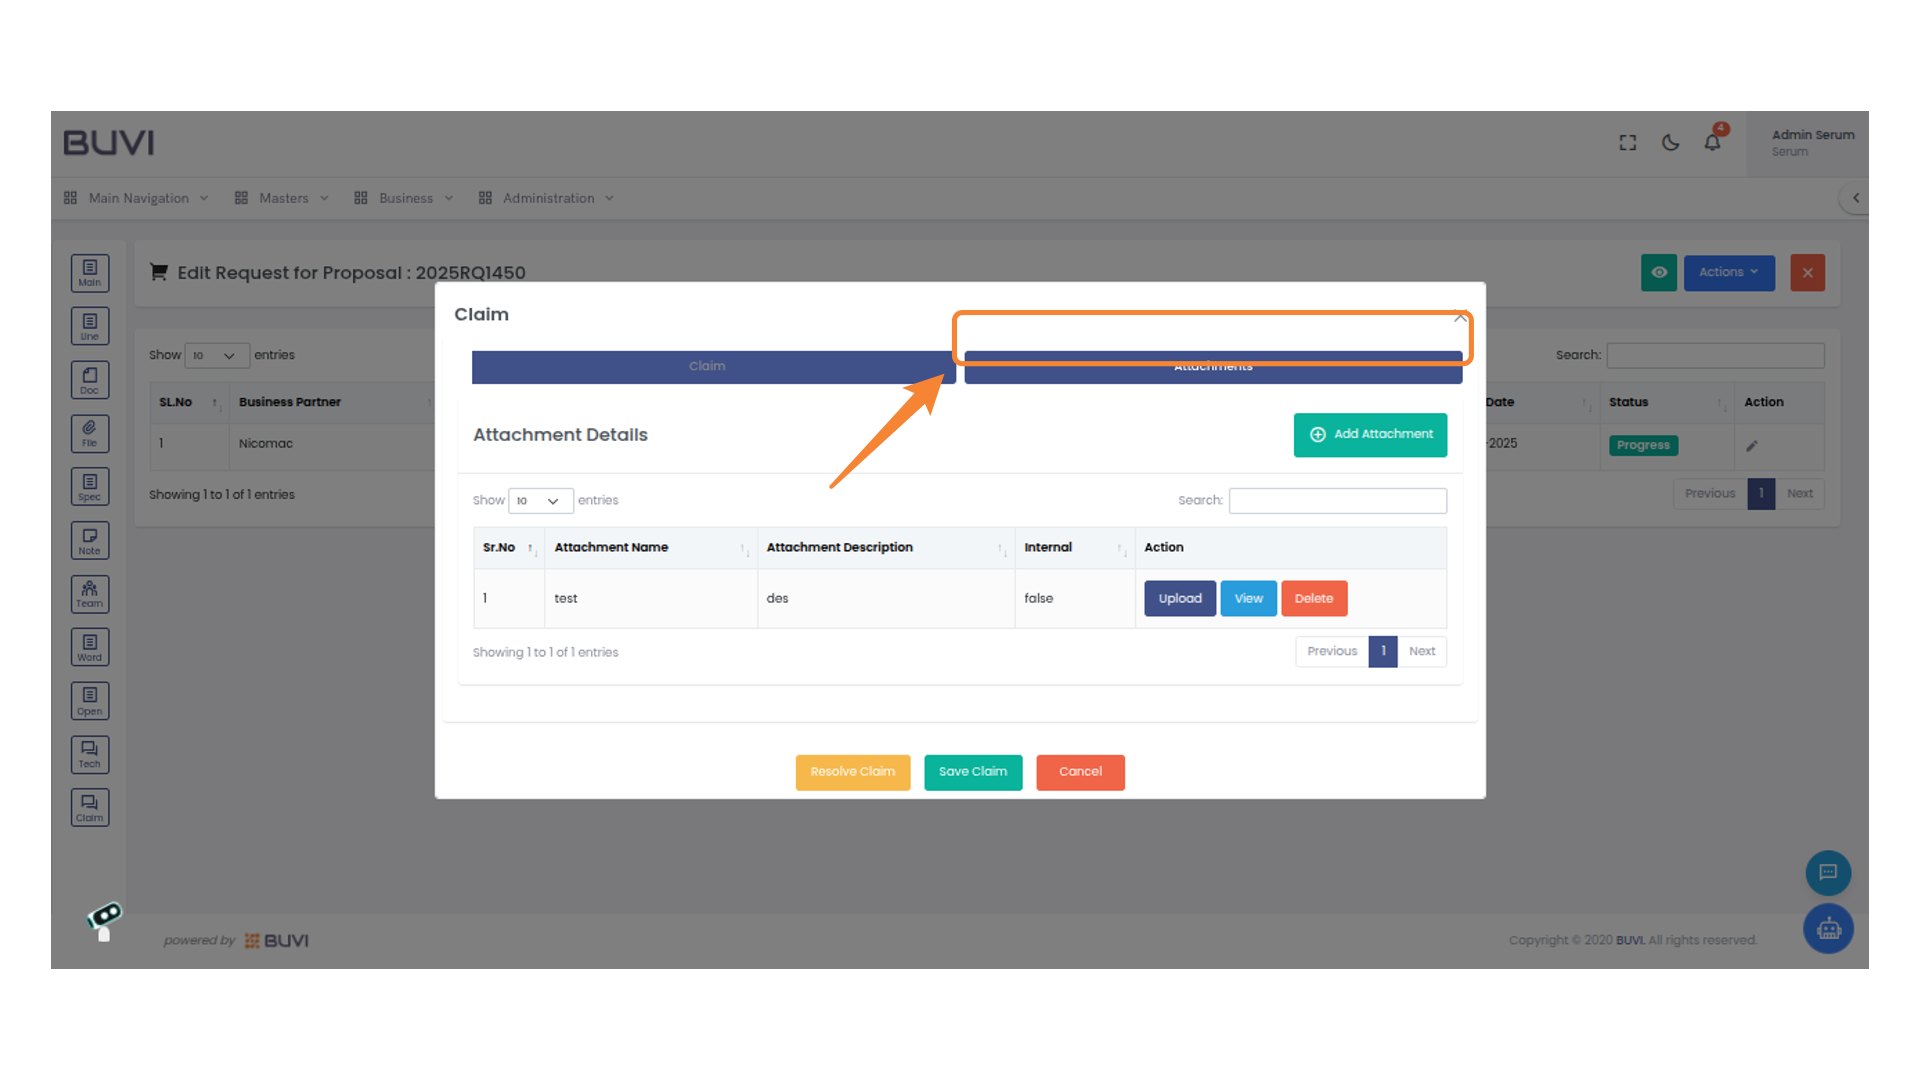
88. Access Attachments
Click on the 'Attachments' tab to view or manage attached files.
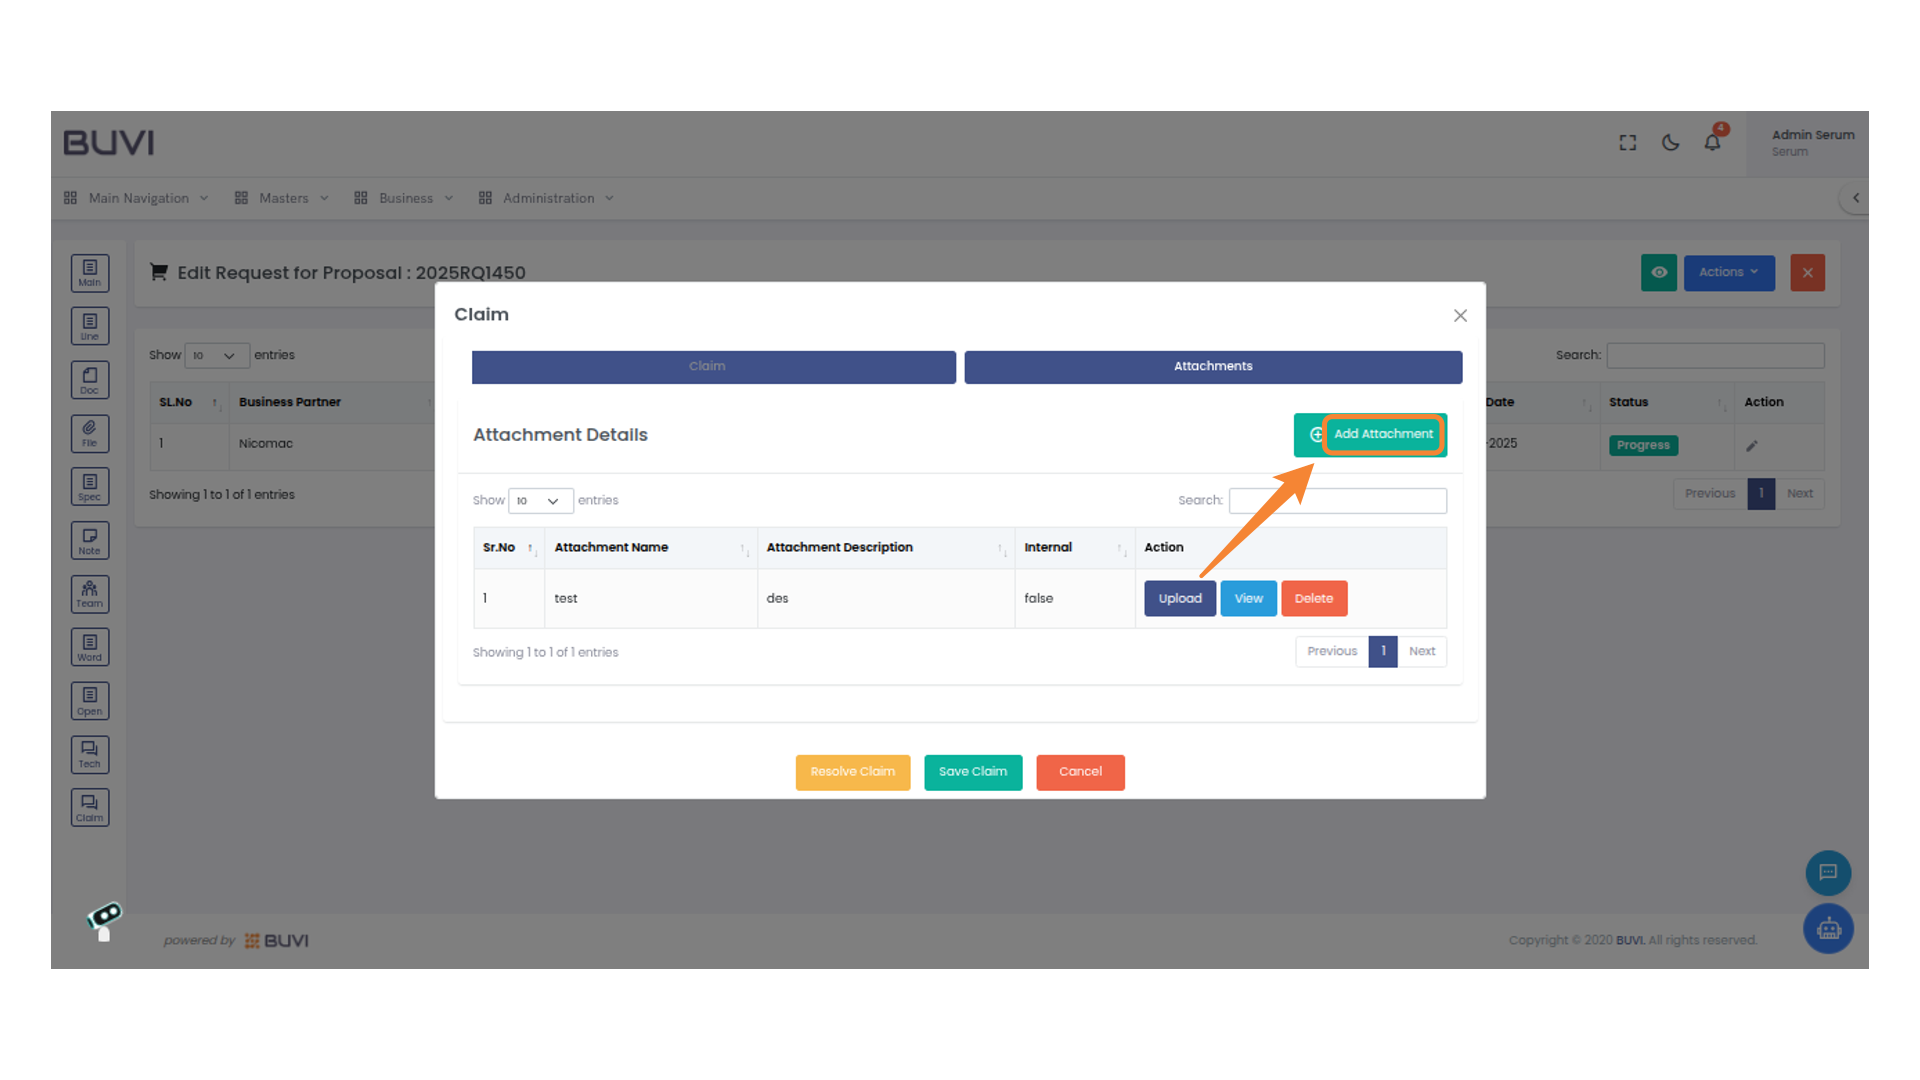
89. Add an Attachment
Click 'Add Attachment' to include a new file.
90. Enter Attachment Name
Enter the name of the attachment in the provided field.

91. Enter Attachment Description
Provide a detailed description for the attachment in the designated field.
92. Upload and Save File
Select a file to upload and click 'Save' to complete the process.
93. Select 'Internal' Checkbox
Check the 'Internal' option to categorize the uploaded file as internal documentation.

94. Save Uploaded File
Click the 'Save' button to upload your selected file and update the attachment details.
95. Initiate a Claim
Select 'Claim' to proceed with processing your request or inquiry.
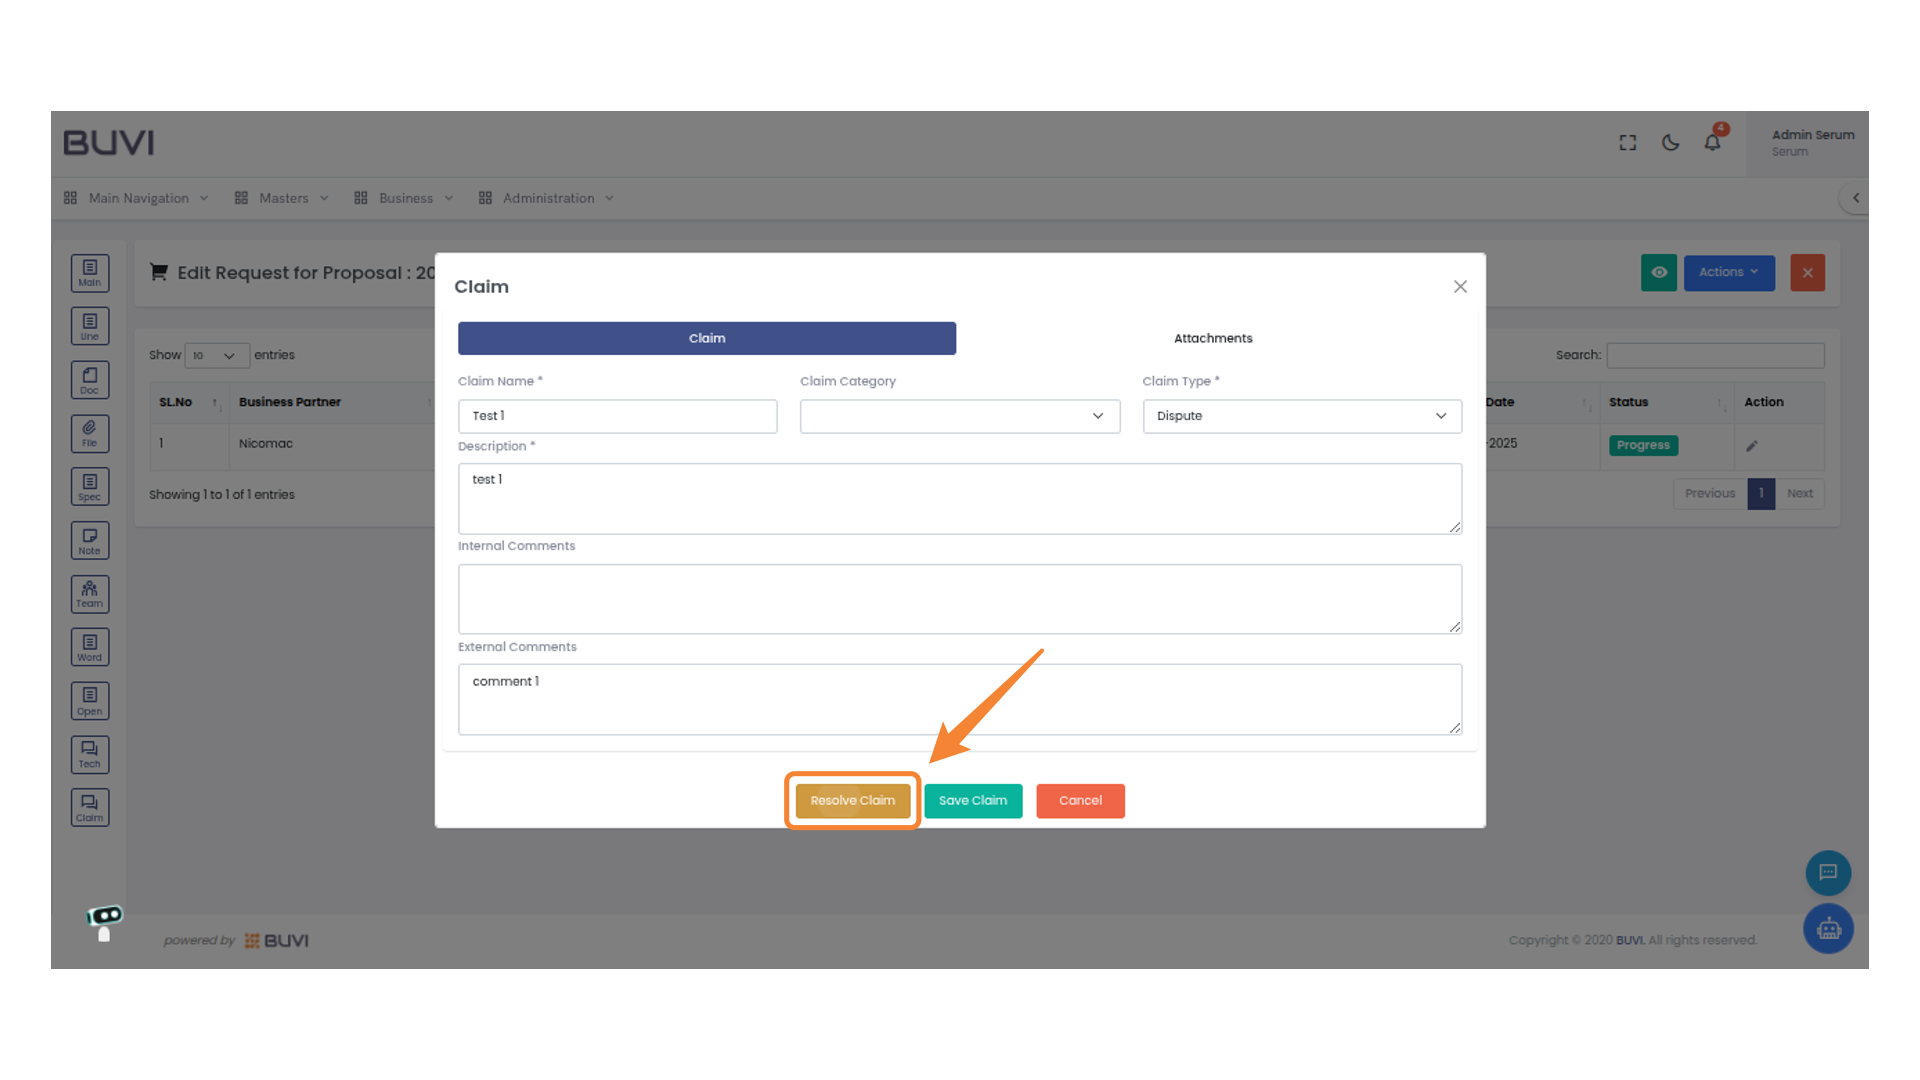
96. Resolve the Claim
Click 'Resolve Claim' to address the pending issue. Confirm actions to finalize the resolution process.
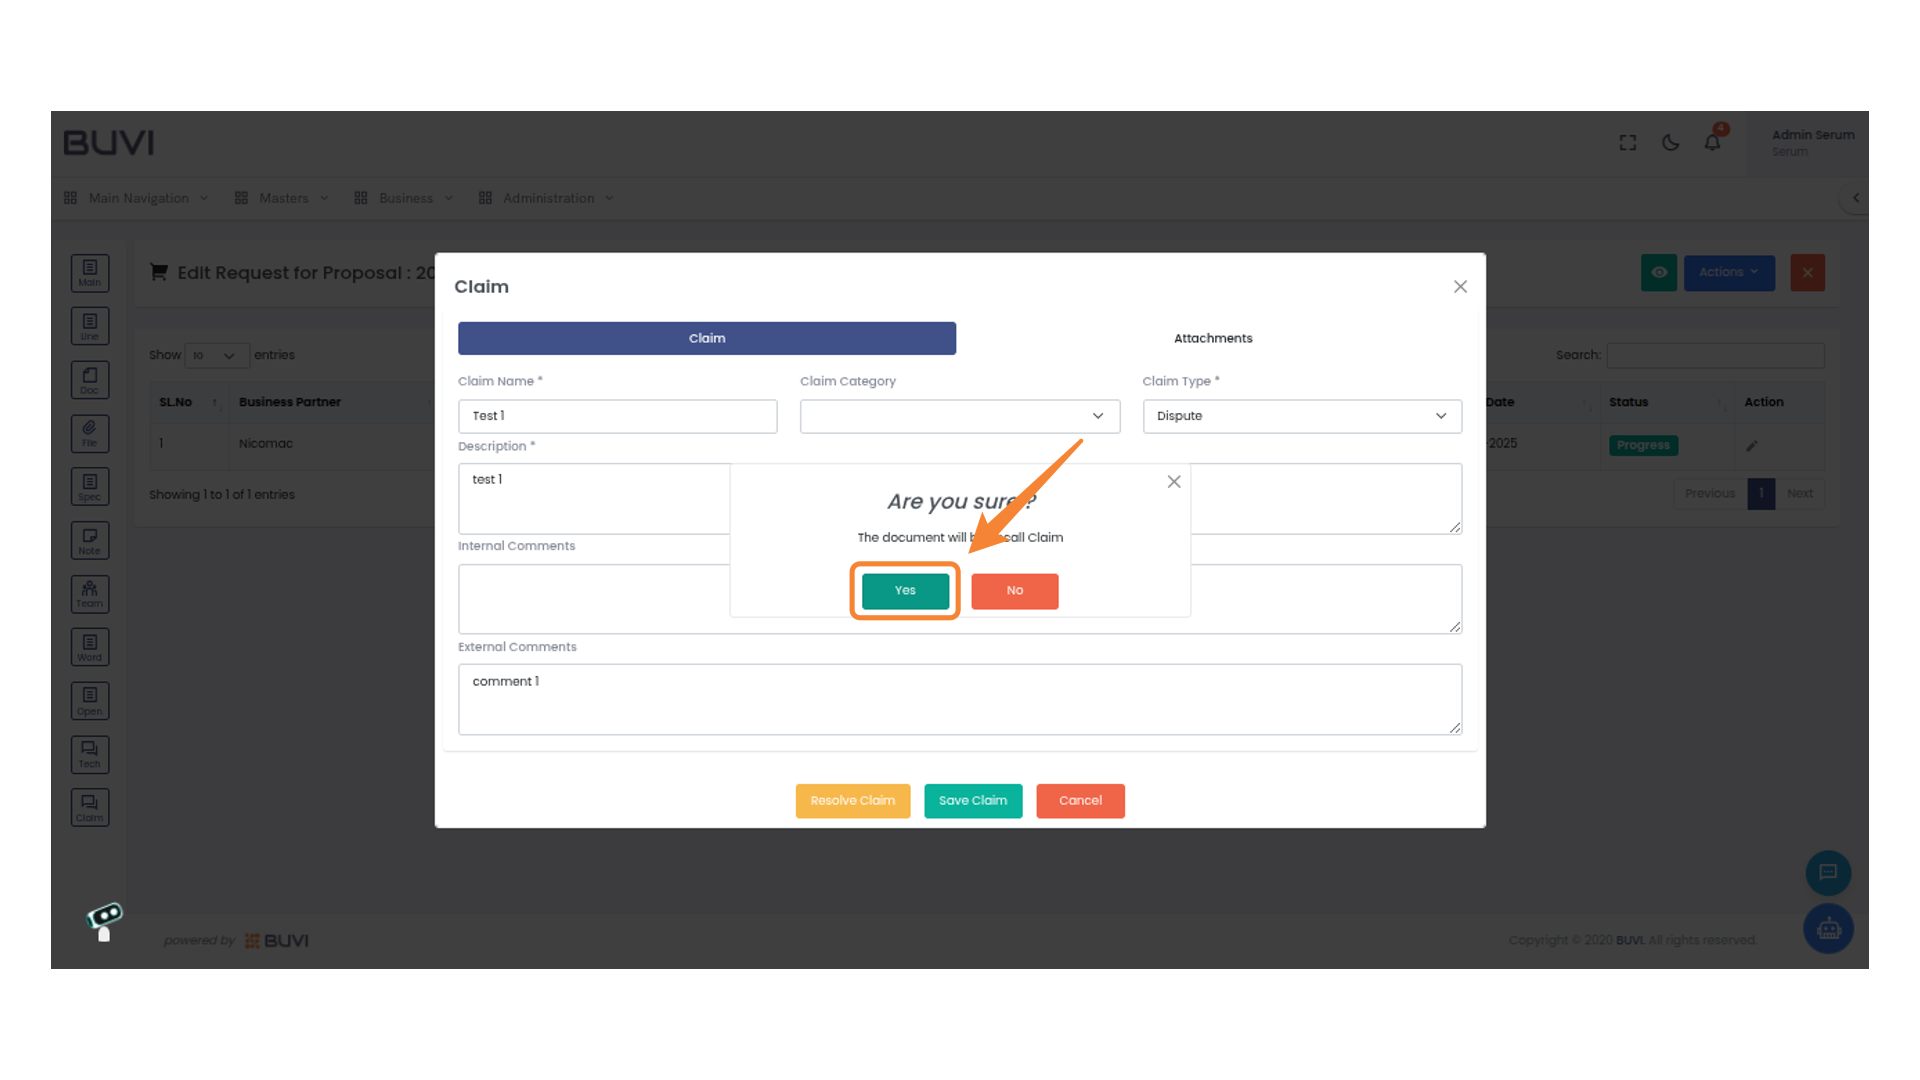
97. Confirm Document Recall
Click 'Yes' to confirm the document recall.
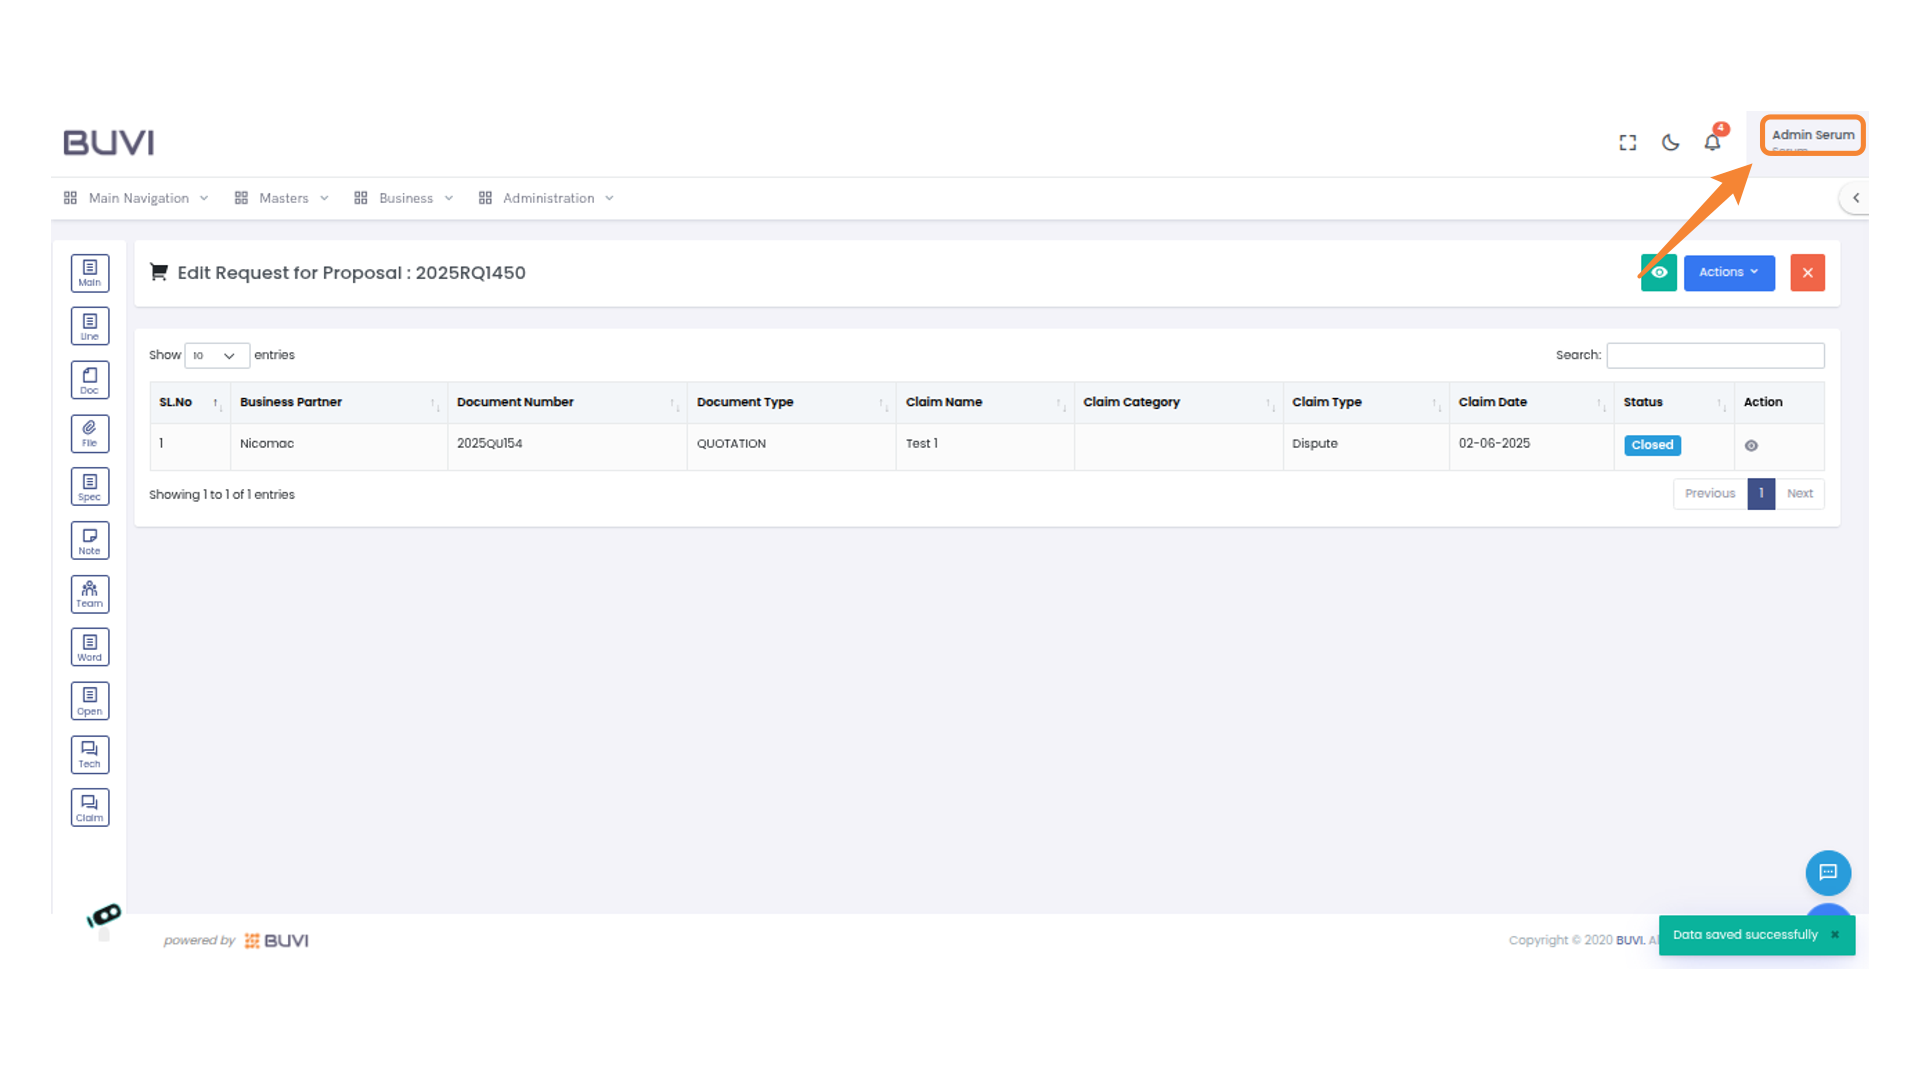
98. Confirm Status Change
Click 'Closed' to set the status of the claim.

99. Log out from the application
Log out from the application
100. Login to the application as supplier
Login to the application

101. Navigate Business Menu
Navigate to Business menu

102. Access Sales Quotation
Click on "Sales Quotation" under the Business menu to proceed with creating or viewing sales quotes.

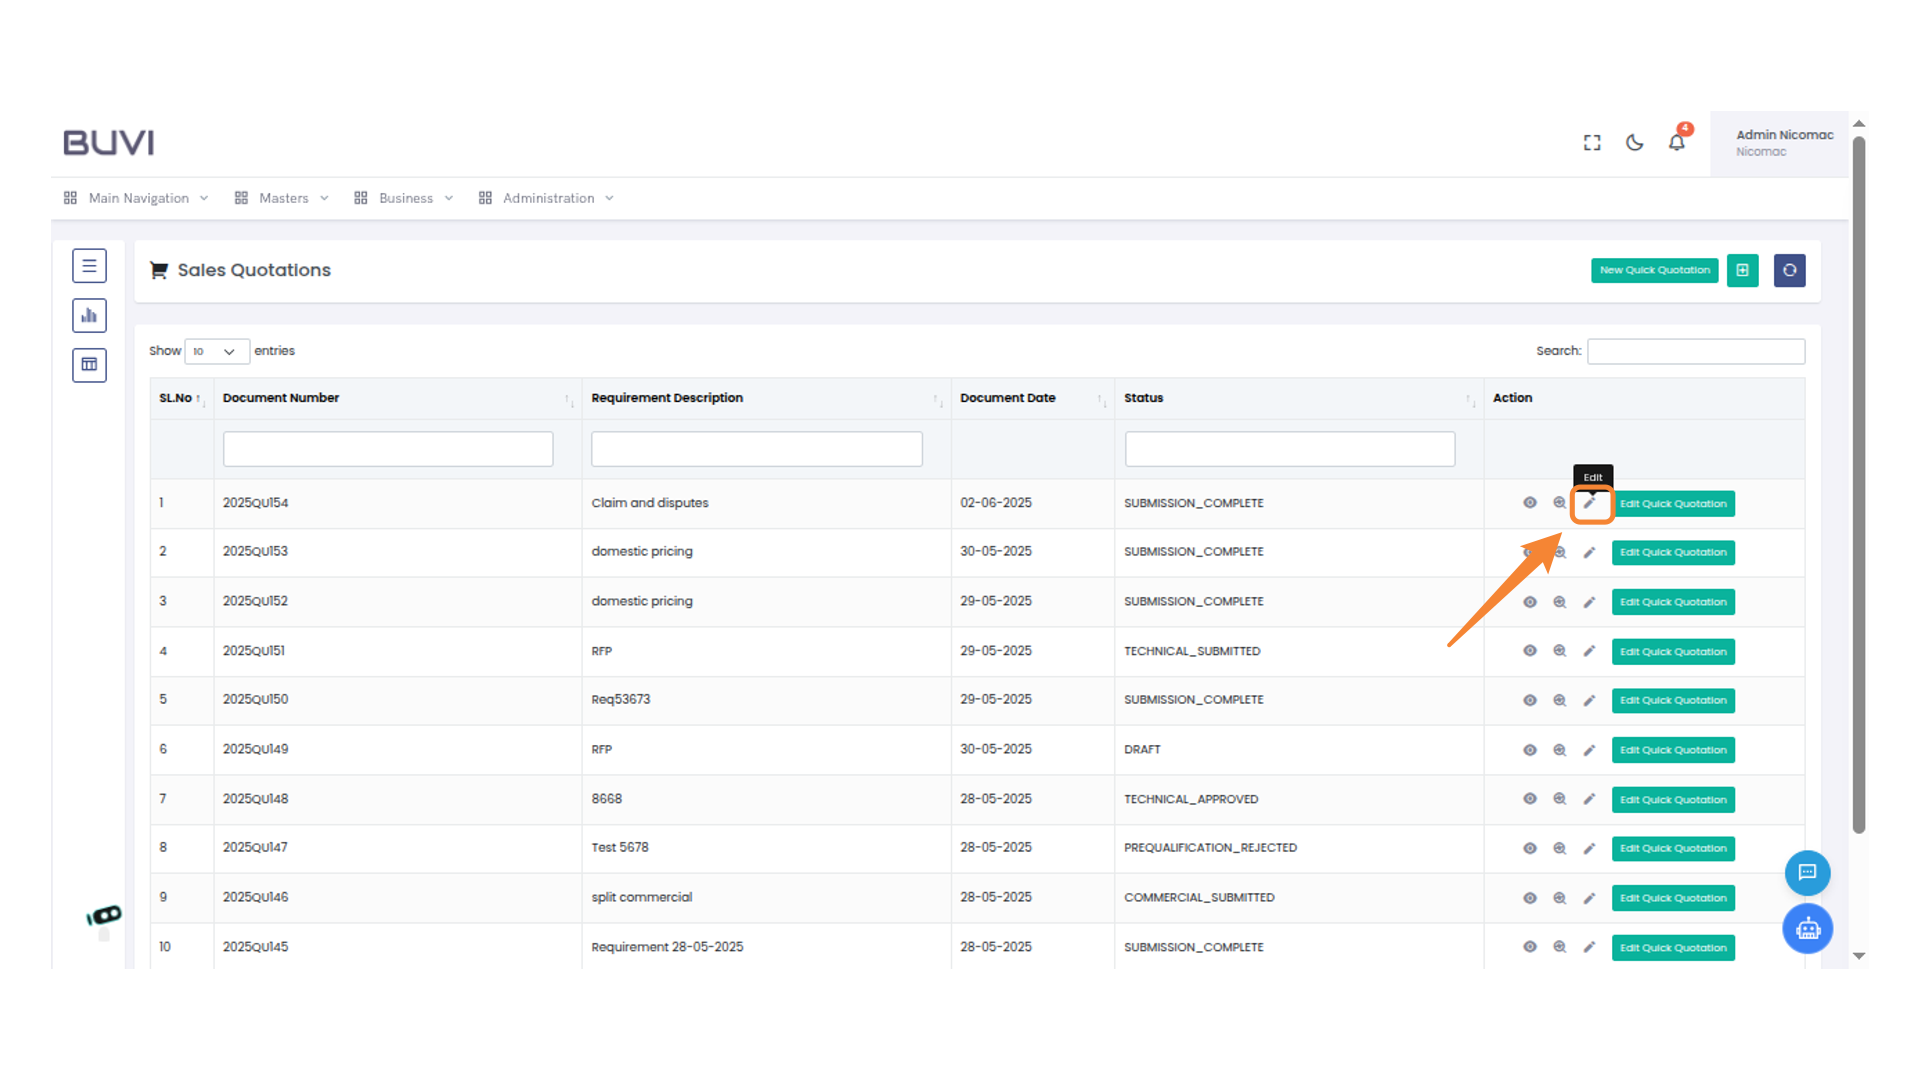
103. Edit Quotation
Click the pencil icon to edit the selected quotation.
104. Access Claims Section
Click on the 'Claim' icon in the sidebar to access the claims section for managing related tasks.

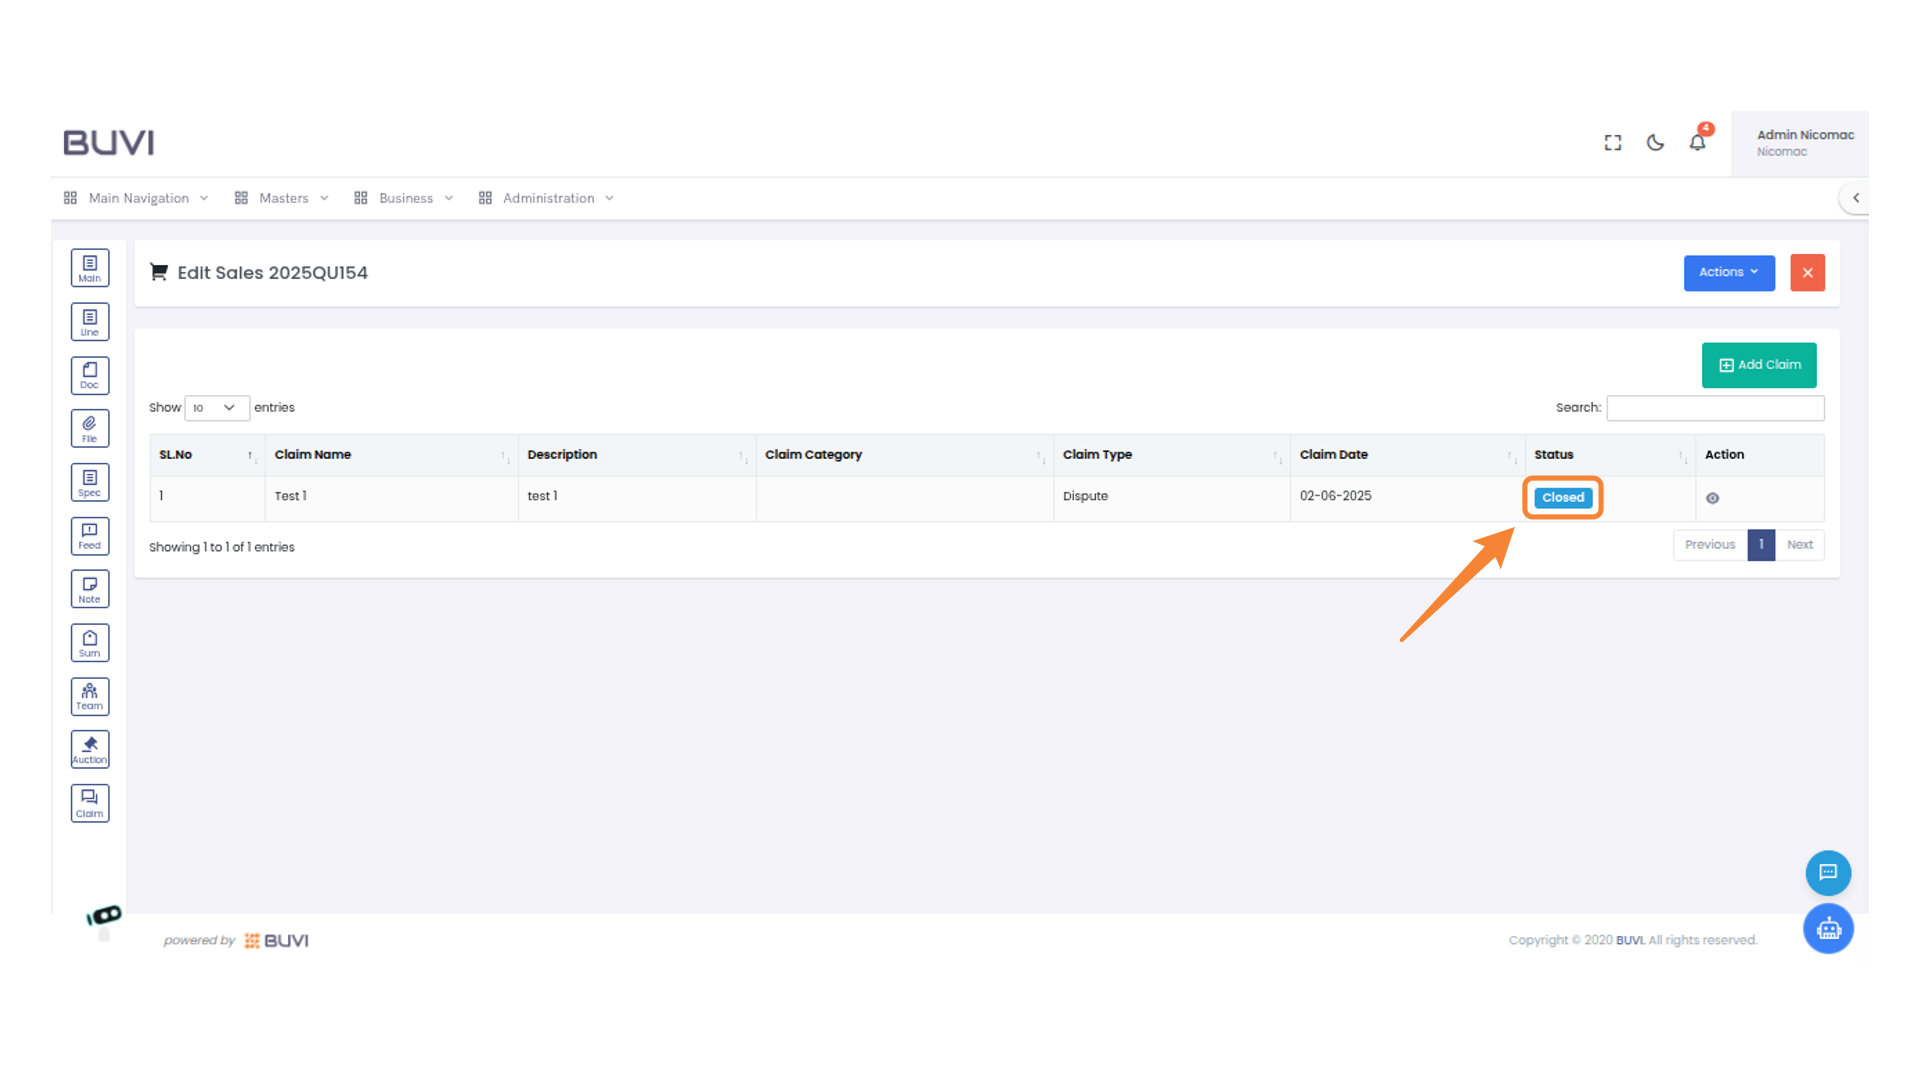
105. Status Update Verification
Verify the claim status is marked as 'Closed'.
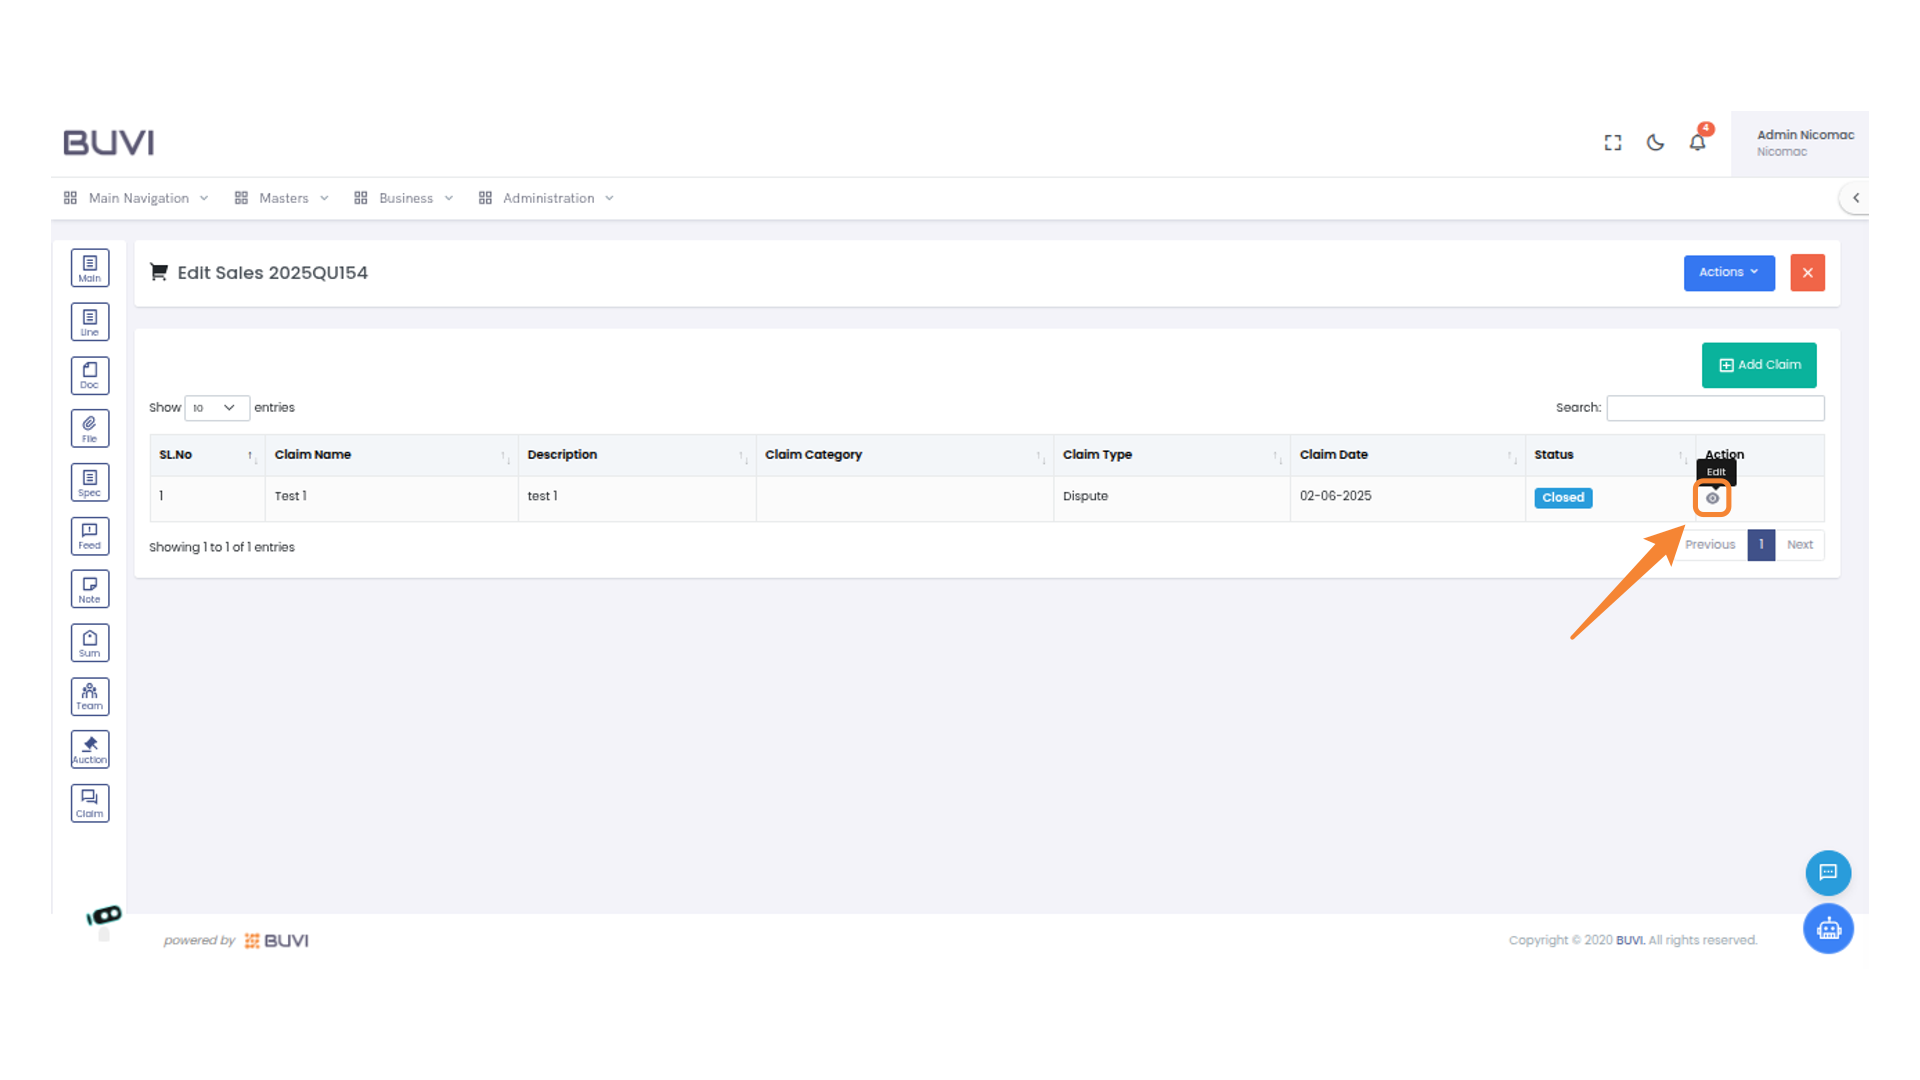
106. Click the view icon
Click the view icon
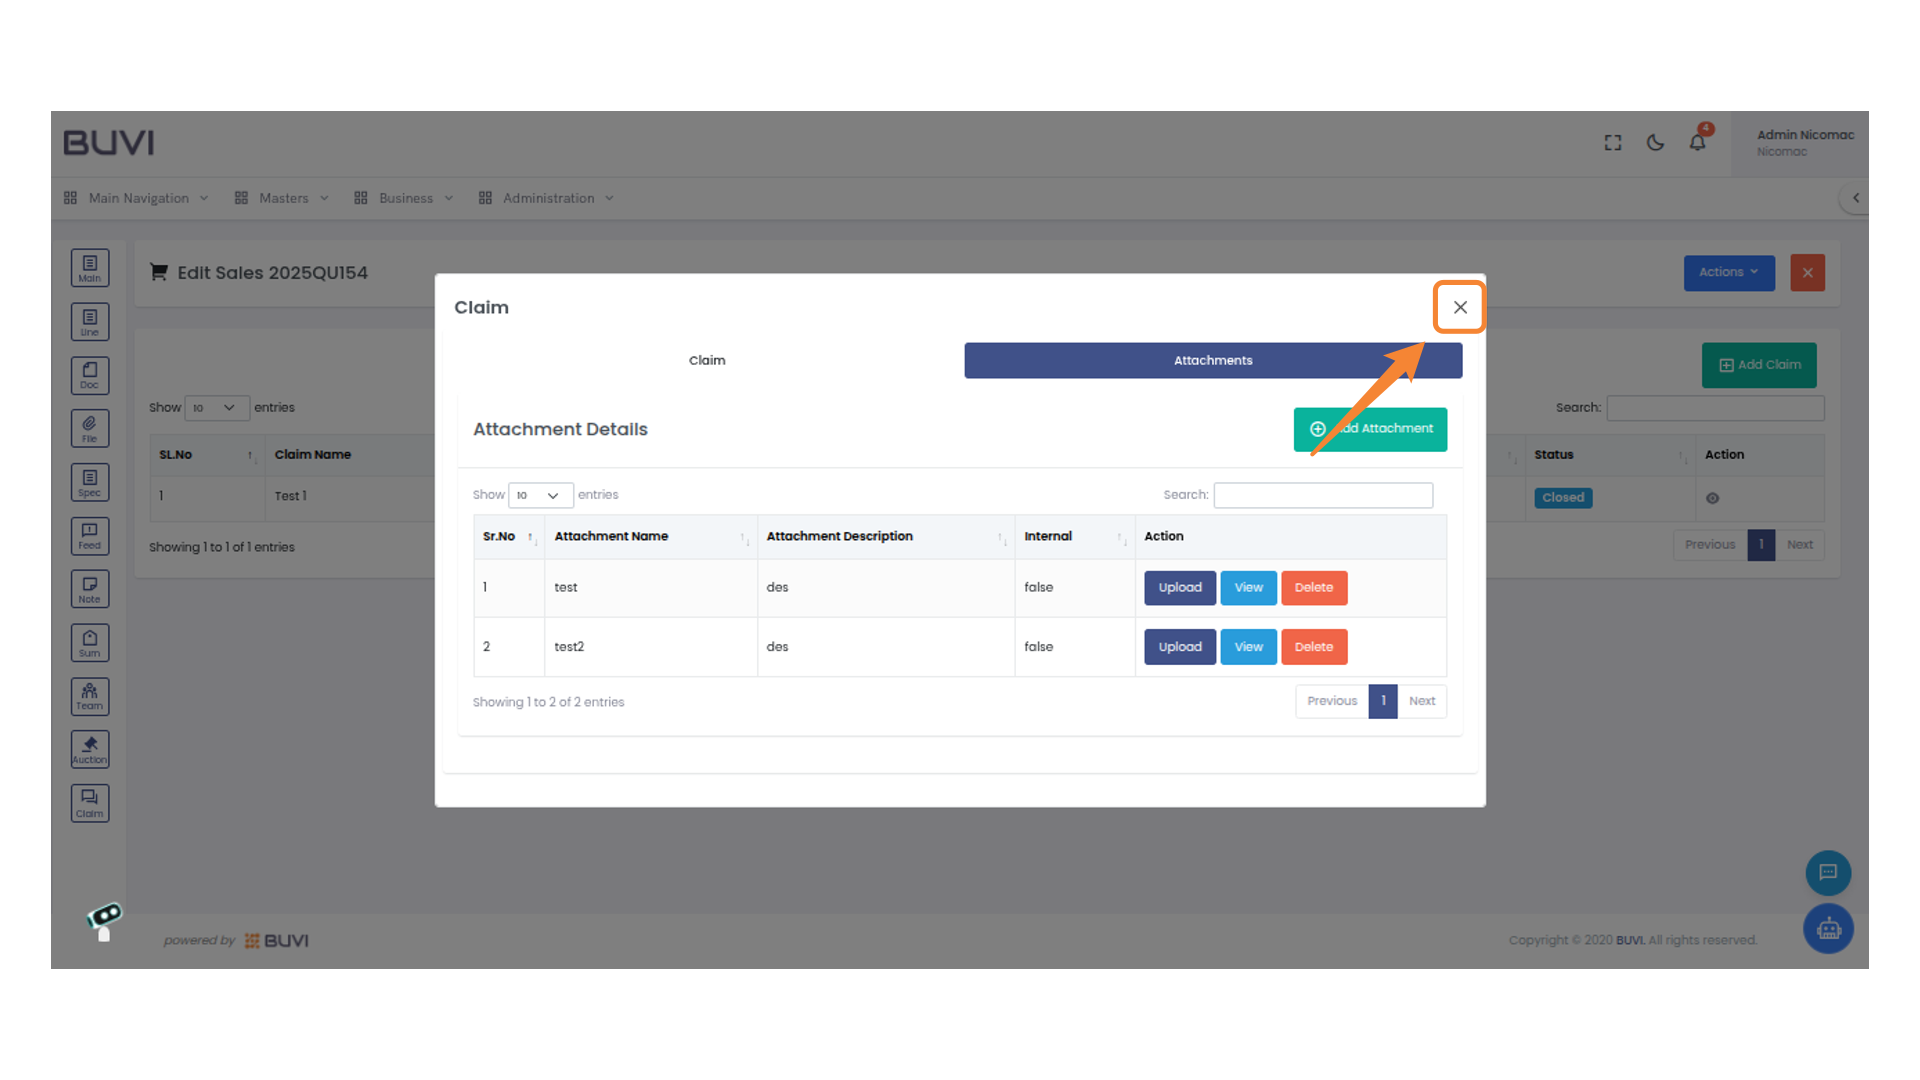
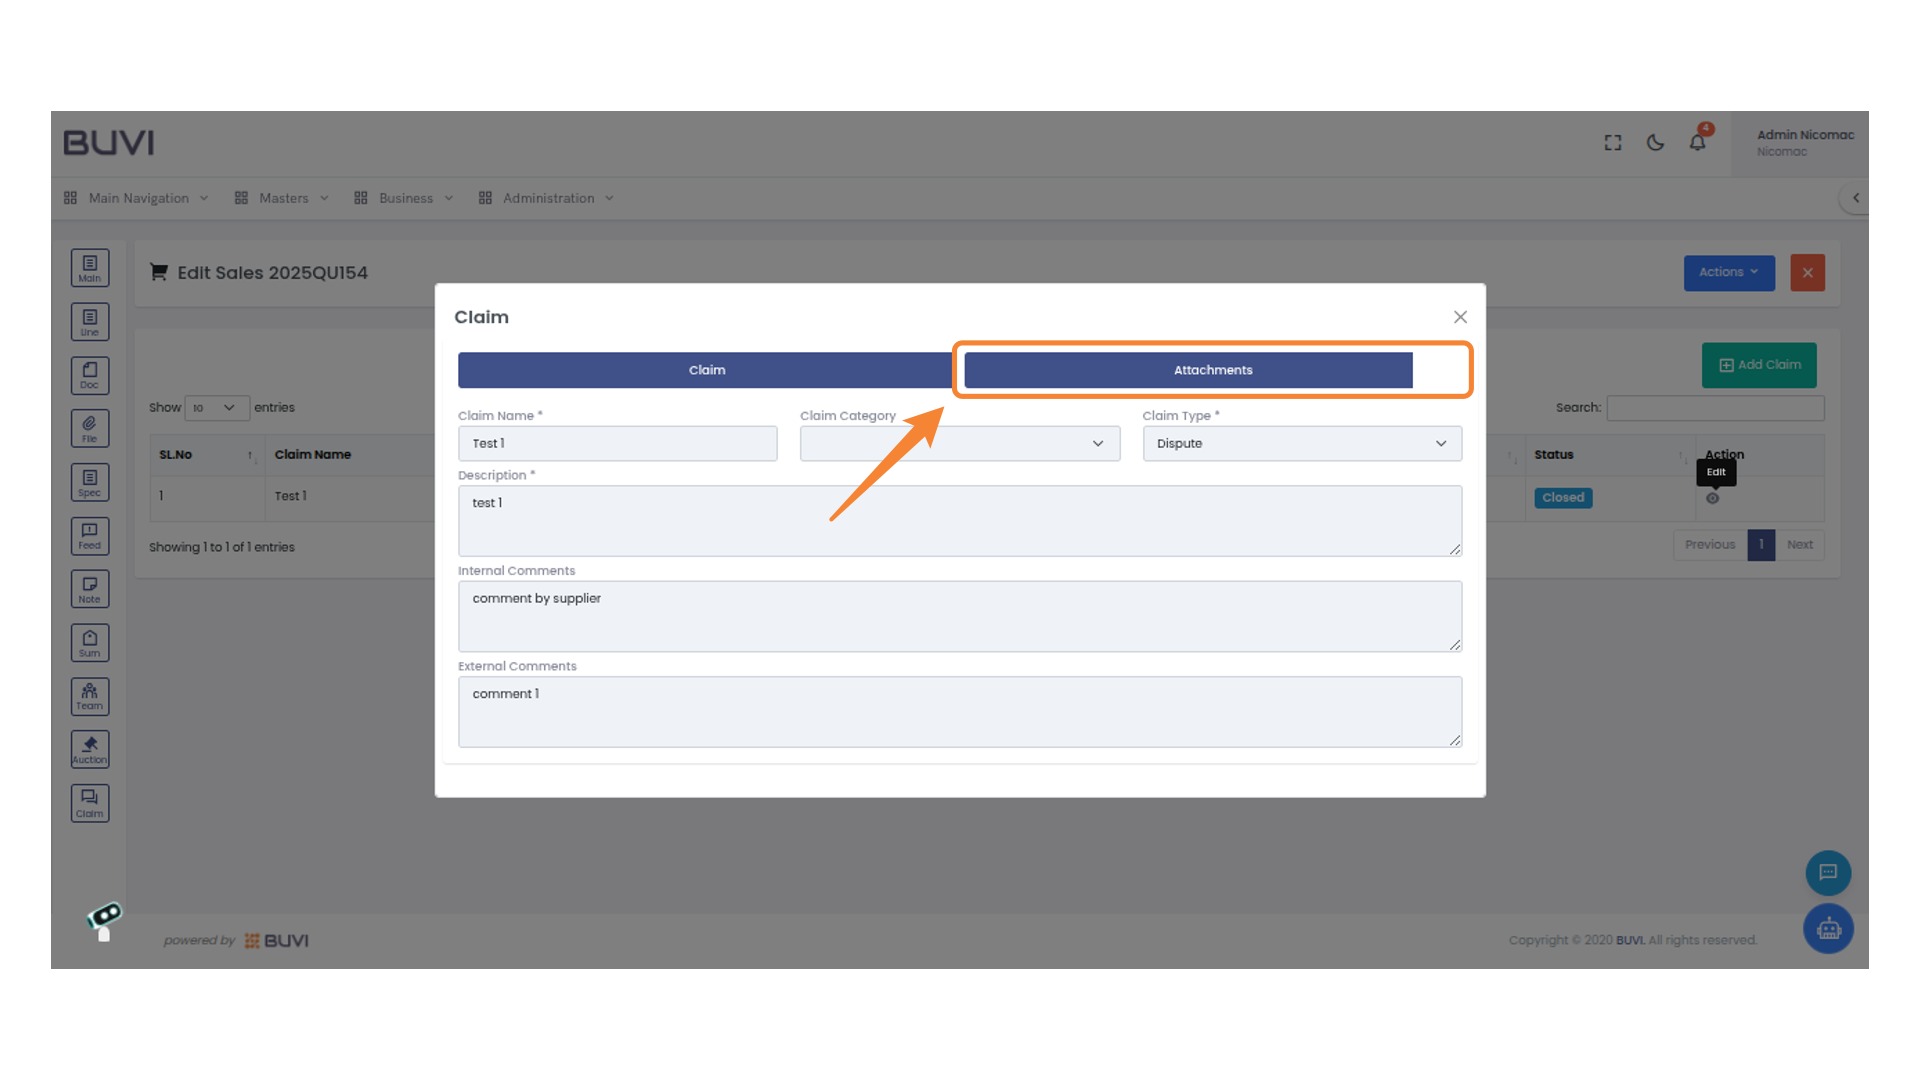
107. Select 'Attachments' for File Options
Click on 'Attachments' to manage or view associated files.
108. Close the Window
Click the X to close the current window.